If you love Indian curries, Greek-style gyros, soft tacos, and mini personal pizzas, it’s time to grab a bowl and make up a batch of these gluten-free flatbreads. They’re perfect for wrapping and dipping, and have a mild flavor that works with many flavor profiles.
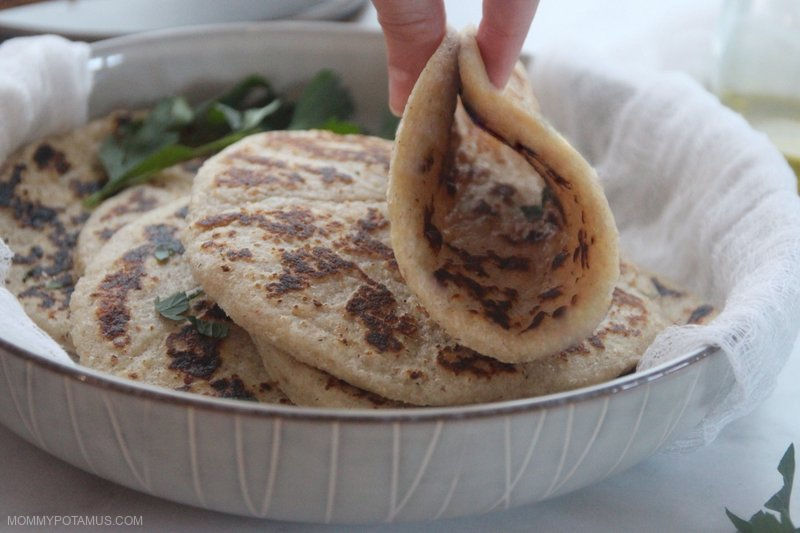
Unlike breads made with yeast that need to rise, this flatbread can be made in about 30 minutes from start to finish. The texture is soft and pliable without being overly chewy – I hope you love it as much as we do!
Ways To Use Flatbread
- As a crust for mini gluten-free pizzas
- Served as a dairy-free alternative to naan bread along with chicken tikka masala or korma
- Rolled to make soft tacos (here’s my favorite taco seasoning, and here’s how to quickly make taco meat in the Instant Pot using frozen meat)
- Fill with bacon, grilled chicken, lettuce tomato and ranch dressing for a BLT-style wrap
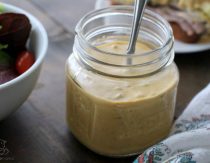
- As a scoop for creamy dips, homemade chili, or hummus drizzled in olive oil
- Folded into Greek-style lamb gyros
- Fill with grilled chicken, romaine lettuce, and homemade caesar dressing
Gluten-Free Flatbread Recipe
Equipment
- mixing bowl
- fork
Ingredients
- 2 cups almond flour
- 1 cup tapioca starch
- 2 tbs whole psyllium husk flakes
- 2½ tsp double acting baking powder
- ½ tsp sea salt
- 2 tbsp olive oil, avocado oil, or melted coconut oil (plus more for oiling the pan)
- ¾ cup hot water
Instructions
- Add the dry ingredients (almond flour, tapioca starch, psyllium husk, baking powder and salt) to a medium mixing bowl and stir with a fork until everything is well-combined.
- Add the oil and stir again until it's somewhat evenly distributed throughout the flour mixture.
- Heat the water on the stovetop until it is steaming, then add it to the mixing bowl.
- Stir the dough together until all of the flour mixture is wet, then let the dough rest for 10 minutes.
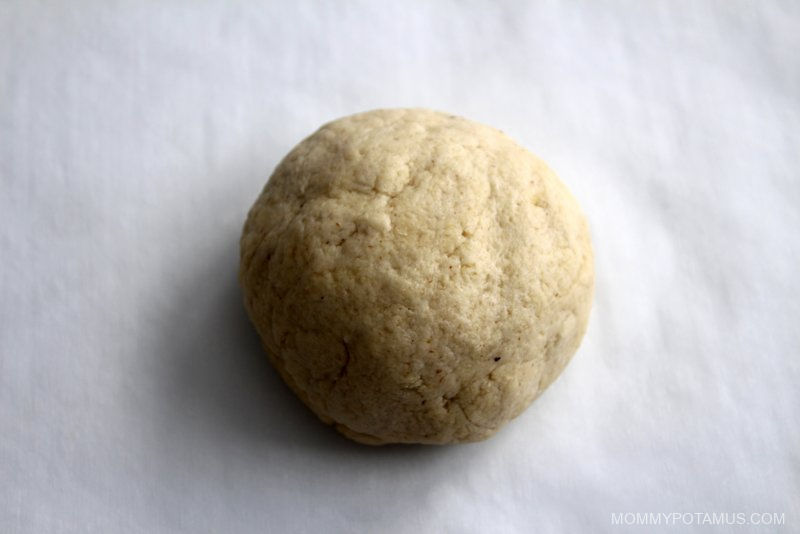
- Using your hands, knead the dough for about 10 seconds and then form it into a ball. It should be very moist but not so sticky that it coats your hands. If it does stick a lot to your hands, add a little more almond flour.
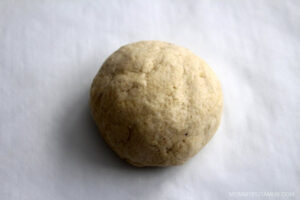
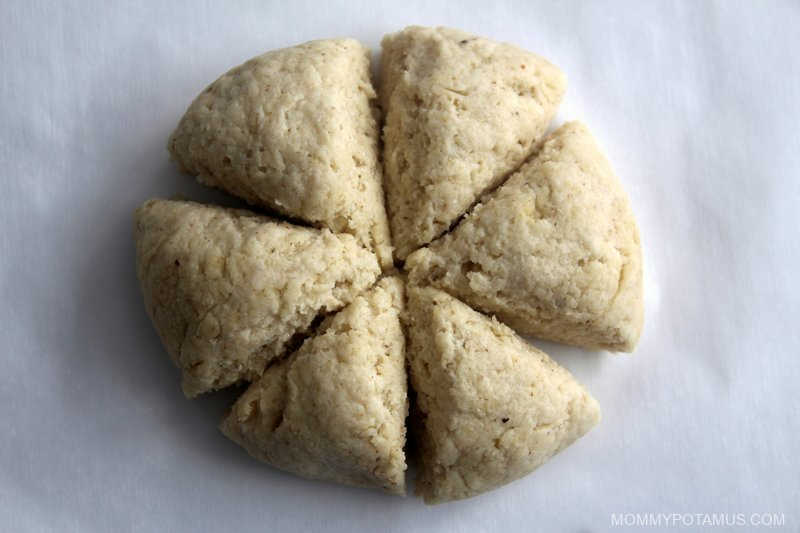
- Divide the ball into 6 pieces. Place the first piece onto a sheet of parchment paper and then cover it with another sheet of parchment paper.

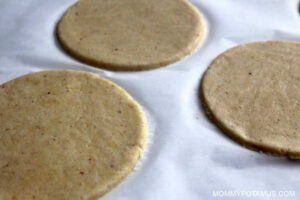
- Use a rolling pin to roll the dough into 5-6 inch circles. I have a lid that is 5.5 inches wide that I use as a "cookie cutter" to make the edges perfectly round, but they're pretty with rustic edges, too. Tip: Pull a little of the parchment paper over the edge of your counter and use your body to hold in place while you roll.
- Pour about 1/4 teaspoon of oil in a well seasoned cast iron skillet (which is what I use as a non-stick pan) and roll the pan around until it is evenly distributed, then use a paper towel to wipe the pan clean. All that's needed is a very thin layer of oil.
- Warm the pan over medium/high heat. When it's hot, reduce the heat to medium and place a piece of dough in the center. Allow it to cook for about a minute before using a spatula to flip it over. Let it cook for another minute or so. It should puff up slightly as it cooks and the edges will turn golden brown.
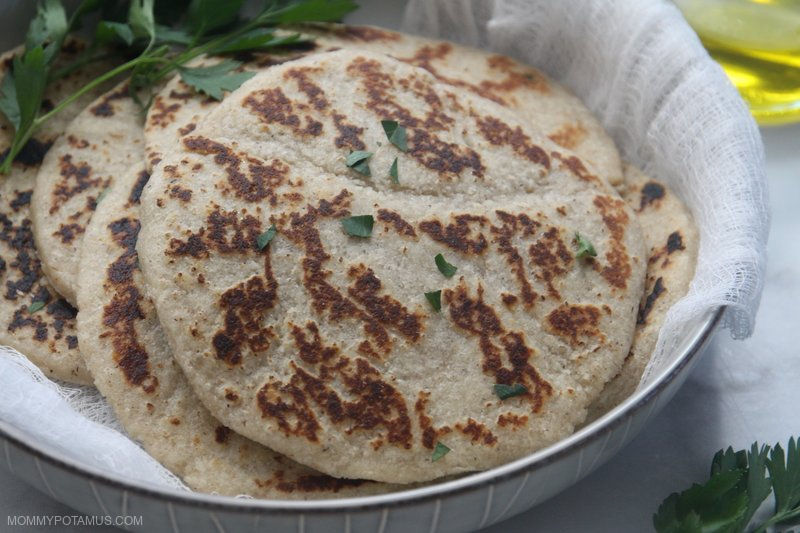
- When the first piece of flatbread is ready, transfer it to a plate and cover it with a towel. Repeat the process until all the flatbreads are ready.
- Store any leftovers in and airtight container in the fridge for up to three days.

Nutrition
Frequently Asked Questions
Can I use an all-purpose gluten-free flour blend in this recipe?
I haven’t tested this recipe with a pre-made blend, but almond flour and tapioca absorb liquid differently than standard flour mixes and will probably not work in this recipe.
What’s the difference between flatbread and pita bread?
Pita bread – sometimes called pocket bread – is usually leavened with yeast, which causes it to puff up during the cooking process, forming a pocket of air inside.
The gluten in wheat flour is what allows the dough to stretch and form the pocket – gluten-free flours are not stretchy in the same way. It is possible to make gluten-free pita bread by adding xanthan gum to the dough to make it stretchy, but I prefer to make a pocketless version.

More Gluten-Free Recipes
Cassava Flour Pizza Crust – This crust is easy to make, holds together well and has the doughy texture of traditional pizza. It’s also dairy-free, which is something many of you have requested
Artisan Bread (Boule Bread) – This bread has a golden, crusty outside and a soft, airy inside with a sourdough-style flavor.