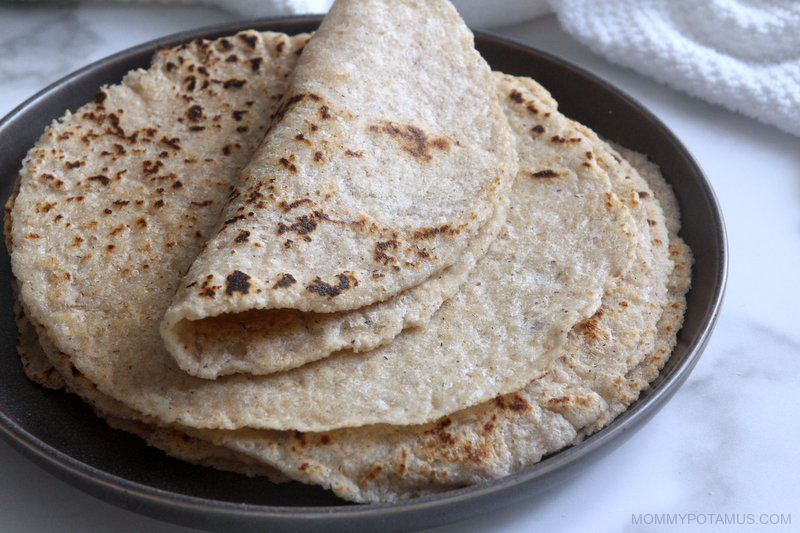
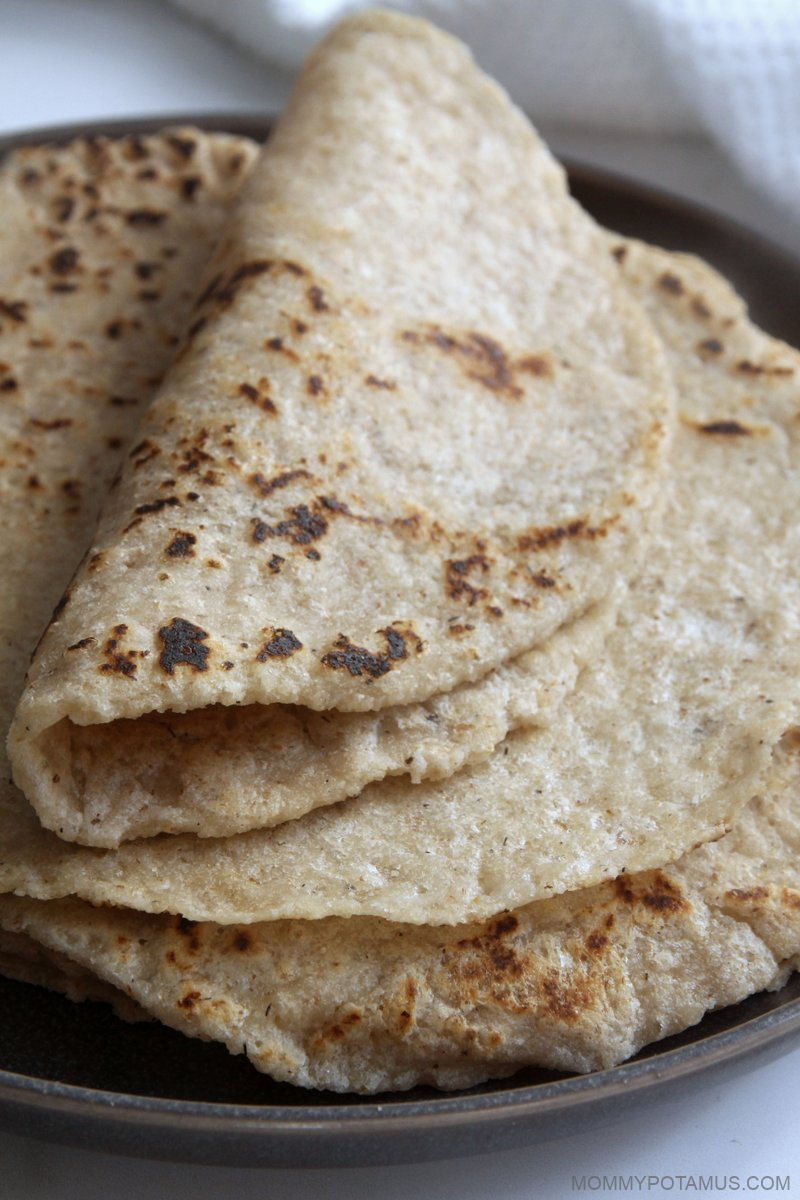
Soft and pliable, these gluten-free tortillas are simple to make and easy to store for quick meals throughout the week. They’re similar in flavor and texture to the wheat flour tortillas I grew up eating in Tex-Mex country, which is to say that they work well in everything from burritos and chicken caesar salad wraps to after-dinner treats like hot buttered cinnamon sugar tortillas.
Plus, they can be made with either a tortilla press or a rolling pin, so you can use whatever you have on hand. There are so many yummy ways to enjoy these tortillas. Here are my favorites:
8 Ways To Use Gluten-Free Tortillas
- Dipped in homemade queso or dairy-free queso
- Folded into soft tacos
- Made into quesadillas (preferably topped with fermented jalapeno slices)
- Filled with grilled chicken, romaine lettuce, and homemade caesar dressing
- Served up with a sizzling plate of chicken or steak fajitas
- Wrapped into regular burritos and breakfast burritos
- Warmed and topped with a pat of butter and cinnamon sugar
- Filled with bacon, grilled chicken, lettuce tomato and ranch dressing for a BLT-style wrap

Tortilla Press Vs. Rolling Pin
These tortillas can be made into smaller, thicker tortillas or larger, thinner ones depending on what equipment you have.
For thicker tortillas that are about 5 inches wide, you can use a:
- Rolling Pin– Hand roll the dough with a rolling pin into 5 inch rounds, then cook them in a cast iron skillet. I roll mine between two pieces of parchment paper so that they don’t stick, then pop them in the pan. The cooking time will vary based on how hot your pan is. It should take about 30-60 seconds on each side.
- Cast Iron Tortilla Press – Use it to flatten the dough to 5 inch rounds, then transfer the tortillas to a heated cast iron skillet to cook. If you’ve never used a cast iron press before, one thing to know is that you usually put a piece of parchment paper above and below the dough to keep it from sticking. I use the same two pieces of paper for a whole batch of tortillas.
For thinner, larger tortillas, use an electric tortilla press.
I use this electric one and place sheets of parchment paper above and below the dough so that it doesn’t touch the non-stick surface. Preheat the press and then flatten the dough.
There are two ways to finish tortillas that are flattened in an electric tortilla press. The easiest way it just to leave the press closed and let them cook until they’re ready. My favorite way to make them, though, is to let them par-cook (partially cook) and then transfer them to a pre-heated skillet.
Finishing them in the skillet allows the outside to develop golden brown flecks like regular flour tortillas, and it’s SO EASY to do. I just lift the tortilla press lid, take the parchment paper off the top of the tortilla, and then lift the edges of the bottom piece of parchment paper to flip the tortilla in the pan.
Cooking Tips
Knowing when the tortillas are ready is something you’ll need to get a feel for. You want them to be cooked all the way through but still tender and soft. Fortunately, it’s a very forgiving process and you can test and correct easily while making a batch.
If you undercook them you may notice that they look more “doughy” and less “floury.” Fortunately, the solution is simple – just pop them back in the pan or tortilla press to cook a little longer.
f you overcook them and they become too crispy to fold, you can soften them up by placing them in a tortilla warmer or between two plates. Storing them this way “steams” them and makes them more flexible.
Storing & Freezing Tortillas
These tortillas can be stored in the fridge or the freezer for easy weeknight meals.
Before storing, separate the tortillas with parchment paper and place them in an airtight container or bag. For smaller tortillas I often use Stasher half gallon reusable bags.
They’ll stay fresh in the fridge for up to five days and in the freezer for several months . . . possibly longer, but we always eat ours by then.
To use them, remove them from the fridge or freezer and set them on the counter until they reach room temperature. I usually pull the tortilla stack apart to make the process go more quickly. If desired, pop them in a 300F oven until they’re warm.
Gluten-Free Tortillas Recipe
Equipment
- Cast iron skillet or electric tortilla press
Ingredients
- 2 cups almond flour
- 1 cup tapioca starch
- 2 tbsp whole psyllium husk flakes
- 2½ tsp double acting baking powder
- ½ tsp salt
- 2 tbsp olive oil, avocado oil, or melted coconut oil (plus more for oiling the pan)
- ⅔ cup hot water
Instructions
- Add the dry ingredients (almond flour, tapioca starch, psyllium husk flakes, baking powder and salt) to a medium mixing bowl and stir with a fork until everything is well-combined.
- Add the oil and stir again until it's somewhat evenly distributed throughout the flour mixture.
- Heat the water on the stovetop until it is steaming, then add the hot water to the mixing bowl.
- Stir the dough together until all of the flour mixture is wet, then let the dough firm up for 10 minutes.
- Now go to the instructions for the cooking method you are using: Rolling Pin + Cast Iron Skillet Instructions, Tortilla Press + Cast Iron Skillet Instructions, or Electric Tortilla Press Instructions.
Rolling Pin + Cast Iron Skillet Instructions
- Once the dough has rested, use your hands to knead the dough for about 10 seconds, then form it into a ball. It should be very moist but not so sticky that it coats your hands. If it does stick a lot to your hands, add a little more almond flour.
- Divide the ball into 8 pieces.
- Place the first piece of dough onto a sheet of parchment paper and then cover it with another sheet of parchment paper.
- Use a rolling pin to roll the dough into 5 inch circles . . any thinner and it will be too fragile to transfer to the pan. Continue this process until you have at least half of the tortillas rolled out. I usually start cooking at that point and continue rolling while some of the tortillas cook.
- When you're ready to cook the tortillas, pour about 1/4 teaspoon of oil in a well seasoned cast iron skillet (which is what I use as a non-stick pan) and roll the pan around until it is evenly distributed, then use a paper towel to wipe the pan clean. All that's needed is a very thin layer of oil.
- Warm the pan over medium/high heat. When it's hot, reduce the heat to medium and place a piece of dough in the center. Allow it to cook for 30-60 seconds before using a spatula to flip it over. Let it cook for another minute or so. As it cooks some of the surface will turn golden brown.
- When the first tortilla is ready, transfer it to a tortilla warmer or store between two plates. See the Cooking Tips section above for more info on determining when the tortillas are ready. Repeat the process until all the tortillas are ready.
- Store any leftovers in and airtight container in the fridge for up to three days or in the freezer for up to a few months.
Tortilla Press + Cast Iron Skillet Instructions
- Once the dough has rested, use your hands to knead the dough for about 10 seconds, then form it into a ball. It should be very moist but not so sticky that it coats your hands. If it does stick a lot to your hands, add a little more almond flour.
- Divide the ball into 8 pieces.
- Pour about 1/4 teaspoon of oil in a well seasoned cast iron skillet (which is what I use as a non-stick pan) and roll the pan around until it is evenly distributed, then use a paper towel to wipe the pan clean. All that's needed is a very thin layer of oil.
- Warm the pan over medium/high heat.
- While the pan is heating, place a piece of parchment paper on the tortilla press and then place a ball of dough on top. Place another piece of parchment paper over the dough and then flatten it with the tortilla press.
- When the pan is hot, reduce the heat to medium and place the first tortilla in the center. Allow it to cook for 30-60 seconds before using a spatula to flip it over. Let it cook for another minute or so. As it cooks some of the surface will turn golden brown.
- When the first tortilla is ready, transfer it to a tortilla warmer or store between two plates. Repeat the process until all the tortillas are ready. See the Cooking Tips section above for more info on determining when the tortillas are ready.
- Store any leftovers in and airtight container in the fridge for up to three days or in the freezer for up to a few months.
Electric Tortilla Press Instructions
- Once the dough has rested, use your hands to knead the dough for about 10 seconds, then form it into a ball. It should be very moist but not so sticky that it coats your hands. If it does stick a lot to your hands, add a little more almond flour.
- Preheat the tortilla press and divide the ball into 8 pieces.
- Place a piece of parchment paper on the tortilla press and then place a ball of dough on top. Place another piece of parchment paper over the dough and then flatten it with the press.
- There are two ways to finish tortillas that are flattened in an electric tortilla press. #1 – The easiest way it just to leave the press closed and let them cook until they're ready. #2 – My favorite way to make them, though, is to let them par-cook (partially cook) and then transfer them to a pre-heated skillet. Finishing them in the skillet allows the outside to develop golden brown flecks like regular flour tortillas, and it's SO EASY to do. I just lift the tortilla press lid, take the parchment paper off the top of the tortilla, and then lift the edges of the bottom piece of parchment paper to flip the tortilla in the pan. See the Cooking Tips section above for more info on determining when the tortillas are ready.
- Transfer the tortilla to a tortilla warmer or store between two plates. Repeat the process until the whole batch is ready.
- Store any leftovers in and airtight container in the fridge for up to three days or in the freezer for up to a few months.
Nutrition
Frequently Asked Questions
Can I use gluten-free all purpose flour?
I haven’t tested this recipe with gluten-free all purpose flour, but almond flour and tapioca absorb liquid differently than standard pre-made flour blends and will probably not work in this recipe.
More Tex-Mex Recipes To Try
Mexican 8 Layer Dip – This dip is full of flavor and perfect for scooping with paleo tortilla chips.
Homemade Restaurant-Style Salsa – This salsa is easy to make and hard to resist.