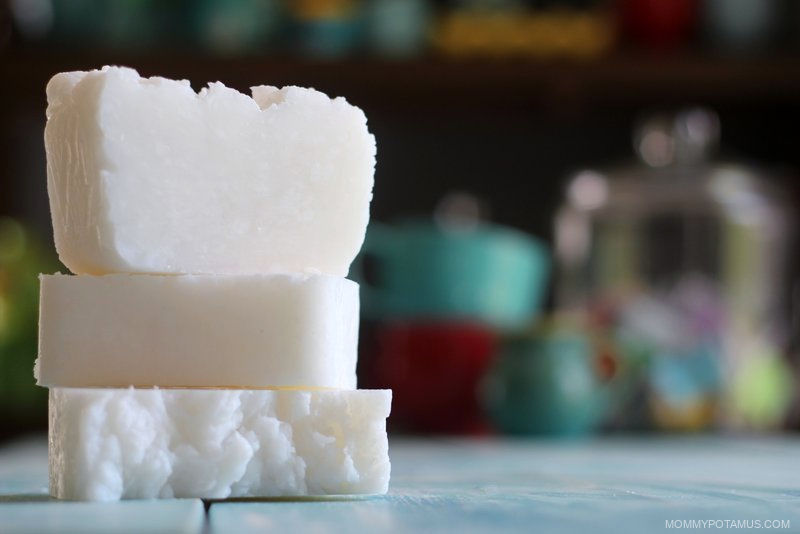
Coconut Oil Shampoo Bar Recipe
This coconut oil shampoo bar recipe delivers a rich lather that cleans and gently moisturizes without leaving hair heavy or greasy.
Calories
Ingredients
Ingredients For Normal Hair (10% superfat)
- 33 oz. coconut oil
- 12.54 oz. distilled water
- 5.44 oz. lye (sodium hydroxide)
- ½-1 oz. essential oil (tea tree, peppermint, and rosemary are good options)
Ingredients For Dry Hair (12% superfat)
- 33 oz. coconut oil
- 12.54 oz. distilled water
- 5.32 oz. lye (sodium hydroxide)
- ½-1 oz. essential oils
Equipment Needed
- 8 quart slow cooker/crock pot
- Immersion blender
- Digital scale
- Glass measuring cups
- Bowls for measuring your oils
- Medium-size heat resistant glass bowl for mixing the lye water
- Stainless steel or plastic spoon with long handle (If you use a wooden spoon like the one pictured below, make sure not to use it for anything but soapmaking)
- Protective equipment: long-sleeved shirt, plastic/rubber gloves, safety glasses or protective eye gear
- Soap mold (A standard sized bread pan will work for this batch, or you can use a flexible silicone mold like this one.. If you use a bread pan instead of a flexible mold that easily pops out the soap, just make sure to line it with parchment paper so you can easily lift the soap out.)
- Thermometer (Optional - only needed if you're adding essential oils)
- Sink filled with hot soapy water (For cleaning anything that comes in contact with lye. Wait until you're ready to clean to fill the sink. Details below)
Instructions
- Weigh all your ingredients - coconut oil, distilled water, lye and essential oils if you're using them.
- Add the coconut oil to the crockpot and set it to low. It’s okay if it’s in solid state – it will melt fairly quickly. When the coconut oil is almost fully melted, move on to Step 3.
- It's time to mix your lye water. Put on your protective gear, add your water to a medium-sized heat-resistant glass or ceramic bowl, and choose a well-ventilated area that kids and pets don't have access to. I prefer to mix outside, but some soapers like to mix in their kitchen sink with several open windows and a fan or air purifier running. If you're new to working with lye, see the FAQ section for safety information.Make sure you have a long-handled spoon or spatula ready. I use a this silicone spatula/scraper.While wearing your protective gear and taking care not to breathe the vapors, slowly add the lye to the water while mixing gently. Order is important here, so make sure it is the lye you’re pouring into the water.Keep stirring until the lye seems mostly dissolved. The mixture will be cloudy at first, but will turn clear in 5-10 minutes. When it's clear, proceed to step 4.
- Add lye water to the slow cooker (being careful not to splash) and stir a few times.
- Using the immersion blender, begin mixing toward “trace.” Hold the immersion blender straight up and down (versus at an angle) so that it is fully immersed in the mixture and doesn't splash. You’ll know trace is achieved when the mixture has the texture and thickness of a light pudding.
- Cover and cook on low for approximately 45 minutes to an hour. I stay nearby and check on the soap about every 15 minutes. During the saponification process (the conversion of oil and fat to soap) the oils should rise up the sides like a wave and then fold back into the mixture. If they rise too high they can sometimes overflow out of the slow cooker, so I give it a few stirs throughout the process.
- When the soap is ready, it should look like soft, fluid mashed potatoes. Here's how to test your soap for readiness according to Dr. Kevin Dunn, author of 'Scientific Soapmaking:1) Take a gloved finger and wet it.2) Rub the wet finger over the surface of your soap to gather up a coating of diluted soap/lather (does not have to be frothing).3) Very carefully touch the lather on your finger to only the very tip of your tongue - i.e., behave as if your finger might be covered with something gross or dangerous, instead of covered with something delicious like chocolate. Don't go licking the bar of soap itself, and don't go rubbing your lathered finger all over your tongue. Just a quick touch or 2 of your lathered finger to the very tip of your tongue is all it takes to be able to detect excess alkali/unreacted lye in your soap, which will make itself known by a zapping or stinging sensation on the tip of your tongue.4) Repeat the above on each side of your soap.5) Rinse your mouth out with water (or lemon juice if you desire) and spit.If there's no zapping or stinging sensation, it's ready. If you don't want to do this test, the only other reliable testing method I know of is to purchase a waterproof pH tester kit and make sure the soap ph is between 8-10. Note: It's really important to make sure the soap is finished cooking and therefore all the lye is converted – otherwise it can burn skin.
- If you’re adding essential oils, you'll want to wait until the mixture cools to 140°F before you mix them in. If the mixture is too hot the essential oils will evaporate on contact instead of infusing into the soap. You'll know your soap mixture is cool enough when you can place a thermometer into the center of the mixture (not touching the bottom of the slow cooker) and it reads 140F.
- Spoon the soap into your mold and firmly tap the mold on your work surface a few times to get rid of any air bubbles. (It shouldn't splash, but just in case make sure you're still wearing your protective gear.)Fill your sink with hot, soapy water and wash all your tools well while wearing your protective equipment. Rinse very well after washing.
- Unlike other bars which need to harden for 24 hours before being cut, coconut oil makes a very hard bar that will be difficult to cut if you let it dry too long. Cut as soon as it’s cool and firm.
- Your shampoo bars can be used right away, but they'll last longer if they're allowed cure for a bit. I usually put one bar in my shower and then place the rest in an area with good airflow to continue to cure. Make sure they have about an inch of space between them and let them sit for up to a couple of weeks.