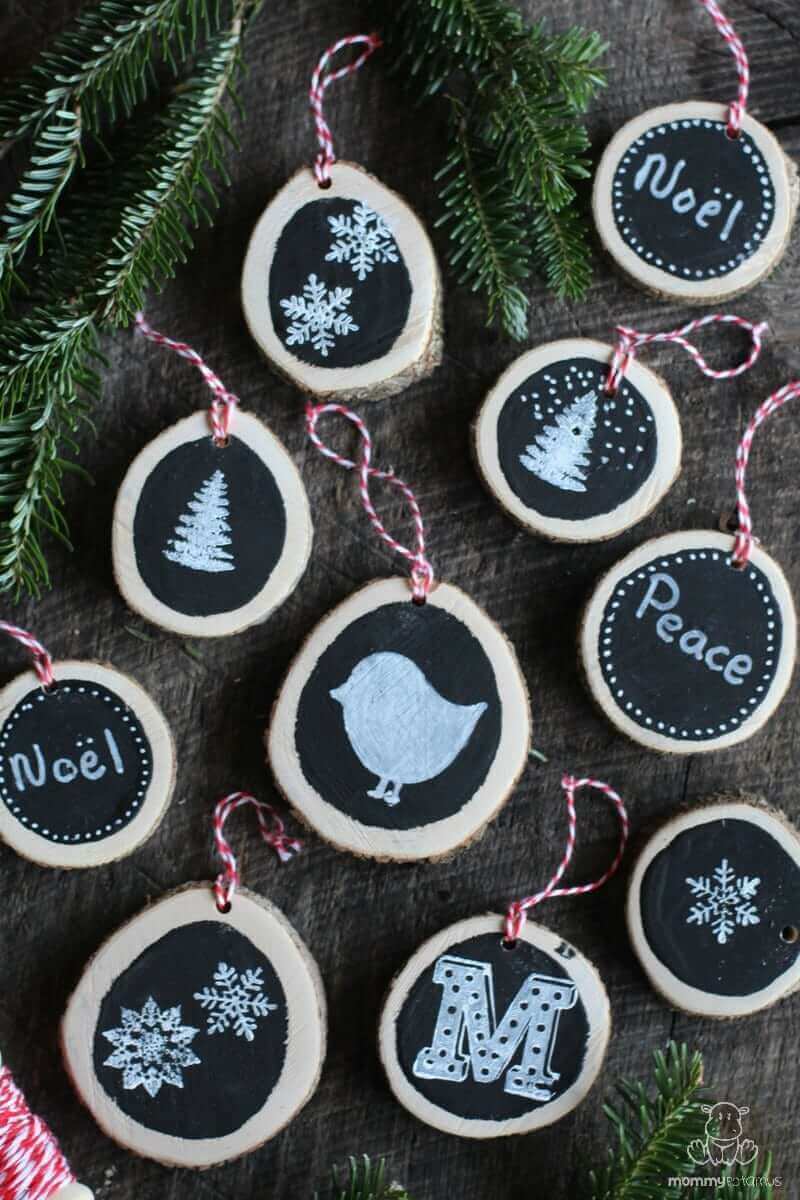
DIY Chalkboard Ornaments
One of my family's traditions is to make a handmade ornament every year - this was our experiment this year! All you need are some wooden rounds, chalk paint and stencils or stamps. They make a great gift idea for grandparents, too.
Calories
Ingredients
- Wood slice tags Or homemade wood rounds*
- Black chalkboard paint Or you can buy these pre-painted wood ornaments)
- White chalk paint
- Chalk marker with a fine tip Optional – use if you’ll be decorating with stencils
- Stencils and/or stamps with simple, clean designs The bird in the photo is a stencil from a local craft shop, the words are handwritten, and the snowflakes and Christmas trees are stamps
- Small paintbrush If you’re using stamps to decorate
- Baker’s twine to hang the ornaments Optional
- Permanent marker Optional, but helpful if you want to keep track of which child made which ornament
Instructions
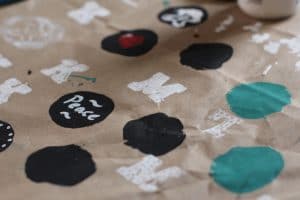
- To make your chalkboard Christmas ornaments, start by painting a large black circle on each wooden round. My littles weren’t quite coordinated to do this step, so I made them some paper “rounds” to practice their stenciling and stamping on while I finished them up. See how they totally followed my suggestion and place the designs within the circles? 😀
- Once the circles have dried for several hours, use a chalk pen and stencils to add your design OR brush a very thin layer of white paint on the stamps you selected and then stamp on your design. If something doesn’t look quite like you want it to, you can usually rinse off the white paint if you move quickly. If there’s a little white paint remaining after you rinse you can dab on a little more black paint and let it dry, then try again with the stencils/stamps.Tip: If you’re working with more than one child, it can be helpful to have them keep separate piles of their creations until you (or they) have had time to write their name and the year on the back – my kids always love hanging up “their” ornaments from previous years!

Notes
*To make homemade wood rounds, I used a hand saw to cut a branch down, then cut the branch into small rounds and sanded them with fine-grit sandpaper. Then, after we painted them I drilled holes.
 Tried this DIY?
Mention @mommypotamus or tag #mommypotamus!
Tried this DIY?
Mention @mommypotamus or tag #mommypotamus!
Tried this DIY?
Mention @mommypotamus or tag #mommypotamus!