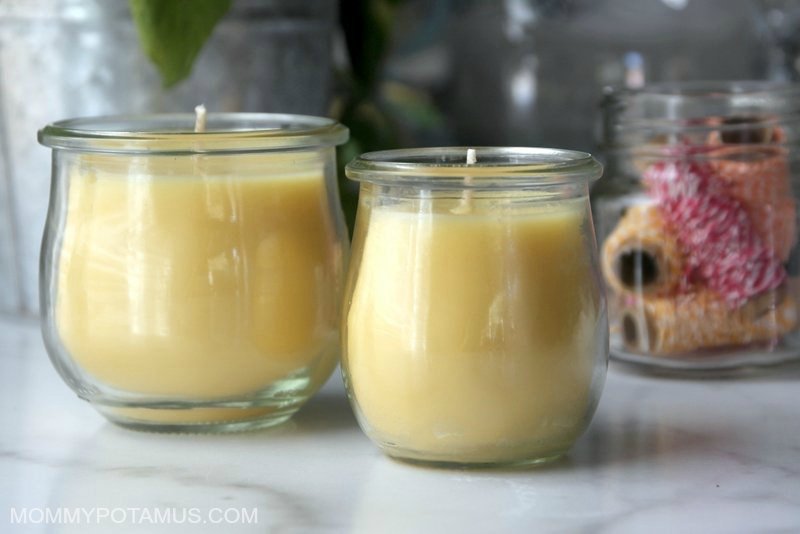
How to Make Beeswax Candles
Making your own beeswax candles is easier than you might think! Here’s my simple, tried-and-true method for creating honey-scented candles with a warm, soft glow.
Servings 2 12 oz candles
Calories
Equipment
- double boiler or two different sized pots (one fits inside the other)
- stove
- wooden chopstick
- clothespin or pencil
- scotch tape (if using a pencil)
- oven
Ingredients
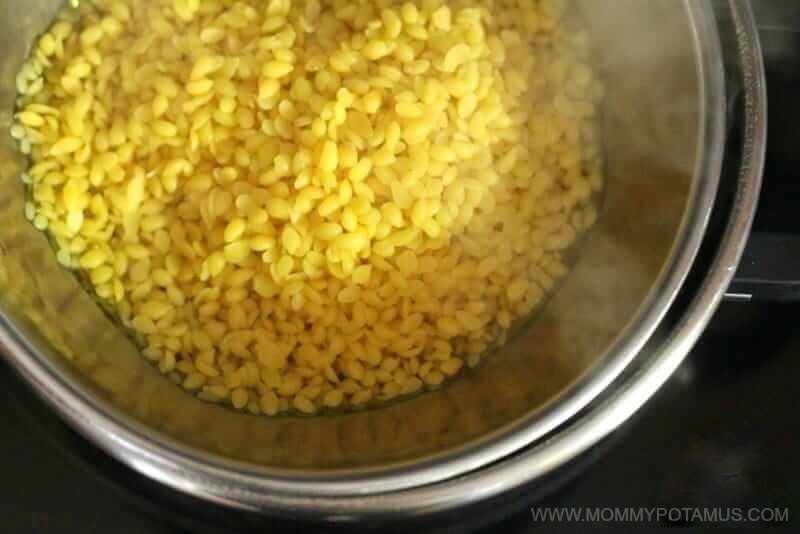
- 1 lb beeswax
- ½ cup coconut oil (melted)
- 1 to 2 tbsp essential oil (I prefer inexpensive options like lemongrass or peppermint)
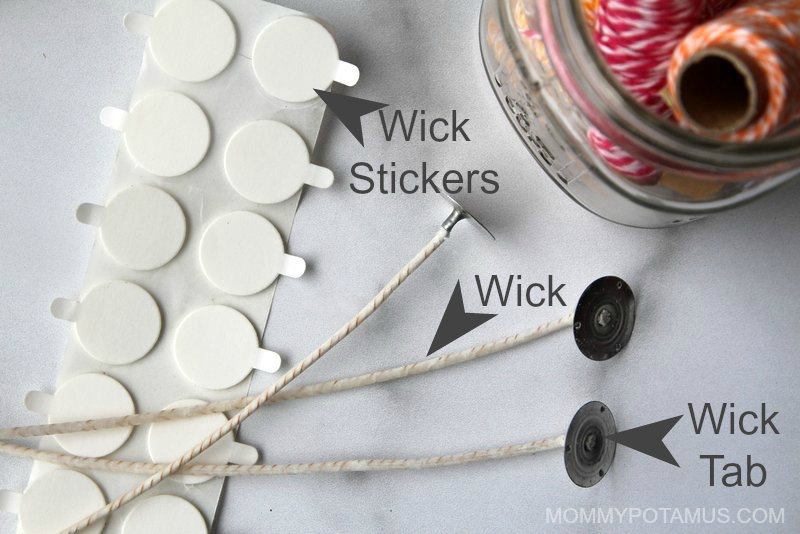
medium cotton wicks * (with wick tabs attached)- wick stickers
- jars (This recipe will make three of these 8 ounce tulip jars or these jam/jelly mason jars. Another option is to use two 12 ounce jars or six of these 4 ounce jelly jars)
Instructions
Making Your Candles
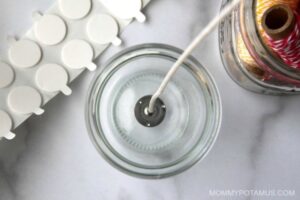
- Pick up your wick (with wick tab attached) and wick stickers)

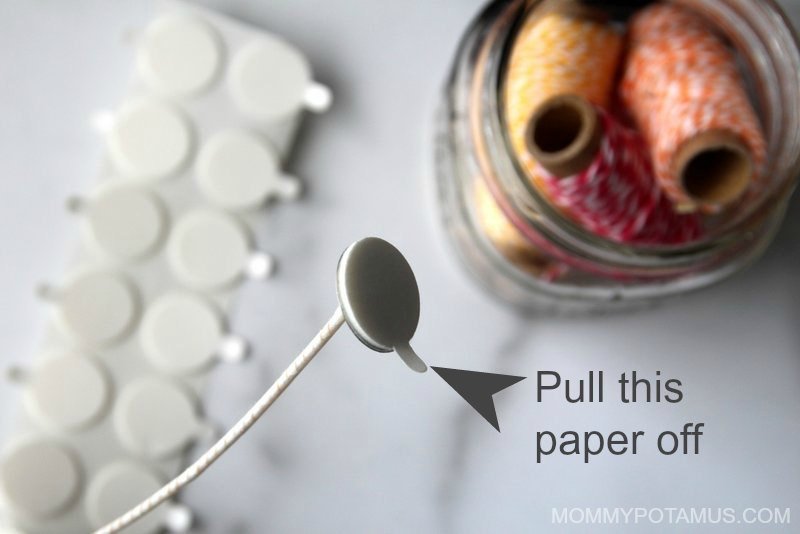
- Pull one of the wick stickers off the roll and place it on the wick tab, then peel the paper off the exposed side of the wick sticker.

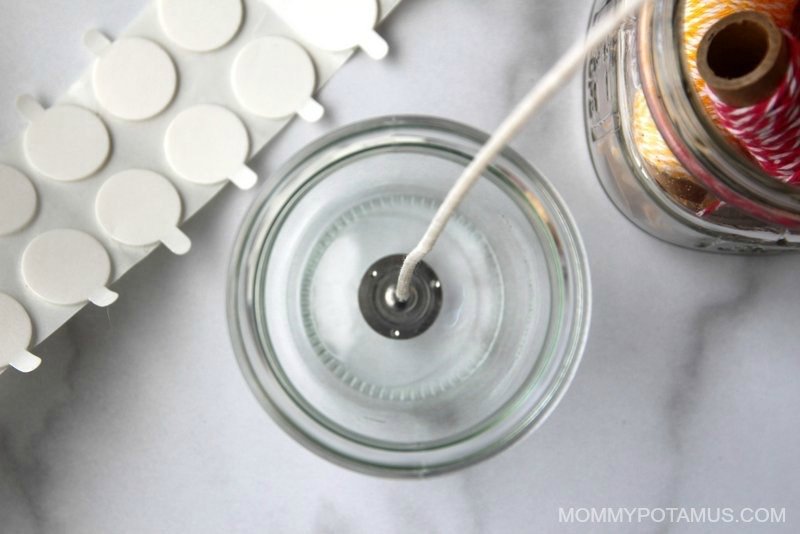
- Attach the wick to the bottom center of the jar.
- Melt wax and oil in a double boiler. If you don’t have a double boiler, you can create one by placing one inch of water in a pot, placing a smaller pot or stainless steel bowl inside, and bringing the water to a low simmer on your stove top.

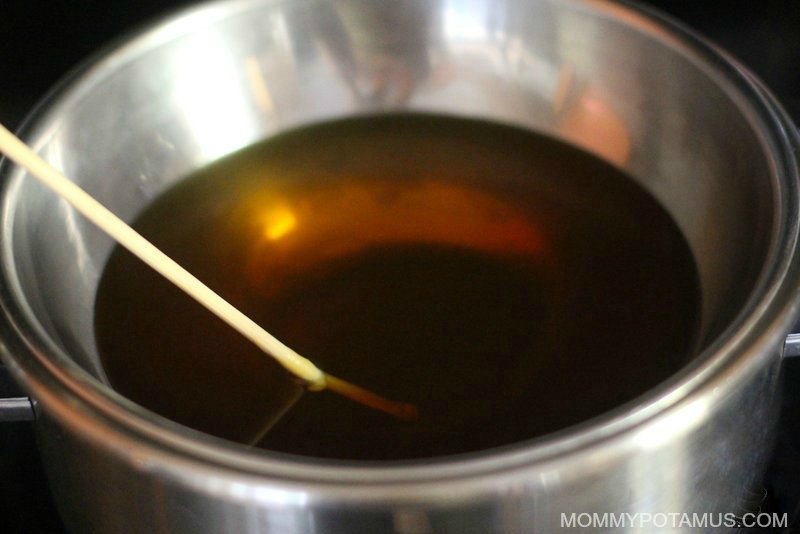
- When the beeswax is melted, add essential oils if desired.
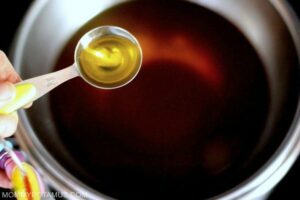
- Stir the melted beeswax, coconut oil, and essential oils (if using) together. I use a wooden chop stick that I keep just for this purpose so I don’t have to clean it.

- Pour wax into the glass jars.

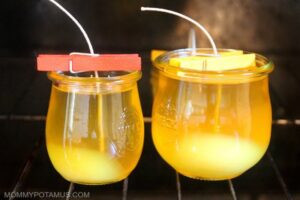
- Set the wick so that it’s in the center. You can do this by placing a pencil, straw or wooden skewer across the jar and taping the wick to it, or use my favorite method, which is to thread the wick through the center of a clothespin.
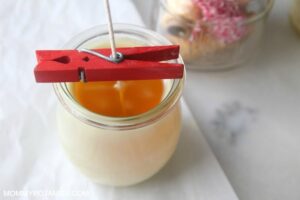
- Place the candles in a warm area to harden, because if they cool too quickly the wax will sometimes crack. I usually preheat my oven to 170F while I’m pouring the candles, then turn the oven off and place them inside.


Using Your Candles
- Allow the candles to cure for two days, then trim the wick to about 1/4 inch.
- When lighting your candle, direct the flame at to base of the wick so that some of the wax melts and is drawn up into the wick – this helps it burn properly. Allow the candle to burn long enough so the wax melts out to the side of the jar. This helps to prevent tunneling ,which is when the middle melts down with lots of wax leftover around the edges. Never leave a candle unattended.
Notes
*Because beeswax burns more slowly than paraffin wax or soy wax, it requires a sturdier, larger wick than what is used for paraffin candles or soy candles. Keep in mind that the way a wick burns will vary based on many factors, including the size of the container and how refined the beeswax is. I’ve shared which wick size has worked for me using refined beeswax and the jars above, but it may take a little experimentation to find the perfect size for your wax/container combo.