Tallow Soap Recipe
This recipe creates a long-lasting, moisturizing bar with fluffy lather, and it's easy to make. All amounts are per weight. You will need to use a scale for these measurements.Note: According to Anne Watson, author of Smart Soapmaking, you can use your regular kitchen utensils as long as you follow the guidelines in this article.
Servings 10 bars
Calories
Equipment
- Bowls for measuring your fats and oils
- Medium-size heat resistant glass bowl for mixing the lye water
- Stainless steel or plastic spoon with long handle (
- Protective equipment: shirt with long sleeves, plastic/rubber gloves, safety glasses or protective eye gear
- Thermometer (Optional - only needed if you're adding essential oils)
- Sink filled with hot soapy water (For cleaning anything that comes in contact with lye. Wait until you're ready to clean to fill the sink. Details below)
Ingredients
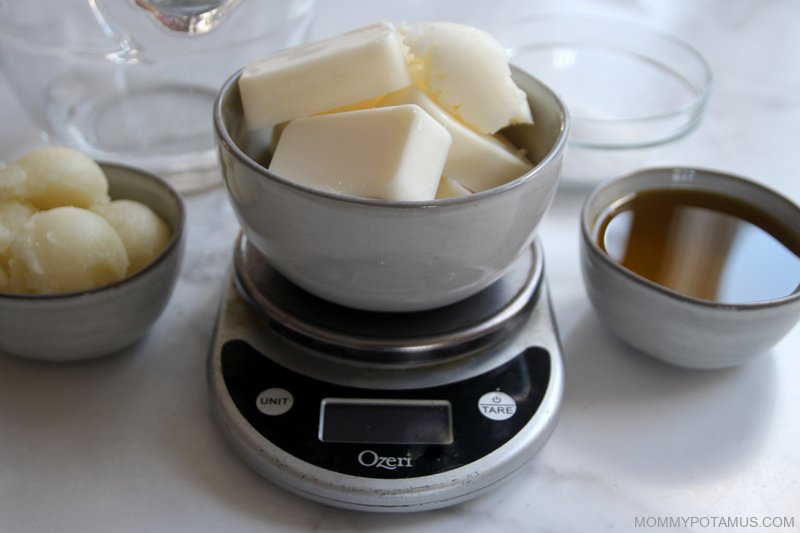
- 15 ounces beef tallow (click here for my guide to rendering tallow)
- 7.5 ounces coconut oil, 76 degree
- 7.5 ounces olive oil
- 11.4 ounces distilled water
- 4.3 ounces lye crystals (known as sodium hydroxide or NaOH)
- ½-1 ounce essential oil (optional)
Instructions
- Measure Your Ingredients Weigh all your ingredients: tallow, coconut oil, olive oil, distilled water, lye and optional essential oils if using.

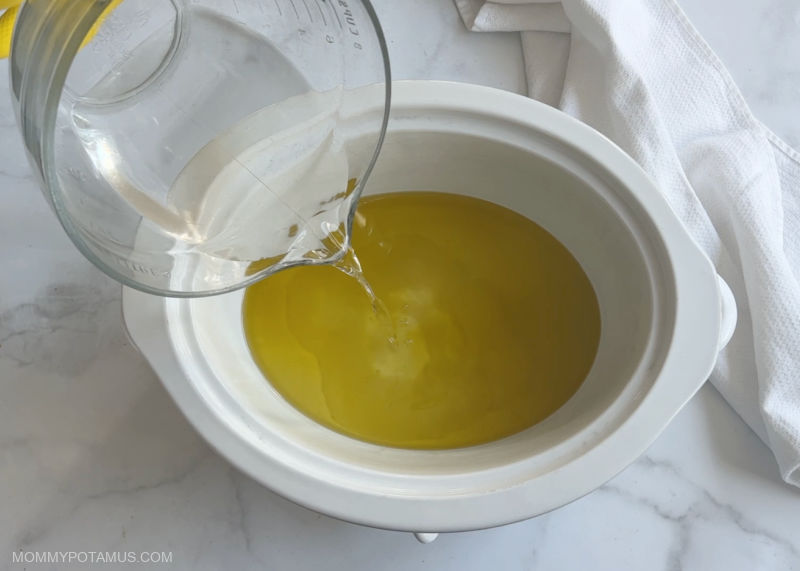
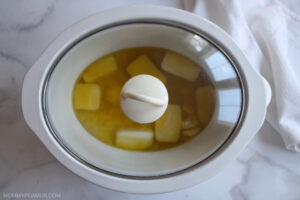
- Melt The Tallow & Oils: Add the tallow, coconut oil and olive oil to the slow cooker and set it to low heat. When they are almost fully melted move on to step 3.
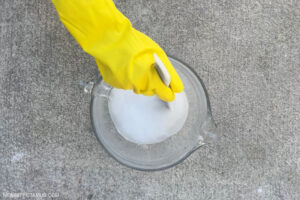
- Mix The Lye Water: Make sure that kids and pets do not have access to the lye water you are about to make, then put on your protective gear and add your water to a medium-sized heat-resistant glass or ceramic bowl.Choose a well-ventilated area to mix in the lye. I prefer to mix outside, but some soapers like to mix in their kitchen sink with several open windows and a fan or air purifier running. If you're new to working with lye, see the FAQ section for safety information.Make sure you have a long-handled spoon or spatula ready. I use a this silicone spatula/scraper.While wearing your protective gear and taking care not to breathe the vapors, slowly add the lye to the water while mixing gently. Order is important here, so make sure it is the lye you’re pouring into the water.Keep stirring until the lye seems mostly dissolved. The mixture will be cloudy at first, but will turn clear in 5-10 minutes. When it's clear, go to step 4.
- Add The Lye Mixture To The Slow Cooker: Gently pour the lye solution to the slow cooker (be careful not to splash) and stir a few times with your spatula or long-handled spoon.

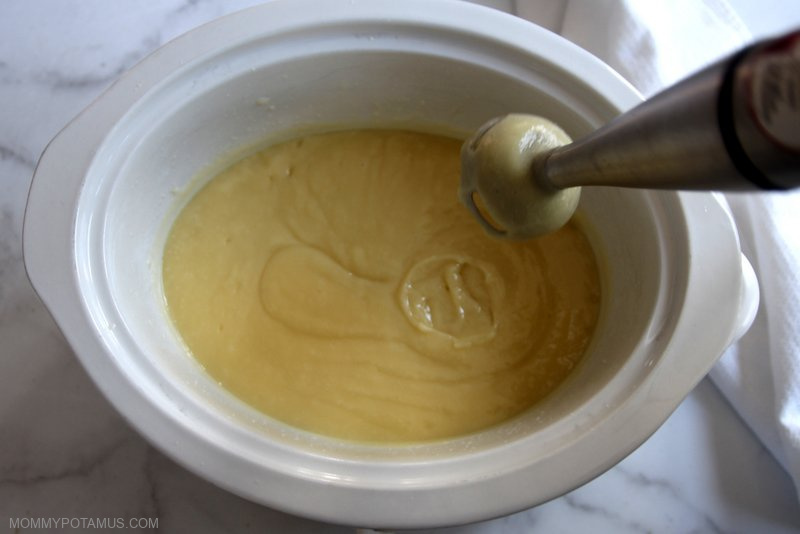
- Blend Mixture To Trace: Using your stick blender begin mixing toward “light trace,” which is when the mixture develops the texture and thickness of a light pudding.I've found that if I mix while holding the immersion blender straight down instead of at an angle it doesn't splatter outside of the container, which keeps my protective equipment clean and reduces cleanup. Cover and continue to let it cook on low heat.

- Check And Stir: After the soap has been cooking for about 10 minutes, I check on it and give it a stir. During the cooking process the oils should rise up the sides like a wave and then fold back into the mixture, but sometimes if they're not stirred often enough they can overflow out of the slow cooker.After the first 10 minute check, I stir the soap every 15 minutes until a total of 45-60 minutes has passed.
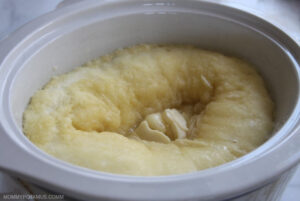
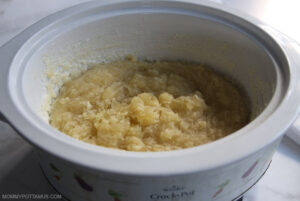
- Check for Doneness: When the soap is ready, it should look like soft, fluid mashed potatoes. Here's how to test your soap for readiness according to Dr. Kevin Dunn, author of Scientific Soapmaking”"1) Take a gloved finger and wet it.2) Rub the wet finger over the surface of your soap to gather up a coating of diluted soap/lather (does not have to be frothing). [Note from Heather: Since I use the hot process method, I rub my finger on soap that has dried and cooled on the silicone spatula I use to stir with.]3 Very carefully touch the lather on your finger to only the very tip of your tongue - i.e., behave as if your finger might be covered with something gross or dangerous, instead of covered with something delicious like chocolate. Don't go licking the bar of soap itself, and don't go rubbing your lathered finger all over your tongue. Just a quick touch or 2 of your lathered finger to the very tip of your tongue is all it takes to be able to detect excess alkali/unreacted lye in your soap, which will make itself known by a zapping or stinging sensation on the tip of your tongue.4) Repeat the above on each side of your soap.5) Rinse your mouth out with water (or lemon juice if you desire) and spit."If there's no zapping or stinging sensation, it's ready. If you don't want to do this test, the only other reliable testing method I know of is to purchase a waterproof pH tester kit and make sure the soap ph is between 8-10.Note: It's really important to make sure the soap is finished cooking and therefore all the lye is converted – otherwise it can burn skin.
- Add Essential Oils (Optional): If you’re adding essential oils, wait until the mixture cools to 140°F - using your thermometer to check - then add them. Otherwise the heat will evaporate the essential oils instead of allowing them to blend into the soap.
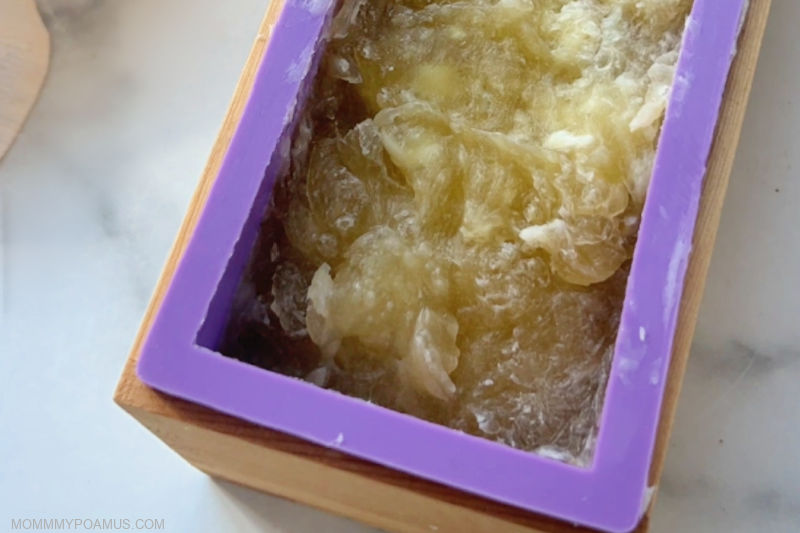
- Spoon Soap Into Mold - Scoop the soap into your mold and firmly tap it on your work surface - or the floor - a few times to get rid of any air bubbles. It shouldn't splash, but just in case make sure you're still wearing your protective gear. Fill your sink with hot, soapy water and wash all tools well while wearing your protective equipment. Rinse very well after washing.

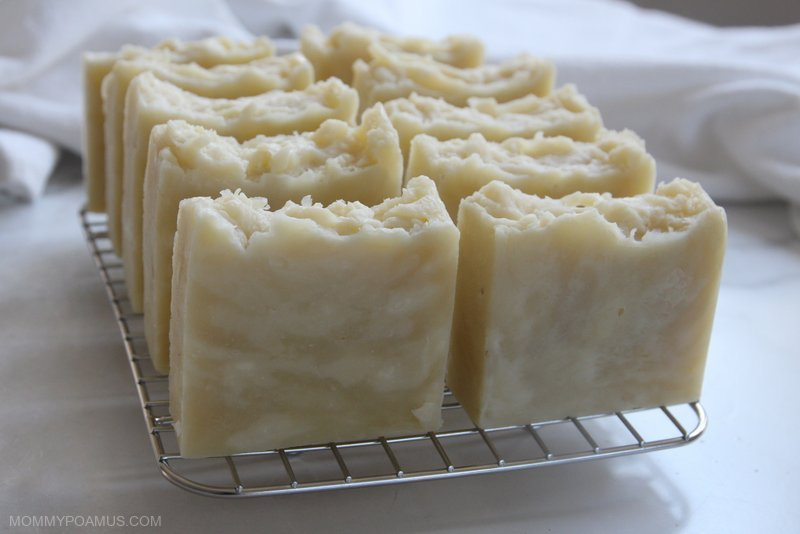
- Cut & Dry: Let the soap set for 24 hours, then cut into bars. The mold I use will make ten 1-inch bars that are roughly 3.5 ounces each.Your soap can be used right away, but the bars will last longer if they're allowed harden for a bit. I usually grab one to use and then place the rest on a rack/tray for a week or two. Make sure they’re in an area with good airflow and have about an inch of space between them.Frequently Asked QuestionsIf you don't see your question answered here, please let me know in the comments!