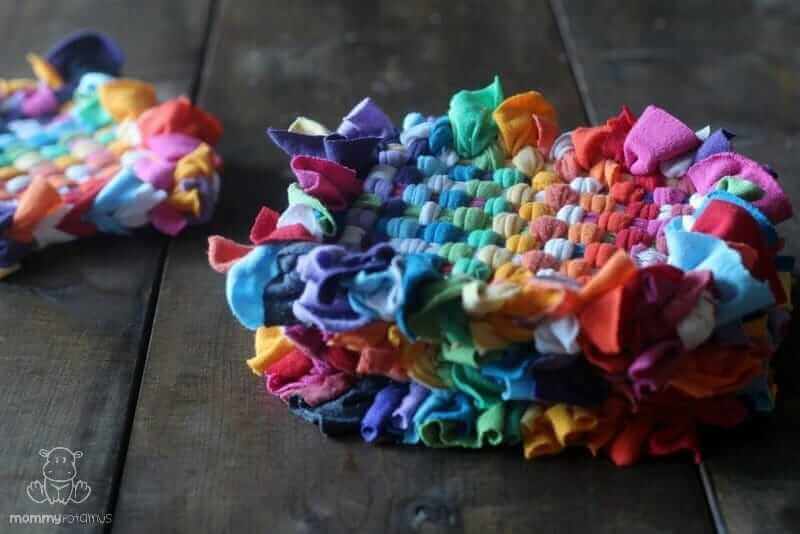
“Life is about using the whole box of crayons.” ~ Unknown
If you hadn’t guessed after seeing the colors pictured in this t-shirt tote bag tutorial, the overall vibe of my house is probably best described as “oh hey, a box of non-toxic crayons exploded on a gray canvas!”
I’m also a minimalist by necessity. When Daddypotamus and I bought our homestead, we downsized our home by more than half in terms of square footage. Living in a small space has certain challenges, like figuring out how to incorporate beautiful things without filling up the home with lots of unnecessary stuff.
The answer? Make beautiful things that are also useful!
My potholder collection has become pretty worn lately, so after seeing some recycled t-shirt potholders on Pinterest, I decided to grab a $2 loom and experiment. This tutorial (and this one!) were really helpful, but it took me awhile to figure out how to make ruffled edges instead of straight ones. Because yeah, I may dig 170 foot trenches for fun, but I also like ruffles.
If you try this, I recommend putting them together while listening to a great podcast or watching a movie. Like adult coloring books that have become so popular lately, it’s pretty relaxing if you allow yourself to take some time and enjoy the process.

How To Make Potholders Out Of Recycled T-Shirts
Supplies
- Loom and hook (I bought mine at a local craft store for $2.47, but you can also find them here)
- T-shirts*
- Cloth scissors (Or a pair of regular scissors)
- Fabric glue – Optional but recommended (I like Tear Mender because it is made with natural latex. )
* I bought some from our local thrift store that said things like “2007 Men’s Conference” and “Spring 2008 Walk-A-Thon.” It depends on the size, but one large t-shirt should make about one potholder. I opted to use several colors and use the leftover material for other projects.
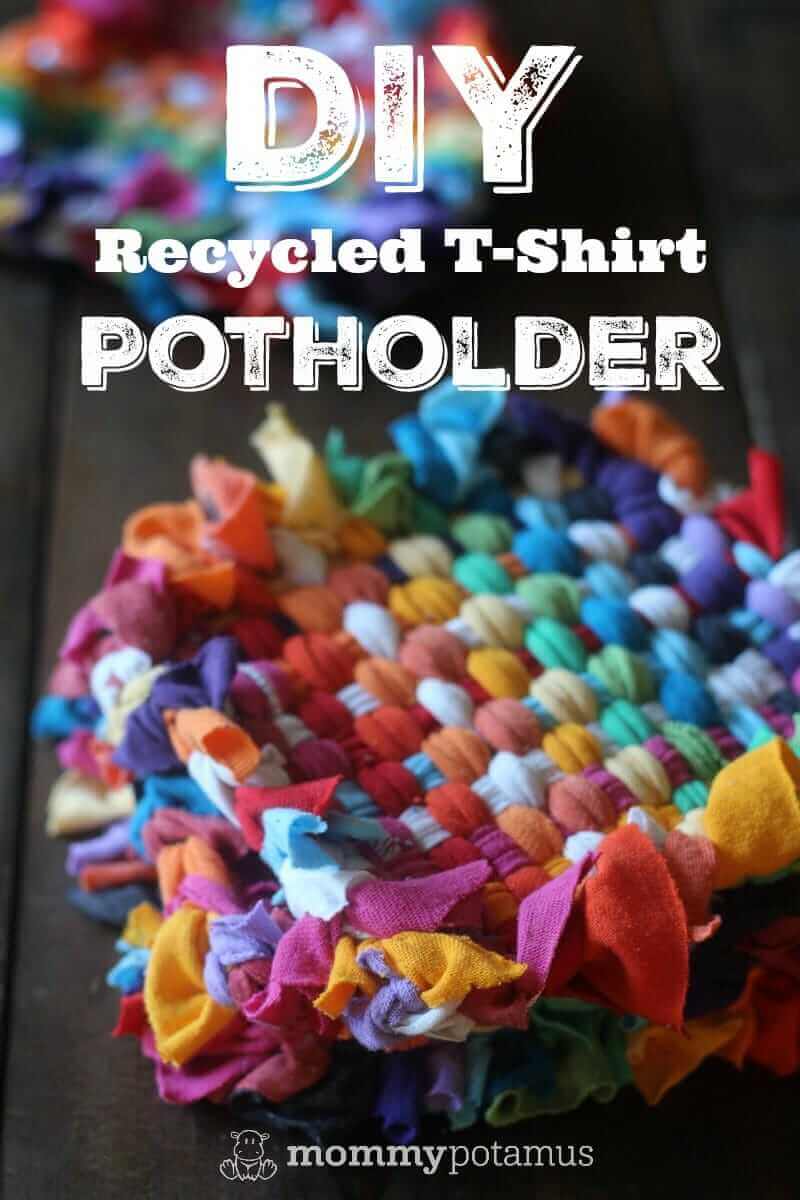
Instructions
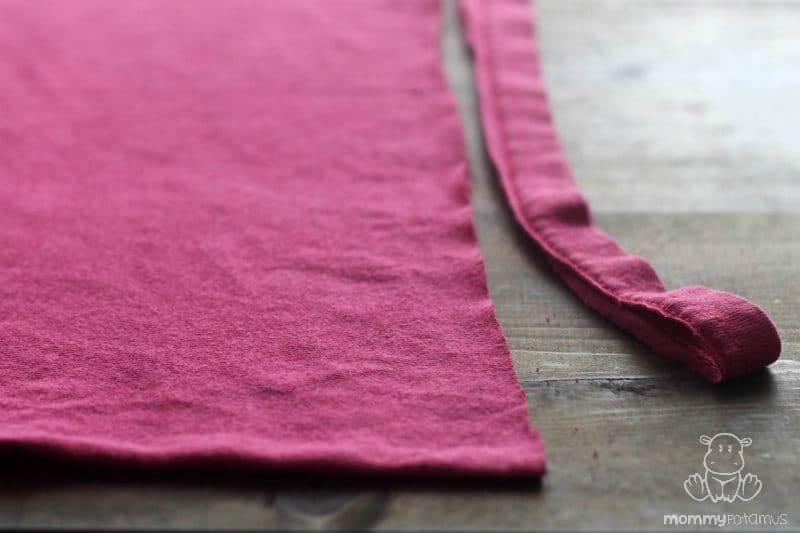
Cut off the hem of the bottom of the t-shirt.
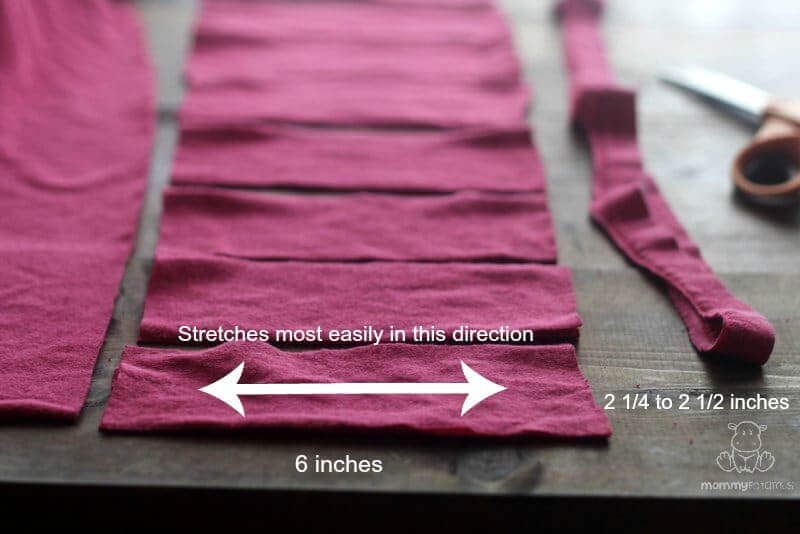
Determine whether the fabric is more stretchy when pulled in one direction or another – some are, while others are equally stretchy in all directions. Cut the t-shirt into strips that are 6 inches long and 2¼-2½ inches wide – the 6 inch length should work with the stretchiness of the fabric.
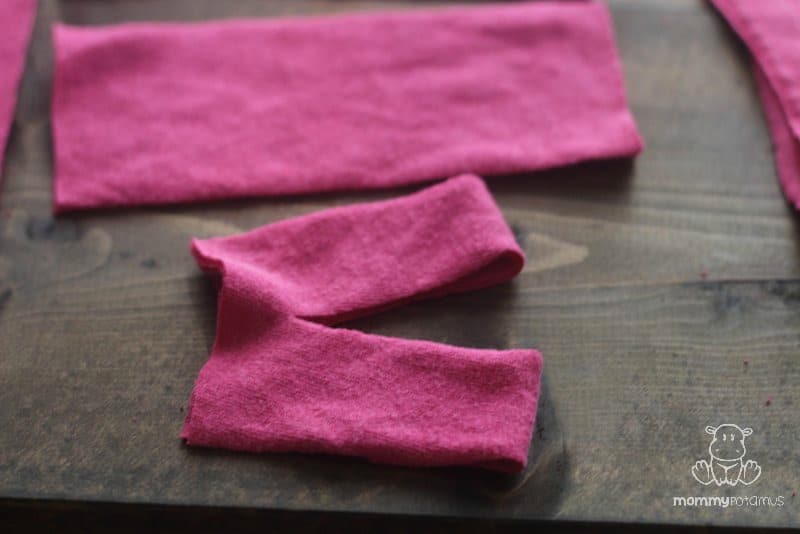
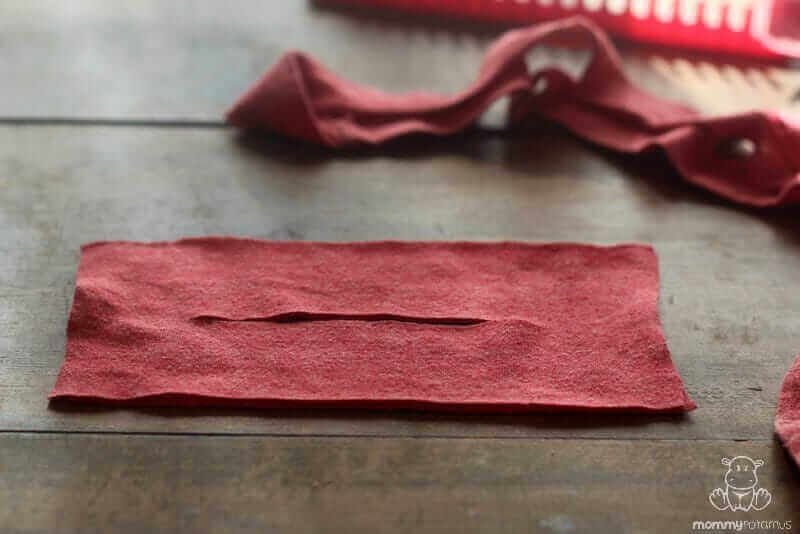
Fold the fabric in half and cut a 2 inch slit down the center.
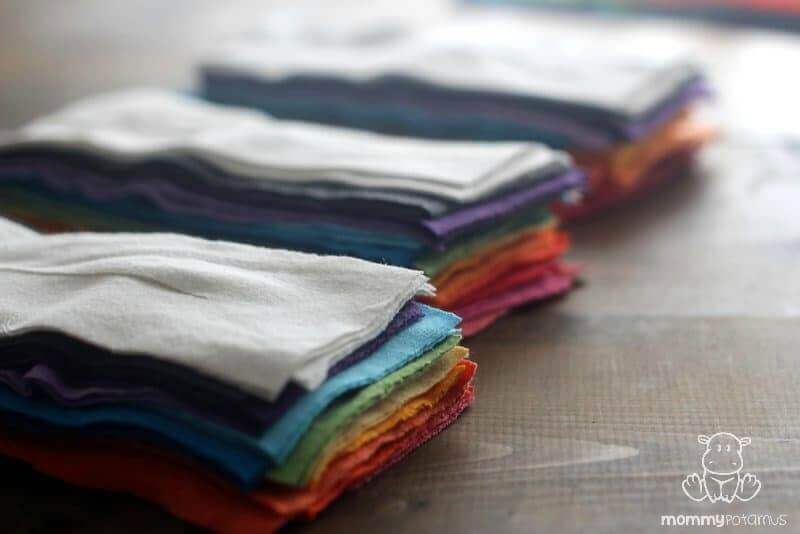
Continue cutting the t-shirt into strips until you have enough for the length and width of the loom. You may not need all of them, but it’s good to have everything on hand before you get started. Add your first strip to the loom like this . . .
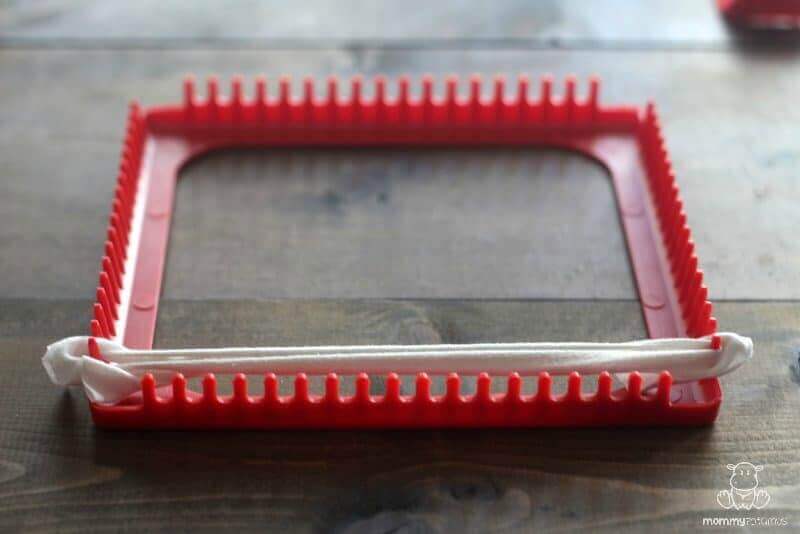
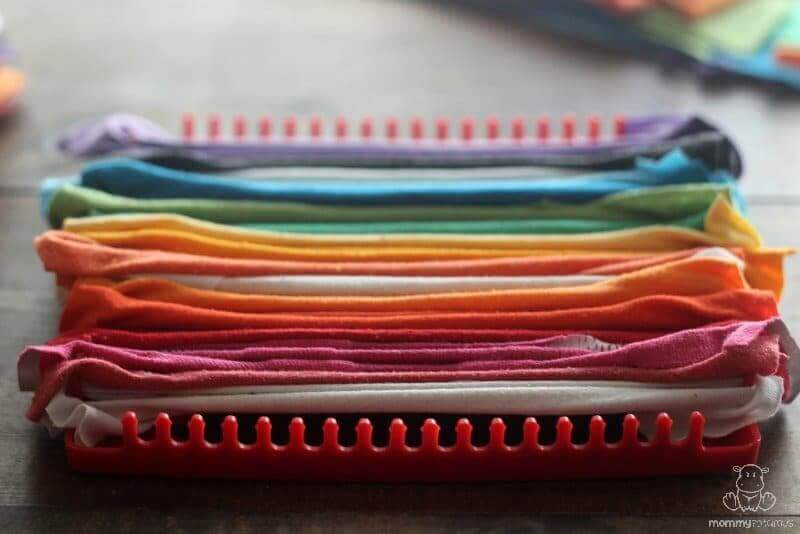
. . . and continue adding strips until one side is completely full.
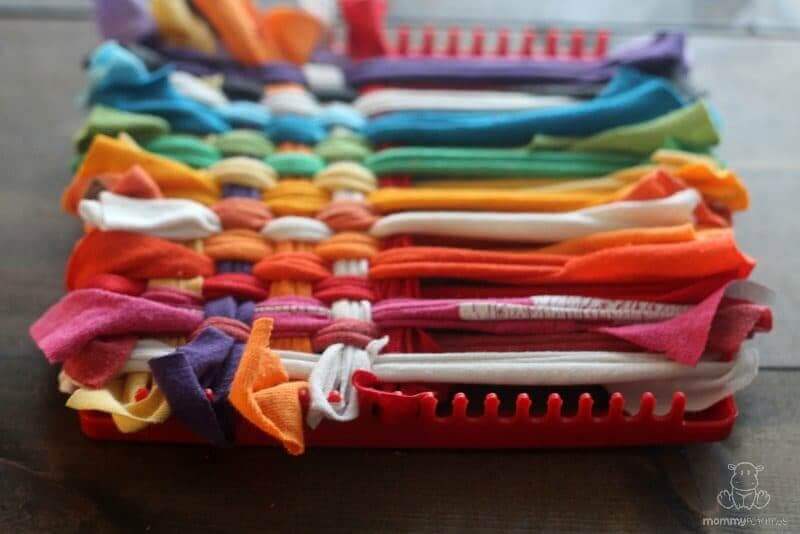
To get started on the other side, weave the strips over and under in an alternating fashion. For example, the white strip in the center starts by going over, while the orange strip starts by going under. I used my fingers for this step, but you can use a weaving hood if you prefer. If your t-shirt fabric is exceptionally thick you may find that you need to skip a few pegs to get the right fit. That’s totally fine!

Some t-shirt material stretches more than the rest, so when I’ve finished weaving I trim off any that is super long. To finish the edges, watch the video below. (If you are unable to view the video, written instructions can be found underneath the video.)
Video Finishing Instructions
Written Finishing Instructions

Grab the hook that came with your loom and choose a t-shirt strip on one of the corners. Pull the hook through the loop.
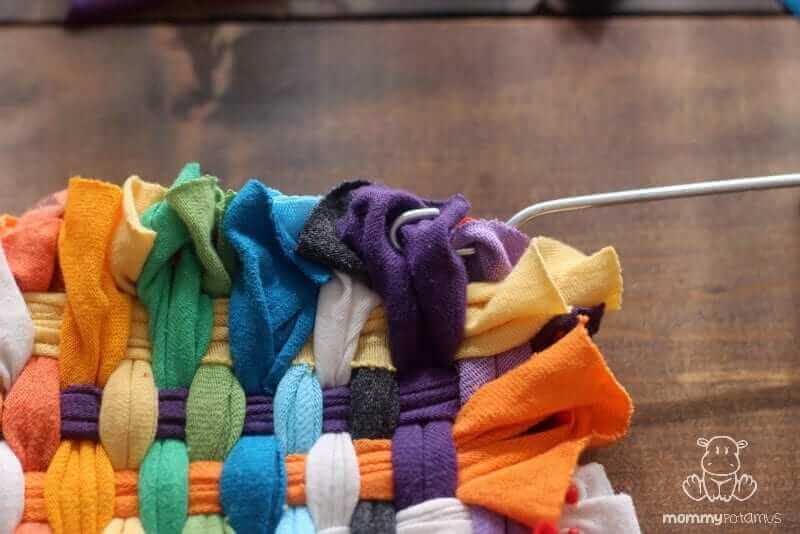
Next, place the hook through the loop in the t-shirt strip next to the corner strip. You should now have both strips on the hook.
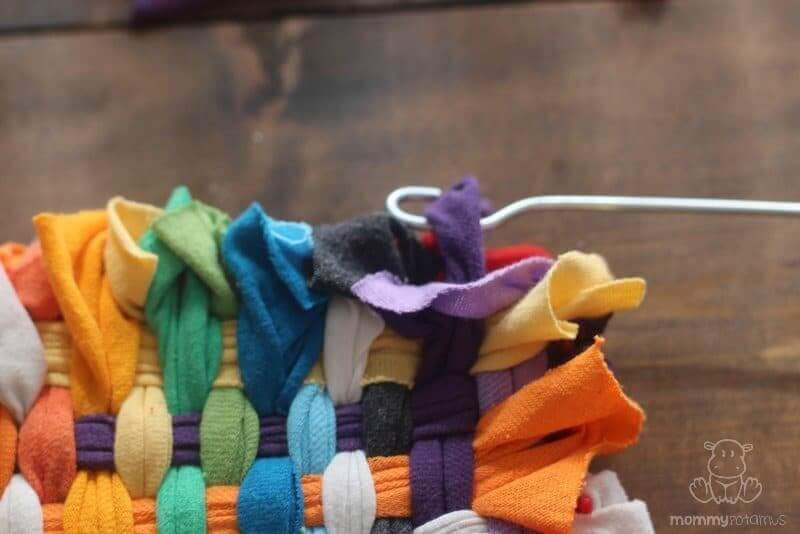
Finally, pull the second strip through the hole in the first. Now grab the third strip (in this photo, that would be the gray one) and pull it through the second one (the dark purple). Repeat this process until you’ve complete all four sides. When you get to the end, either tie the two strips near the corner together or secure the area with a little fabric glue.

