
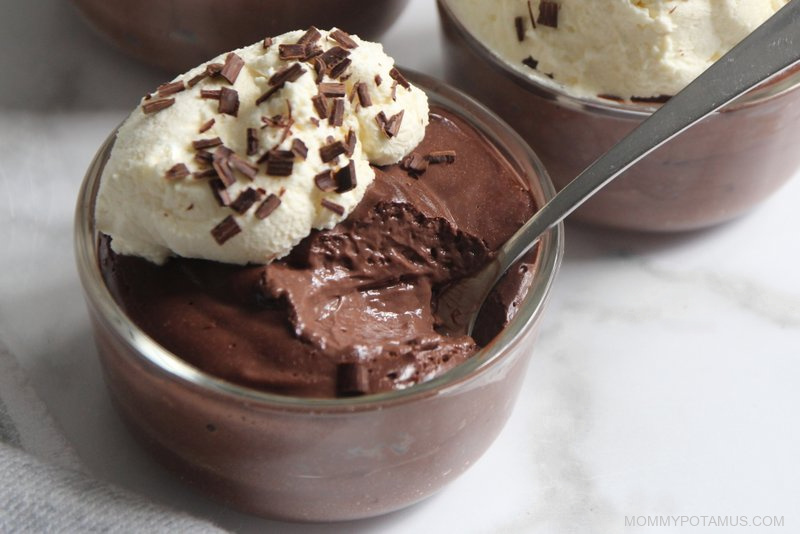
If someone handed me a bowl of this chocolate pudding and asked me to guess the secret ingredient, hard-boiled eggs wouldn’t even make the list.
Once everything gets whirled together in a blender, the eggs somehow “disappear” into an incredibly smooth, rich chocolate pudding that my whole family loves.
It’s not “surprisingly good considering there are eggs in it” – it’s ACTUALLY good . . . possibly the best chocolate pudding I’ve ever made.
There’s no eggy flavor and no complicated technique. Just silky, chocolatey goodness . . . with a lot of bonus protein. 🙂
Okay, But Why Put Eggs In Pudding?
I realize hard-boiled eggs and chocolate pudding sound like two foods that should stay very far away from each other, but there’s actually a lot to love about this combination.
Traditional homemade pudding usually involves heating milk, sugar, and cocoa on the stove, then using cornstarch (or arrowroot), egg yolks, or another thickener to create a creamy texture.
This version is so much easier.
Hard-boiled eggs provide the structure and creaminess, while cocoa powder, vanilla extract, and maple syrup provide the sweet chocolatey goodness.
Everything goes straight into the blender, so there’s no tempering eggs and no whisking over the stove.
And because the base is made with whole eggs instead of milk and sugar, it’s naturally higher in protein than most traditional chocolate pudding recipes. (You know how much I love that.)
The Trick To Making It Taste Like Pudding
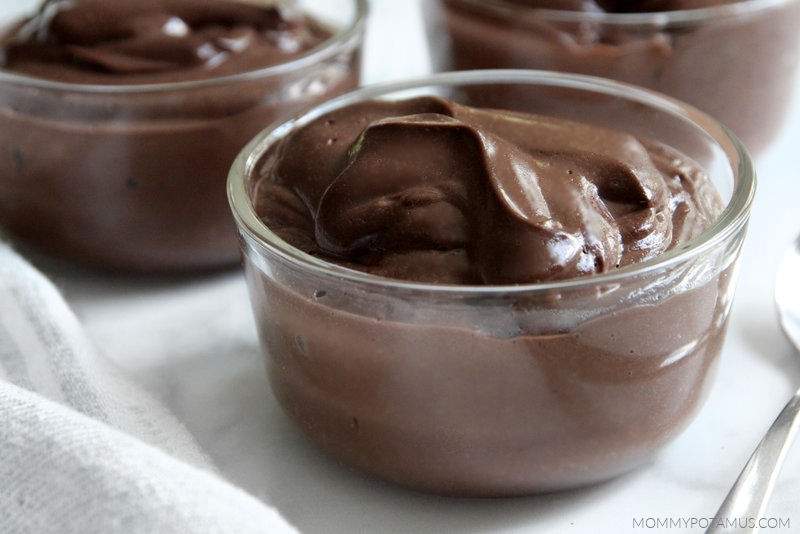
I know, “trust me” is doing a lot of heavy lifting with this recipe, but I served this to everyone in my family and none of them could tell it contained eggs.
That said, I do have a couple of tips for you.
First, use a high-speed blender if you have one. You want the hard-boiled eggs blended so thoroughly that there aren’t any tiny bits left behind.
Second, for the silkiest pudding, let your blender run longer than you think it needs to.
You’re not just combining the ingredients – you’re trying to completely emulsify the eggs into the mixture.
If your pudding seems too thick, add milk a tablespoon or two at a time. If it seems a little thin, keep in mind that it will firm up in the refrigerator.
And if you can detect even a hint of egg flavor while it’s still warm from blending, chill it before making any adjustments. The chocolate flavor comes through much more clearly once everything is cold.
What You’ll Need
Hard-boiled eggs – You’ll need six peeled eggs. Use fully cooked hard-boiled eggs rather than soft-boiled eggs because you want the yolks completely set before blending.
Milk – I usually use whole milk, but if you’re dairy-free you can use coconut milk or another non-dairy milk.
Unsweetened cacao powder or cocoa powder – I use whichever one I have on hand at the moment.
Maple Syrup – Adds sweetness while blending in completely, so the pudding stays smooth and silky.
Vanilla extract – To round out the flavor.
A pinch of salt – Optional, but recommended. A little salt helps the chocolate and vanilla really “pop.”
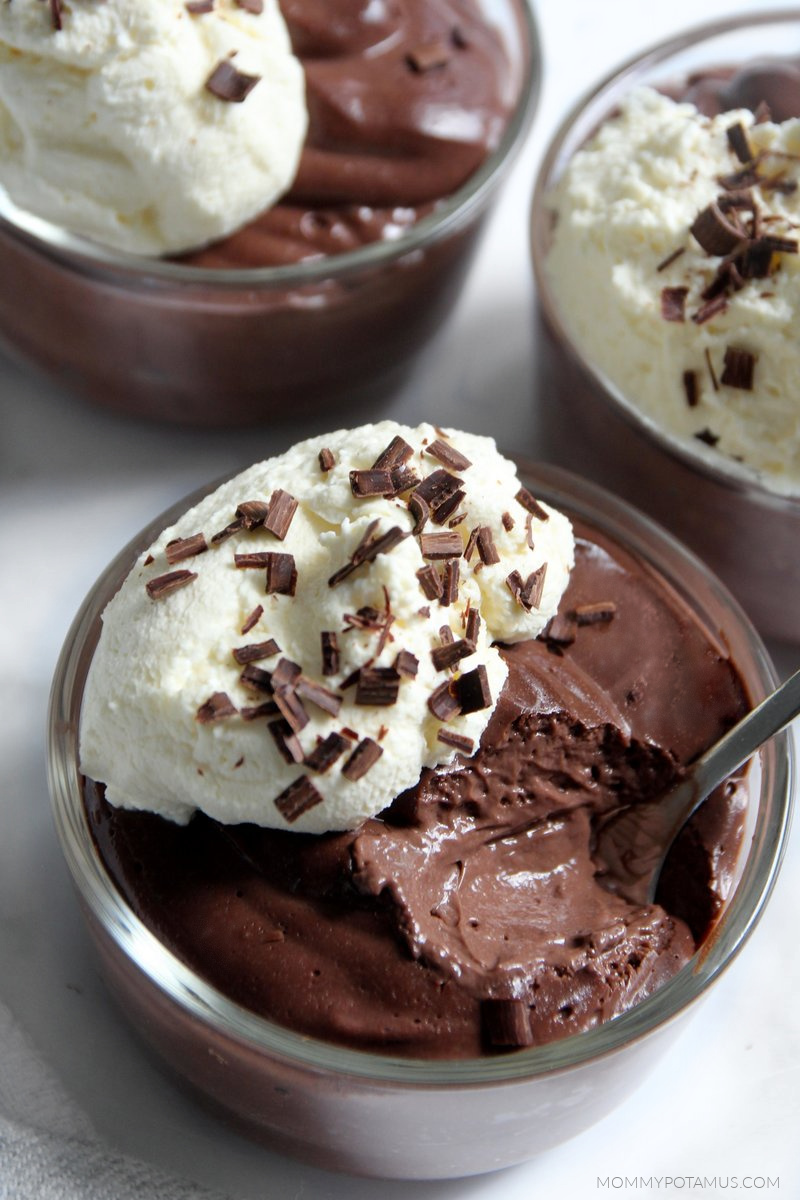
Is This Good For Meal Prep?
Yes. This pudding keeps well for 3–4 days in the fridge, so I often make a double batch and scoop it into individual glass jars for my family to grab when they need a snack.
Hard-Boiled Egg Chocolate Pudding Recipe
Equipment
- High speed blender
Ingredients
- 6 hard boiled eggs (peeled)
- ½ cup whole milk or non-dairy milk
- ⅓ cup maple syrup (or more to taste)
- ¼ cup unsweetened cacao powder or cocoa powder
- 1 tsp vanilla extract (how to make it)
- pinch of salt (optional)
Instructions
- Add all ingredients to a high-speed blender.
- Blend until completely smooth and creamy, stopping to scrape down the sides if needed.
- Taste and add an extra tablespoon or two of sweetener if desired.
- Transfer to individual serving jars, a large mason jar, or a covered container.
- Refrigerate until thoroughly chilled. (At least one hour, but preferably longer.)
- Serve plain or topped with whipped cream, berries or shaved chocolate.
Notes
Nutrition
✋ Before You Go, Grab This Free Midlife Guide
If you’ve ever found yourself thinking, “Why doesn’t my body respond the way it used to?” . . . this guide was written for you.
Midlife can change the rules for everything from sleep and energy to workouts, recovery, body composition, and more. Knowing what’s changing can help you let go of strategies that no longer fit – and start focusing on what supports your body now.
Inside, I’ll walk you through 10 things I wish I’d known sooner, so you can make more sense of what you’re experiencing and get clearer about where to go from here.
Enter your email below and I’ll send it right over. You’ll also receive my weekly newsletter with practical wellness tips, recipes, and new guides like this one.

Whoa baby! I never would have guessed there was eggs in there if I hadn’t put them in myself?! This is delicious! I doubled the recipe, and added a scoop of collagen powder and it tastes so good. Since one of my littles isn’t a big fan of chocolate by itself, I added 1/2 cup of peanut butter and that is delicious, too. A yummy, healthy, protein packed snack. I will be making this again…often. Thank you, Ma’am!
I love that you went all in with a double recipe the first time around. 🙂 I’ve made a few flavor variations so far but not peanut butter – I just might have to now. Thanks for leaving a review, Elizabeth!
It would be nice to acknowledge the original author of this recipe – Yumna Jawad.
Interestingly, you came up with the same version as her Boiled Egg Chocolate Pudding – except for minuscule details – she uses 2/3 cup of milk, and your recipe uses 1/2 cup – but then you suggest putting more if needed.
It’s my policy not to publish comments from individuals who don’t use a real name or email address, but I’m going to make an exception here because I’d like to address the broader point.
Since sharing this recipe yesterday, I’ve received both this comment and an email from someone asking me to “give credit where credit is due” by naming the original creator of hard-boiled egg pudding.
Interestingly, the two people named different “original” creators.
In both cases, I had to Google the person because I was only vaguely familiar with their work, and neither played a direct role in inspiring this recipe.
I’m not claiming that I invented the idea of making pudding with hard-boiled eggs. I definitely came across the general concept while looking for creative ways to incorporate more protein into my diet. It was sometime around the period when I started putting scrambled eggs in my morning smoothie and experimenting with cottage cheese ice cream, and I honestly don’t remember where I first saw the pudding idea.
From there, I experimented.
I didn’t open someone else’s recipe, change one ingredient, and publish it as my own. My kids are still teasing me about one test batch that tasted like gritty, sugary sand. There were multiple versions before I landed on the proportions and method I shared here.
A few years ago, I published a chocolate pudding made with avocado. I certainly didn’t invent avocado pudding either, but I have no idea who first thought to put avocado and chocolate together. I encountered the concept somewhere along the way, went into my kitchen, and developed the version that worked best for us.
That’s how a lot of recipe development works. Ideas circulate, people experiment with them, and different cooks independently arrive at similar combinations.
More than 15 years ago, an incredible cook named Jenni contributed a corn-syrup-free marshmallow recipe to my site. At the time, there were very few (if any) recipes like it online. Not long afterward, corn-syrup-free marshmallows started appearing on food blogs everywhere – with different proportions, flavors, coatings, and techniques.
Maybe some were inspired by Jenni’s recipe. Maybe others arrived at the idea independently. And I don’t know whether Jenni herself was the first person ever to make them that way.
I’m very happy to acknowledge that hard-boiled egg pudding existed before my version – I never intended to suggest otherwise. But I don’t think any of us can confidently establish who the first person in history was to blend boiled eggs into a sweet pudding, and the fact that I’ve now been told two different people are the “original creator” illustrates why I’m cautious about making that claim.
In this case, I encountered the general idea somewhere, experimented with it myself, and shared the version my family loved.
Yumna Jawad is NOT the original creator of this recipe and it is clearly stated on her web site.
Great recipe! Followed it exactly. We did notice a slight egg taste as an after taste, but it was miniscule and didn’t stop us from thoroughly enjoying the pudding. Thanks for sharing your version of the recipe! You have such amazing advice, tips, tricks and recipes. This one is going to be added to my rotation.
I’m so glad you liked it, Mariah! I am far from a supertaster but I think my husband might be. If I add something unconventional to a recipe, even in a TINY amount, he almost always calls it out. He didn’t guess the base for this pudding so I thought I was safe, but . . . . maybe you’re a supertaster? Either way, I’m glad the pudding still made it into the rotation . . . and thank you for the kind words. ❤️
Crazy good! It’s rich like a custard. Would be amazing between layers in a cake.
We used a box grater and grated the boiled eggs before blending in our average blender. Worked great no lumps!! Also we used honey instead of maple syrup.
Thank you for an easy way to eat more protein. We can’t wait to try the Peanut Butter version…
Much respect to your blender workaround idea! I’m so glad it worked for you, and that you enjoyed the pudding. ❤️
Glad to see that honey works. Was going to ask. Being beekeepers in south Texas, maple syrup is a bit expensive to come by (and I don’t like it, so don’t keep it) and there’s a ready supply of honey.
Anyone wanting a fast way to grate hard boiled eggs, just push them through a sieve!
I had to make this because I didn’t believe it was good. But this pudding is absolutely delicious and there was no eggy smell or taste. I will definitely be making this again. It’s a keeper for sure.
Thank you!!
I love that you made this just because it sounded so unlikely to actually be good. Glad you enjoyed it!