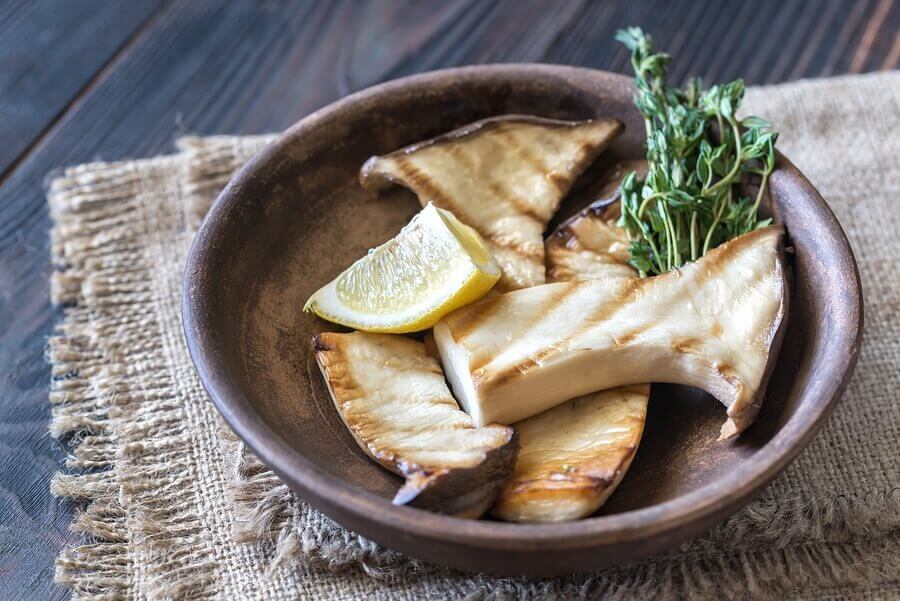
Sticker shock, anyone? My husband snapped this pic when we were at Whole Foods the other day, and all I can say is wow. Though I’m sure those are some mighty tasty mushrooms – probably gathered at the foot of a waterfall where unicorns graze or something – the fact is I flat cannot justify paying $30/pound for them. Okay, maybe I could buy one.
Here’s the thing, though: Mushrooms are incredibly rich in a an amino acid called ergothioneine, which is a potent antioxidant often used in “anti-aging” skin creams. They’re also rich in selenium, an essential mineral needed in order to detoxify harmful substances such as arsenic and fluoride. Add in the B vitamins, natural vitamin D2, potassium and pantothenic acid for optimal hormone function, and you’ve got plenty of reasons to indulge.
Fortunately, according to mushroom expert Tradd Cotter you can grow your own for as little as $2/ pound. I recently met Tradd through a local permaculture conference, and am so excited to pass along a few techniques he was kind enough to share with me. You’re going to love how easy and fun they are!

Log & Stump Method
If you have trouble locating freshly cut logs for this method, I recommend calling a tree trimmer and asking if he will set some aside for you!
Step 1: Gather Supplies
You will need:
- Logs, 6-7 inches in diameter and about 3 feet long. Oak is best, followed by sweetgum, maple, and poplar. After that, any deciduous hardwood is about the same. Must be cut from a living tree no more than 1 month prior to beginning your project. If using the stump method, you’ll need a freshly cut stump 🙂
- 5/16 drill bit (and a drill)
- Wax – I melted 3/4 cup grated beeswax with 1 1/2 teaspoons coconut oil in a double boiler. Wax can sometimes crack as it dries so the coconut oil helps preserve the seal
- Plug spawn (and the courage to walk around saying spawn)
Step 2: Inoculate Your Log/Tree Stump
Basically, this is planting your mushroom “seed.” According to Tradd, the log should be inoculated within 6 weeks of being felled. It needs to be dry on the outside, free of dirt. Lichens and moss are OK. If your log was cut 0-3 weeks prior to inoculation no action is needed, but if it was cut 3-6 weeks before it should be soaked in non-chlorinated water for 12 hours prior to inoculation. To get started:
- Melt wax and coconut oil in a double boiler
- Drill 1.5 inch holes about 6 inches apart across the width of the log (from end to end)
- Turn the log on it’s side slightly and repeat the process 2-3 inches away from the first set of holes using a diagonal pattern. (see a diagram from Mushroom Mountain here)
- Place plug spawn into the holes and tap them into place with a hammer.
- Brush a thin layer of melted wax over the hole to keep the mycelium from drying out.
- Store the log upright out of direct sunlight.
Download written instructions with diagrams from Mushroom Mountain here.
Step 3: Caring For Your Mushroom Log
Click here for a handout on care instructions, plus how to “trick” your mushroom log into fruiting more often by simulating the beginning of winter.
Recycled Coffee Ground Method (Indoor)
Apologies for the video quality!
There are two basic ways to do this:
- Place your coffee grounds (filter included) in a jar every day and sprinkle a little mushroom spawn in each time
- Ask a local coffee shop for their grounds and mix up a big batch at one time (you’ll need about 5.5 pounds of grounds per 500 grams of mushroom spawn)
Store your mushroom jar in a cabinet until it the jar is filled with white mycelium or it starts to fruit, then move it to a place with indirect sunlight/fluorescent light and mist 2-3 times a day to encourage growth. When the edges of the caps start to turn upwards, cut at the base of the stems and sautee!
What’s Next?
I have a few suggestions! Leave a comment below just to say hello, check out the FAQ’s on mushroom growing that Tradd covered earlier this week, or plan your quest to capture a unicorn by the waterfall where the $29.99/pound mushrooms grow.


