The cure for anything is salt water – sweat, tears, or the sea”
~Baroness Karen Blixen
I love the sea like some people love chocolate. Nothing stills my soul like the sound of waves lapping away every last worry as the salty breeze kisses my skin. When I’m feeling a little ragged – which, uh, happens from time to time while parenting, right? – I crave what my husband Daniel and I call “beach therapy.”
Unfortunately with three little ones and a homestead, we can’t just pick up anytime and head to the shore. So when I can’t go to the beach, I make beach therapy in a bar.
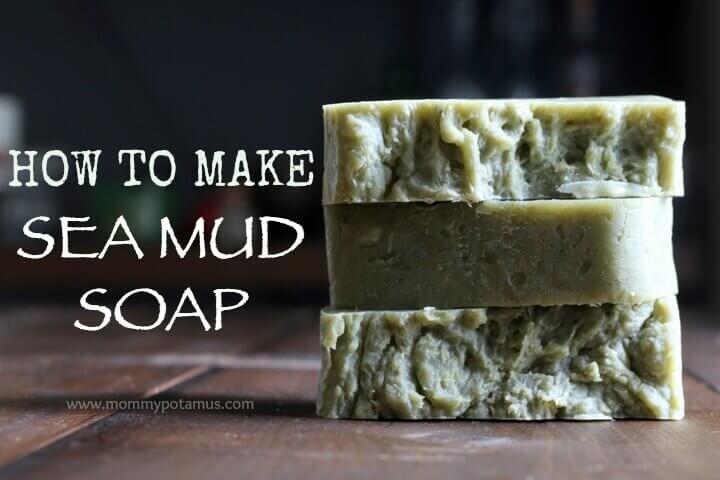
While it’s just as easy as my three-ingredient pure coconut oil soap, it’s got a personality of it’s own. The lather is so luxurious I can’t help but feel like I’m at a spa when I work it through my hands, and I love the way my skin drinks in its moisture. And of course it contains one of the greatest gifts of the sea – mud!
If you’re new to making soap and feel a little intimidated by the process, it’s easier than you might think. Here are some common soapmaking myths that often prevent people from giving it a try, but shouldn’t.
Why Sea Mud Soap?
Sea mud – also known as French green clay – is often called majestic clay . . . and for good reason. It contains montmorillonite, decomposed plant material such as kelp and seaweed, magnesium, calcium, potassium, dolomite, silica, manganese, phosporous, silicon, copper, selenium, and up to nine mineral oxides.
These elements work synergistically to nourish and gently detoxify skin, while the olive oil moisturizes and softens. Though sea clay is recommended for all skin types, it is thought to be especially helpful for individuals suffering from acne, eczema and psoriasis.
Now, let’s get started.
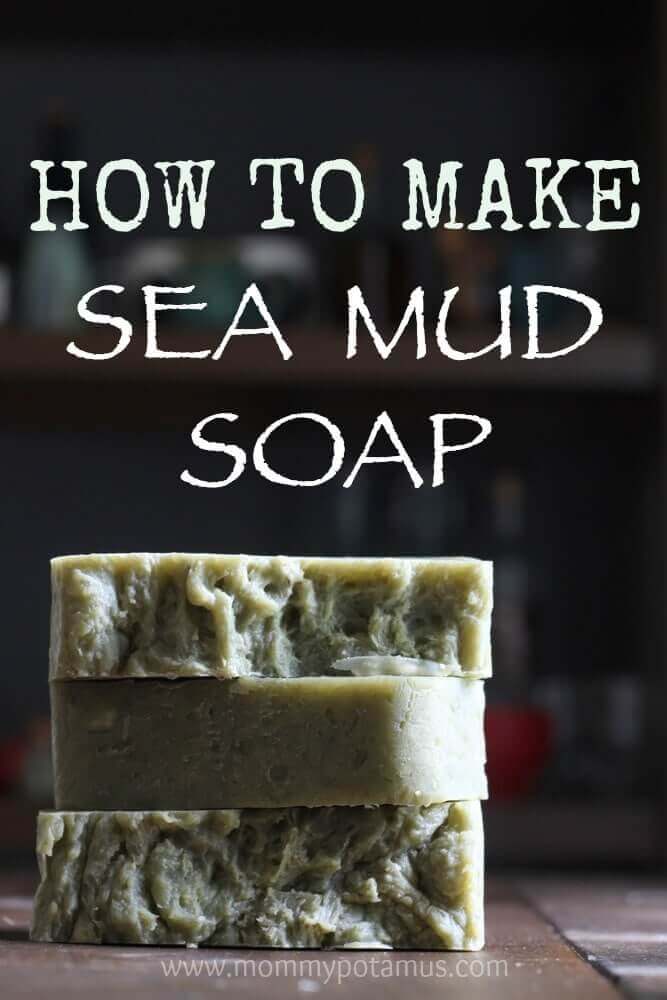
How To Make Sea Mud Soap (Clay Soap)
All amounts are by weight:
Ingredients
- 20 oz. olive oil
- 10 oz. coconut oil (where to buy coconut oil) *
- 11.4 oz water (preferably distilled)
- 4.2 oz lye (where to buy lye) **
- 2-4 level tablespoons sea mud, also known as French green clay. Use two for a more moisturizing bar and and four for a more deep cleansing/detoxifying bar. (where to buy french green clay)
- 1/2 ounce essential oils (I like rosemary for this recipe, but cedarwood, lavender and tea tree are also good options)
* For soap making purposes there are several types of coconut oil. The stuff I buy has a melting point of 76 degrees. This is the most commonly available kind and the preferred type for soap making. There is also a coconut oil that has a melting point of 92 degrees and another that is “fractionated,” meaning that the long chain triglycerides have been removed, leaving only saturated fats. I have not tested this recipe with either the 92 degree or fractionated oils, but it works well with the 76 degree type. ** You can often find 100% lye in the drain cleaner section of a mom n’ pop hardware store. Lye is a naturally occurring substance that can be made by burning hardwoods and boiling the ashes, but it’s much easier to just buy. If you don’t see it, ask a sales clerk for help. They may be keeping it behind the counter because it has multiple uses. Be prepared to explain that you want to make soap, not meth. 🙂
Equipment:
- crock pot – 8 quart
- stick blender
- digital scale
- thermometer
- glass measuring cups
- small glass bowls
- plastic or stainless steel spoon with long handle
- rubber spatula (0ptional)
- sink or bowl filled with vinegar and water for cleaning anything that comes in contact with lye. Follow by cleaning with soap.
- protective equipment: long-sleeved shirt, plastic/rubber gloves, safety glasses or protective eye gear
- soap mold – (where to buy oval soap mold or square soap mold) A standard sized bread pan is perfect for this batch, cardboard boxes will also work
- parchment paper for lining the soap mold (where to buy parchment paper online)
Photo Tutorial:
Step 1: Weigh all your ingredients.
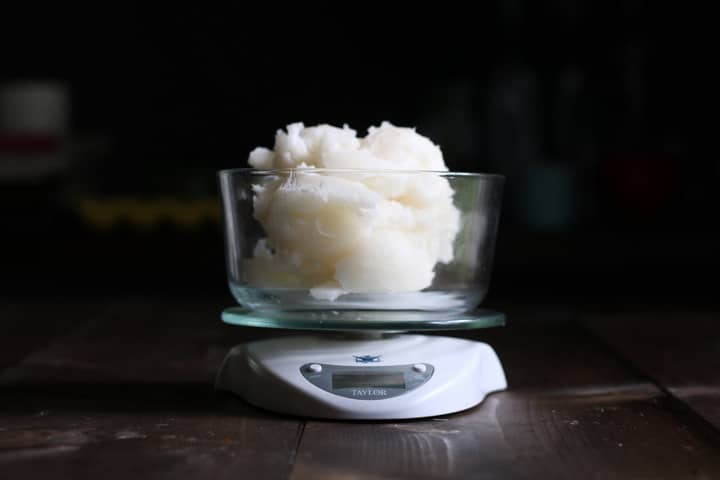
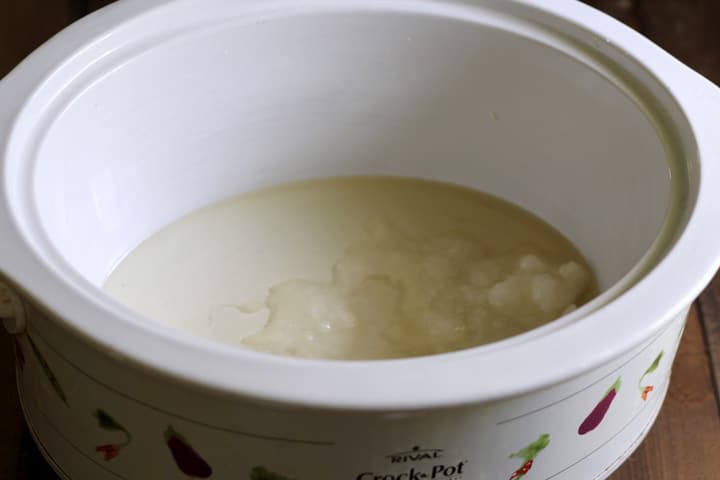
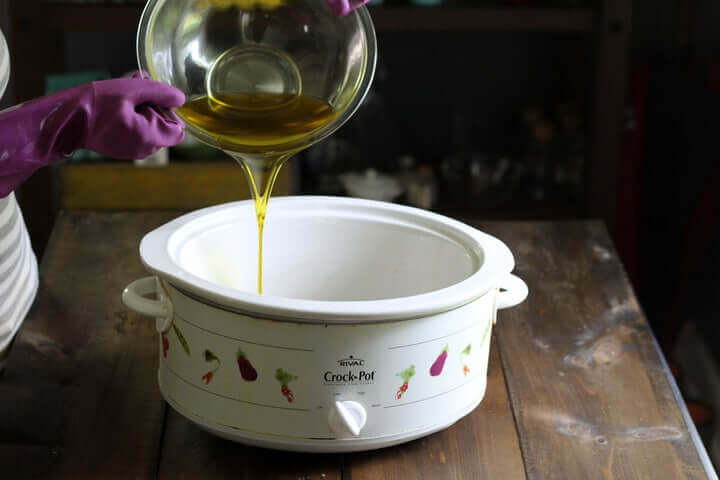
Step 2: Add coconut oil and olive oil to the slow cooker. When they are almost fully melted move on to step 3.
Step 3: Add your water to a medium-sized glass or ceramic bowl and take it outside along with the lye and long-handled spoon.
While wearing your protective gear and taking care not to breathe the vapors, slowly add the lye to the water while mixing gently. Order is important here, so make sure it is the lye you’re pouring into the water.
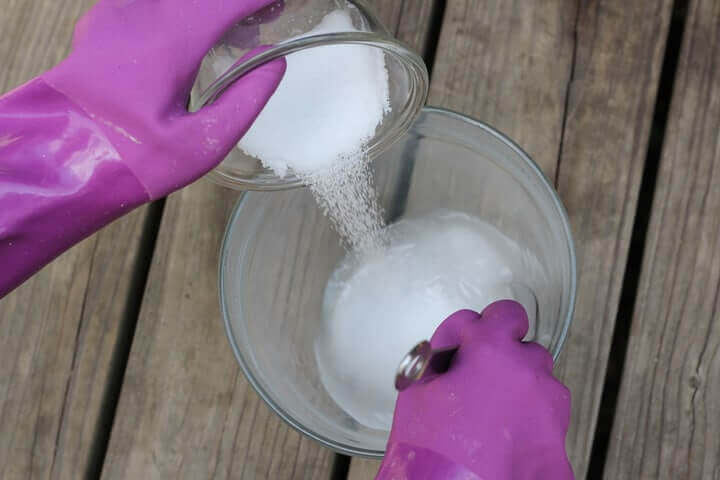
The mixture will get very hot so be careful! Let it transition from cloudy to clear, then bring it inside. Let cool for 5-10 minutes, then proceed to step 4.
Step 4: Add lye to crockpot (being careful not to splash) and stir a few times.

Step 5: Using the stick blender begin mixing toward “trace.” You’ll know trace is achieved when the mixture has the texture and thickness of a light pudding.
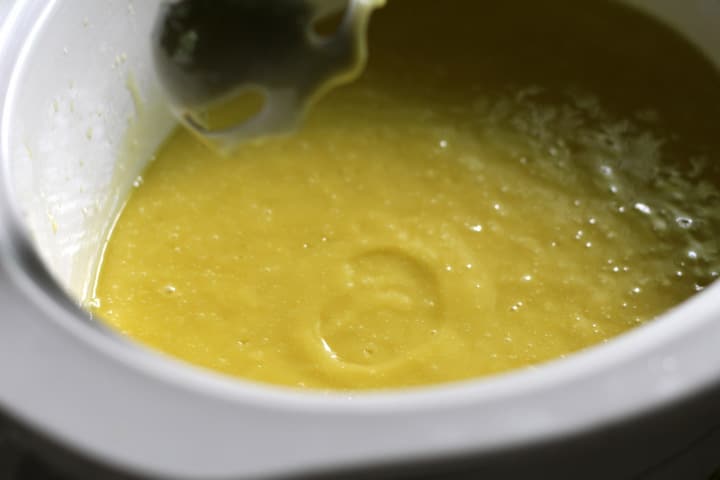
Step 6: Cover and let cook on low. During this process the oils should rise up the sides like a wave and then fold back into the mixture.
Mine usually takes 45 minutes – 1 hour but the cooking time will vary depending on how hot your crock pot is. Check on it often.
Step 7: After the soap has been cooking for about 20 minutes add the sea clay and mix thoroughly.
Some people prefer to add the clay at the end so that it doesn’t go through the cooking process, but I prefer to add it at this point because otherwise I end up with white clumps of untinted soap mixed in the the final bar. In my opinion the therapeutic properties of the clay remain intact when added at this point.
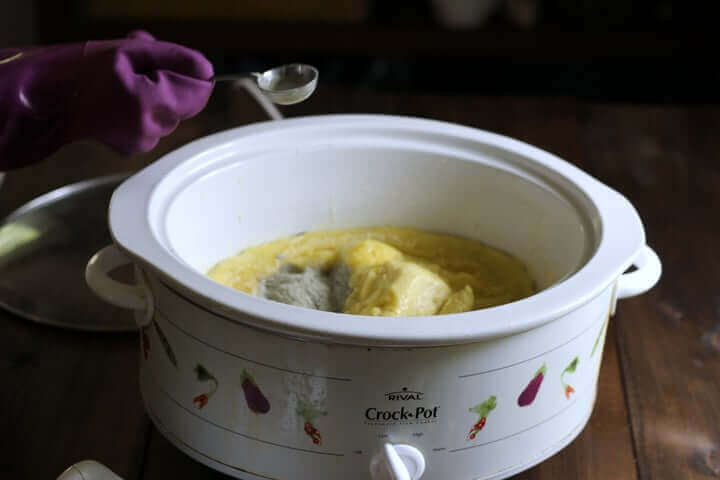
Step 8: When the soap is ready it should look a little like semi-translucent vaseline with no oil puddles in the middle.
In the photo below there is a small oil puddle – this batch is not yet ready.
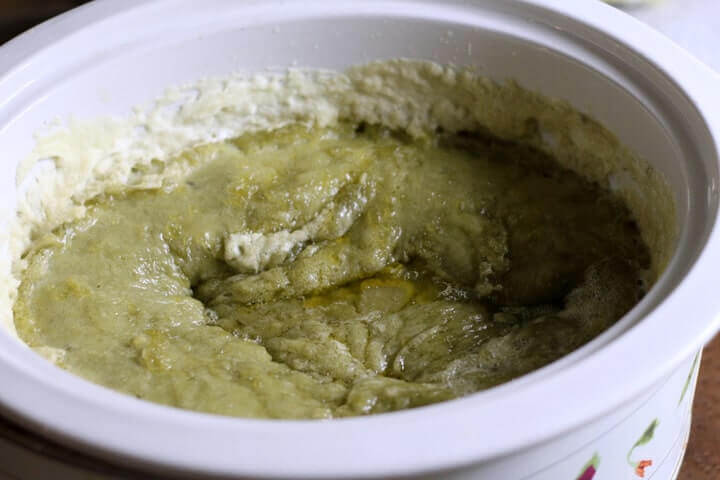
The batch below has no oil puddles, and you can also see how it has risen up on the sides and then folded back into itself. It’s ready to test.
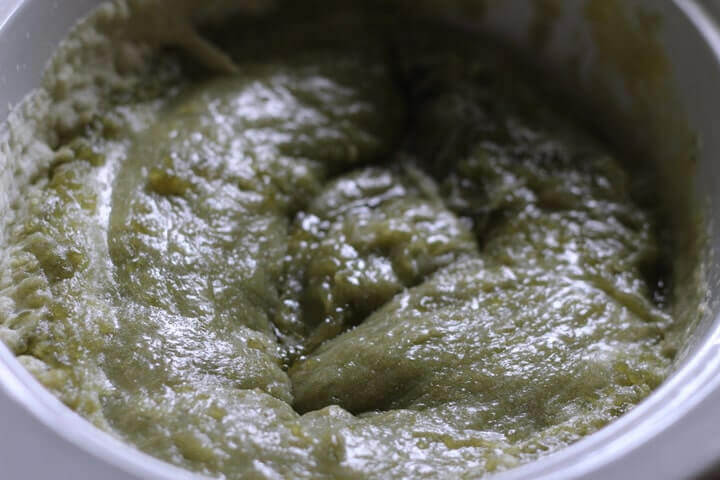
There are two ways to test and see if it’s done. First, dip a PH test strip and wait several minutes for it to fully change color. It should be between 7-10. If it is higher than 10 it’s not done. For a slightly less scientific approach, take a little of the soap and rub it between your fingers. It should feel a bit waxy. Now touch it to your tongue. If it ‘zaps’ you, it’s not done.
Note: It is really important to make sure all the lye is converted – otherwise the finished soap can burn skin.
Step 9: If you’re adding essential oils, wait until the mixture cools a little and then add them, otherwise they will lose their fragrance.
(I added rosemary and peppermint but forgot to take a photo.)
Step 10: Spoon mixture into your mold and let cool. If you want to speed up this process put it in the fridge
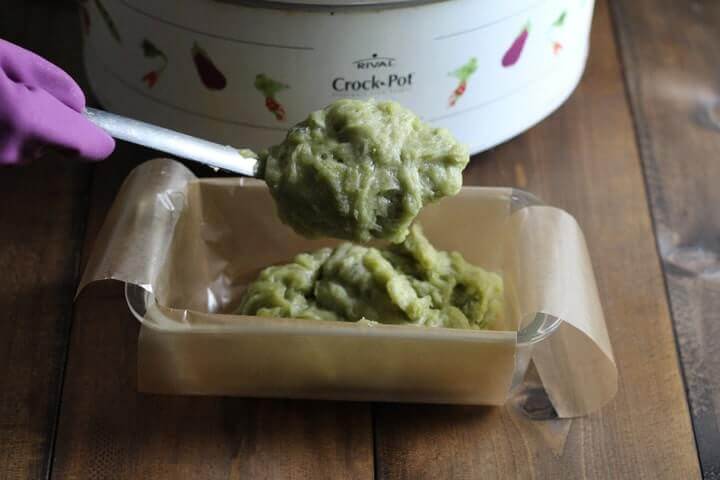
Step 11: Cut bars after 24 hours.
Step 12: In an area with good air flow, place bars on a rack/tray with about an inch of space between them.
Allow them to dry out and harden for another few days. Though you can try your first bar right away, it’s best to let them sit for 2-3 weeks to let the conditioning properties fully develop.
Shelf Life About 1 year when stored in a cool, dry place.
Next Recipe: Seaweed Mask
Seaweed is a skin superfood. It contains more minerals than just about any source, and studies have shown that topical applications of 1% extract support collagen production.
A seaweed facial at my local spa costs $175, but I can get one every week for about $0.25 – $0.35 with this recipe.
More Soap Recipes To Try
FREE Ebook: DIY Body Care Gifts Made Simple
Do you want to give gorgeous, handcrafted gifts for family and friends, without spending a bunch of time on them?
Then I’d love to give you a free copy of DIY Body Care Gifts Made Simple – my step-by-step guide to making gorgeous handcrafted gifts without stressing yourself out – as a gift for signing up for my newsletter. I’ll show you how to make vintage labels, luxurious lotion bars, lip balms, sugar scrubs, body sprays and more like a pro. Sign up for my newsletter and you’ll be redirected to the download page immediately!

