I’ve tried almost every form of gardening at one time or another – container, raised bed, a huge farm garden and even a kitchen counter garden where I grow fresh sprouts.
Some of my efforts flopped, some were moderately successful, and others were so wildly successful that I had to get creative about using all our delicious veggies up. (Zucchini crust pizza, anyone?)
There’s nothing quite like grabbing a handful of fresh basil leaves or juicy tomatoes fresh from the garden, but I never thought I’d be the kind of person that keeps garden plants alive, much less thriving. Because y’all, I once killed a cactus that my boyfriend-now-husband gave me for my 21st birthday. You know that “Not a hugger” t-shirt floating around social media? That was me back then.
Anyway, the cactus could like, survive extreme temperatures and dehydration and low-nutrient soil . . . . but it couldn’t survive me.
So yeah, I wasn’t exactly born with a green thumb.
Fortunately, with just a little know-how, growing nutritious vegetables, fruits and herbs is totally possible, and you don’t need to spend hours in your garden every week to be successful at it.
In this article I’ll cover:
- Choosing your setup (raised beds, options for small spaces, etc.)
- Top vegetable options for a beginner
- Basic tools needed
- Managing pests naturally
Top Tips for Beginner Gardeners
Before we dive into step-by-step recommendations, here are a couple of quick tips I’ve found helpful over the years:
Stick With The All-Stars (At Least In The Beginning)
Although it’s tempting to try your hand with muskmelons or fiddleheads, I suggest sticking with a selection of veggies that your family eats and enjoys the most. A bumper crop (aka unusually productive harvest) of beets can be pretty amazing if your family likes them . . . but not so much if they don’t.
Personally, I’m a self-professed beet hater with a few exceptions, but I can cook zucchini twenty different ways and my family enjoys them all. I love a good zucchini bumper crop!
Less Is Usually More
Small gardens can produce more than you might expect if they’re managed well. In my experience, it’s better to love cultivating and harvesting from a small garden than to be overwhelmed by a big one. If you end up loving gardening and want to grow more, you can always expand next year.
Gardening for Beginners: A Step-by-Step Guide
Although there are lots of methods for growing your own food, there are a few principles that apply to just about any situation.
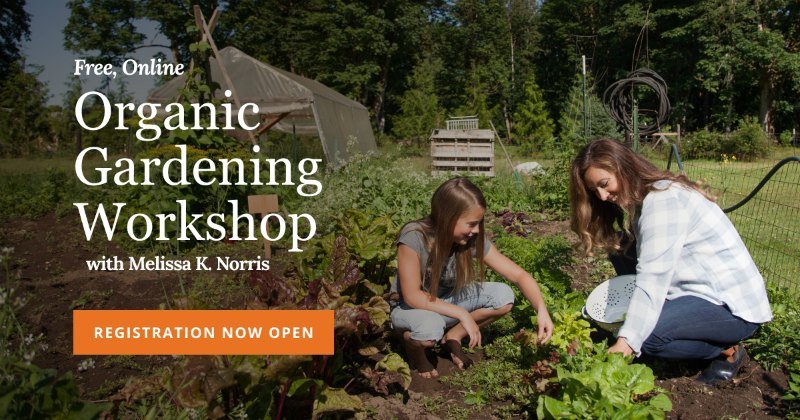
I’m going to give you a general overview below, but if you want more details I highly recommend grabbing a FREE seat in The Organic Gardening Workshop, a six-day course that will help you learn tried and true tricks of successful organic gardening.
Hosted by fifth generation homesteader Melissa K. Norris, it’s full of helpful tips for both beginner and experienced gardeners. You can also buy an all-access pass that allows you to return to the videos anytime you need them, plus $100+ in bonuses, but that’s totally optional.
Now, let’s dive in!
1. Pick The Setup That Works Best For You
A vegetable garden requires a few essentials to thrive. It needs to be:
- In an area that gets full sun for at least five hours a day. In southern states when it’s really hot outside, some leafy greens and root vegetables may only need five hours and actually benefit from some late afternoon shade. In colder climates up north they tend to do better with more sunlight. (Humans do, too!) We’ll talk more about tailoring your approach to your specific area later in this article.
- Easy to water. In other words, you want it to be close enough to your hose that you don’t have to lug a heavy watering can around. (Or you can get a longer hose.)
- In an area that isn’t super windy or prone to frost. Strong winds can damage young plants and/or keep pollinators away. Also, don’t plant in a low lying area where frost might settle and damage crops.
Those are the basics. Beyond that, there are a lot of different setups that will work. Here’s an overview of some of the most popular ones, plus the pros and cons of each:
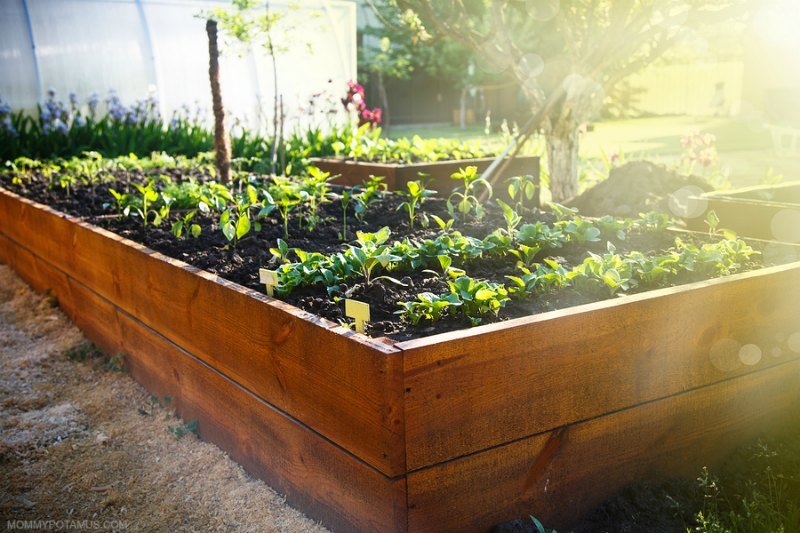
Raised Bed Gardening
Raised bed gardens are grown above ground level using wooden box enclosures. Melissa covers raised bed construction and other tips in The Organic Gardening Workshop.
Pros: This method is good for small spaces, and you can pour nutrient-rich soil into the beds without having to till your existing soil. Raised beds offer good drainage (which is essential for healthy plants) and provide a physical barrier that makes it more difficult for some pests – slugs, for example- to gain access. (Diatomaceous earth can also be helpful for killing slugs, beetles, and other unwanted pests.)
Cons: They don’t hold moisture quite as well as sunken garden beds (those at ground level), so they usually need to be watered more often.
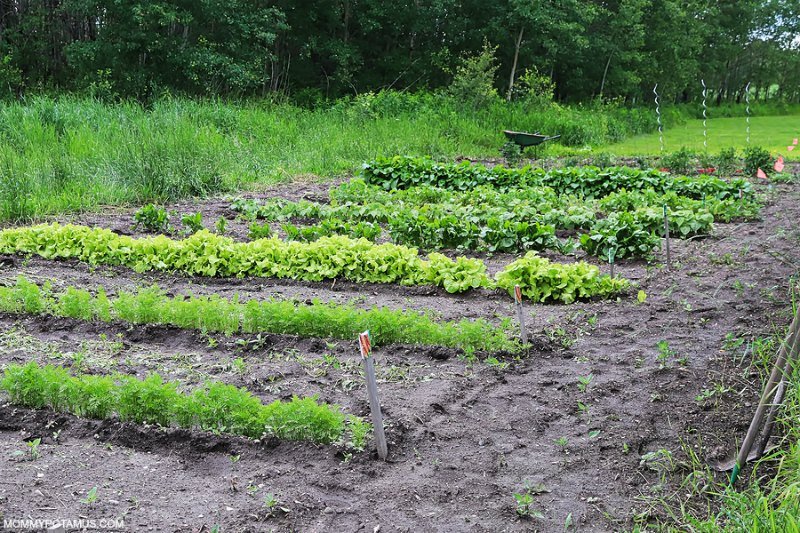
Row Gardening
This is the type of garden many people imagine when they think of growing food at home. Long rows of plants are grown with 18-36 inches between them so that each row can be accessed for weeding and harvesting.
Pros: Optimal for areas with good soil already in place, requires less watering than some other methods.
Cons: Takes up a lot of space, may have drainage issues depending in the type of soil and how much you are able to improve it.
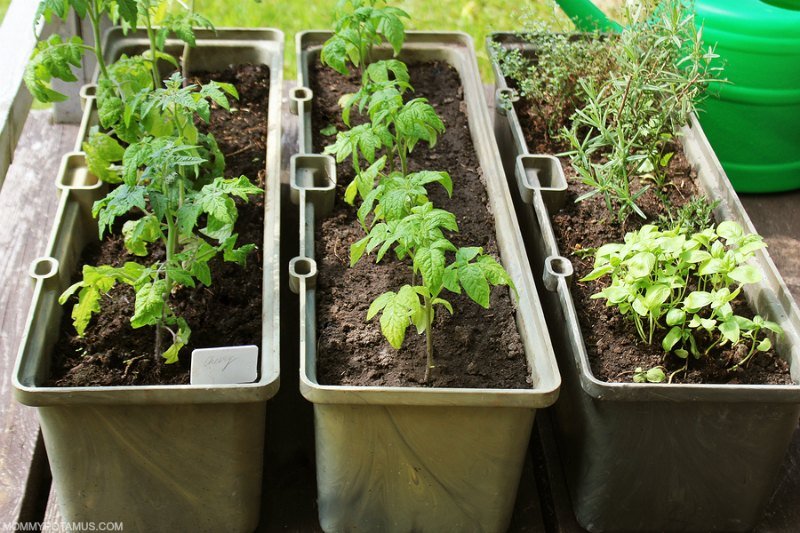
Container Gardening
This type of gardening is just what it sounds like – growing a garden in pots or containers of some kind. I use this approach a lot with herbs, but it can work well for some veggies, too.
Pros: Inexpensive, easy to get started, and the veggies are portable so you can move them around if they’re getting too much (or too little) sunlight.
Cons: If the pots are too small they can restrict plant growth, and like raised beds they need to be watered more frequently than row gardens.
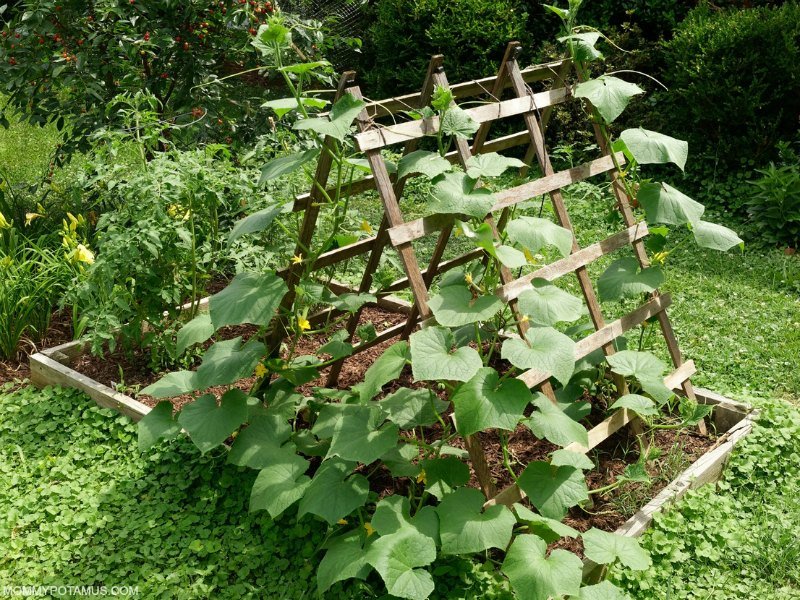
Vertical Gardening
This type of garden grows upward using a trellis, fence or other support system, which allows you to squeeze more veggies into less space.
Pros: Can be really beatifully arranged, good for small spaces.
Cons: You’re limited to plants that can climb, such as cucumbers, beans, peas, zucchini, mini-pumpkins, small squash and some tomatoes
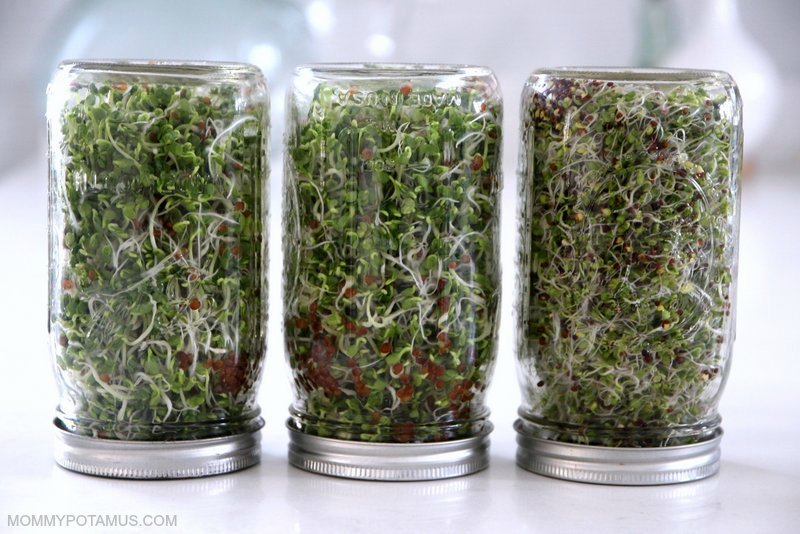
Indoor Gardening
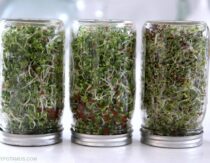
If you don’t have an outdoor space to cultivate veggies, you can grow a small garden in your kitchen. I’ve already shared how I’m growing fresh sprouts with no special equipment on my counter, but there’s another option, too.
Microgreens are similar to sprouts, but they’re grown in shallow trays of soil. (Some are grown hydroponically, but that’s less common.)
You can buy seeds and trays to grow your own, or pre-made kits here. Melissa also covers microgreens in The Organic Gardening Workshop.
Pros: Great for small spaces and can be grown indoors all year long.
Cons: Smaller yield than larger gardens.
2. Choose Veggies That Are Easy To Grow
While growing broccoli sprouts is super easy, growing actual broccoli is not. Some better options when you’re just getting started are:
- Lettuce
- Kale
- Garlic
- Tomatoes
- Zucchini
- Peppers
- Cucumbers
- Cabbage
- Bush Beans
- Beets
- Carrots
- Radishes
- Chard
Before making your selections, be sure to check if they grow well in your area. You can do that by going to the The National Gardening Association’s USDA Hardiness Zone Finder and entering your zip code. You’ll find out your zone and get a comprehensive list of recommended planting times for veggies that do well in your area.
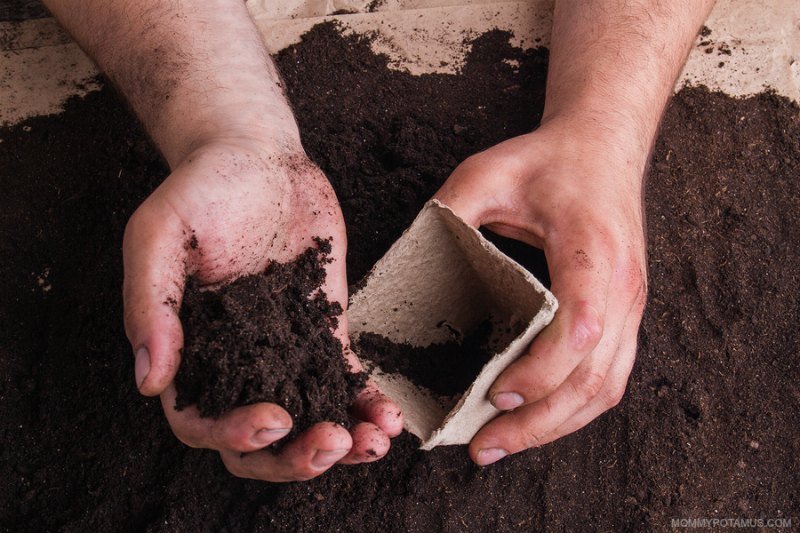
3. Analyze & Prepare Your Soil
If you’re using the raised bed or container methods, you’ll probably be buying soil to use. However, the row method and some types of vertical gardening typcially use existing soil, so you’ll want to know what you’re working with and how it might be improved.
There are three main types of soil:
- Sand – Doesn’t retain moisture as well as other types, typically lower in nutrients, prone to erosion.
- Clay – Doesn’t drain well and becomes compacted easily, making it difficult for roots to grow.
- Loam – A balanced mix of sand, clay, silt and organic matter. Rich in nutrients and considered ideal for gardening.
There are several ways to figure out what kind of soil you’re working with. One is to simply squeeze some moist soil in your hand and then press it with your finger.
If it crumbles and won’t hold its shape, it’s mostly sand. If it forms a sticky lump that holds its shape firmly, it’s mostly clay. If it looks a little like chocolate cake and holds its shape but crumbles relatively easily, it’s mostly loam.
Depending on what your soil needs, you’ll want to add manure, compost, or other soil amendments to increase its growing potential. You may also want to top your garden with mulch to help with moisture retention and weed control.
Another thing you’ll want to know about your soil is its pH. Most veggies like a level of around 7 – some a little higher, some a little lower – and you can use a home soil test kit to check pH alongside the nutrient content of the soil. The test is not perfect but accurate enough to give you a general sense of what you’re working with.
If you’ve got soil that is primarily sand or clay (or a pH that is way off), you’ll want to improve the soil structure and/or balance the pH.
Feeling overwhelmed after reading this section? Melissa covers soil testing and building in much more detail in her free workshop. If you missed the earlier links, you can sign up for the videos here.

4. Invest in Basic Gardening Tools
Although some of the tools you’ll need will vary depending on your approach, there are a few that are helpful in just about any situation (except microgreens).
- Cultivator to help loosen and aerate soil before planting
- Garden trowel for planting
- Good quality garden gloves
Although not a necessity, you may also want to invest in a hose that is lead-free and drinking water safe. If you want to use your current hose, I recommend letting it run for 10-20 seconds before spraying your garden (to get rid of any water that has been sitting in the hose).
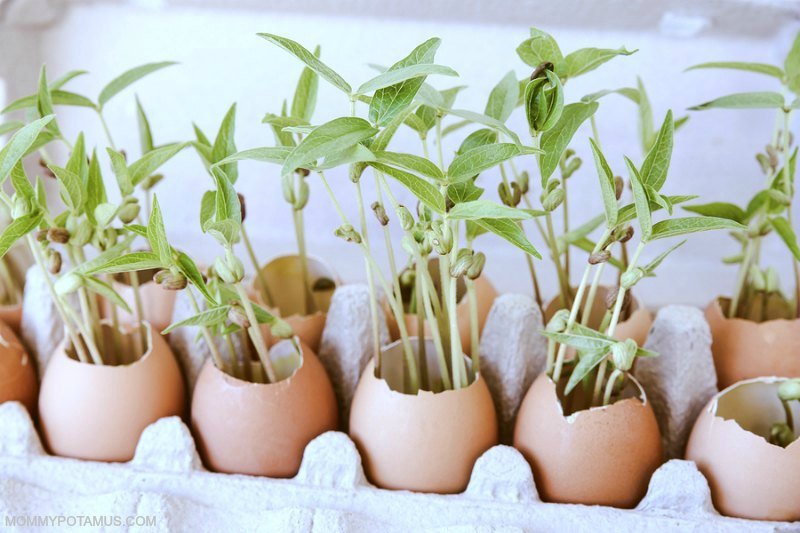
5. Use High-Quality Seeds or Starters
For good quality seeds that have a high germination rate, I recommend True Leaf Market.
However, if you’re getting started a little late in the season, you’ll want to go with starters so that you can plant on time. Remember, the USDA Hardiness Zone Finder offers a comprehensive list of suggested planting times by zip code.
Most people buy starters from local nurseries, but you can also grow some from cuttings and/or leftover veggies. For, example, Learning Herbs explains how to grow herbs from cuttings here. A similar approach can be taken with some veggies.
However, something to keep in mind is that local veggies are your best bet because you know they thrive in your area. The same may not be true of varieties that have been shipped in from another region.
6. Stagger Your Efforts
Instead of planting all your lettuce (or whatever) at once, plant it over the course of a few weeks. That way instead of ripening all at once, it will ripen in groups that you can use up before the next batch is ready.
7. Use The Buddy System
Plants can benefit each other in the garden, and intentionally placing “buddies” together is called companion planting. They help each other in several ways, including the adding/sharing of nutrients and help warding off pests. Here are some examples:
- Onions repel many types of pests
- Basil increases the productivity of tomato plants
- Some flowers attract beneficial insects, while others repel destructive ones
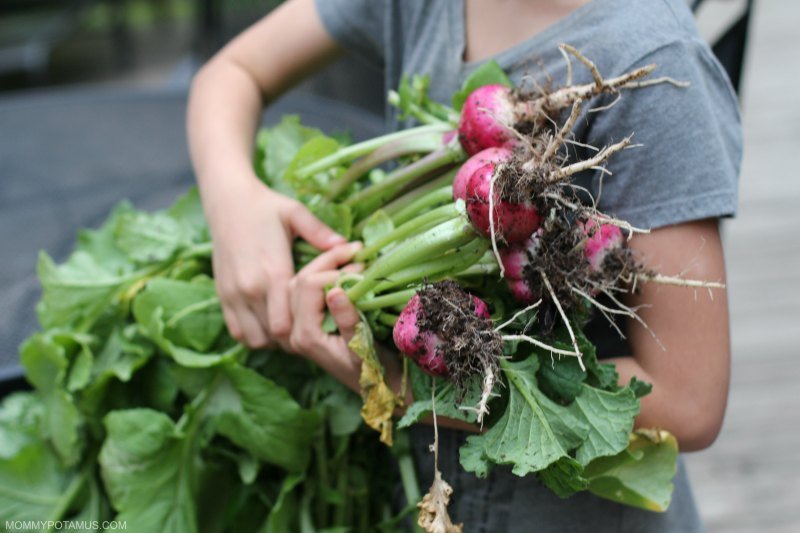
- Radishes deter cucumber beetles (which don’t just love cucumbers)
On the flipside, some plants don’t do well when planted next to each other – tomatoes and dill, for example. There are guides to companion planting available on Amazon, and it’s also covered in Melissa’s workshop.
8. Rotate Your Crops
Some plants deplete nitrogen from the soil, while others add it. The same is true of other nutrients, and by moving crops around from year-to-year you can ensure that the soil is replenished instead of depleted.
Want more tips for getting started?
The Organic Gardening Workshop covers lots of what we just covered in more detail, plus backyard composting and more. You can grab your free seat here.