
Making salt dough Christmas ornaments every holiday season is one of my family’s favorite traditions, but this year in addition to our usual afternoon of painting and sprinkling with glitter, I decided to grab my hand saw and head into the forest behind our orchard.
Inspired by my recent education in using my husband’s drill (don’t worry, you won’t need any tools), I thought it would be fun to try to make something similar to these ornaments from scratch.
One day I’ll give all three of my kids a keepsake ornament for each year we trimmed our tree, and I thought it would be especially meaningful if one of those ornaments actually came from the land where we’ve made so many memories, like:
- Getting snowed in and sledding down Elderberry Hill
- Finally getting stuff to grow in our garden (after two failed attempts!)
- Catching glimpses of deer in the orchard
- Building campfires out by the barn just so we can scramble some eggs . . . even though we have a perfectly good working stove in the kitchen. 🙂
So I sawed, and we sanded, and in the end a whole lot of our ornaments looked like they’d been done by a three year-old who needed a nap (because they were), but some turned out quite lovely, too.
If you’d like to make your own – without the sawing and drilling of course – I’ve created a simple tutorial for you below.
DIY Chalkboard Ornaments
Ingredients
- Wood slice tags Or homemade wood rounds*
- Black chalkboard paint Or you can buy these pre-painted wood ornaments)
- White chalk paint
- Chalk marker with a fine tip Optional – use if you’ll be decorating with stencils
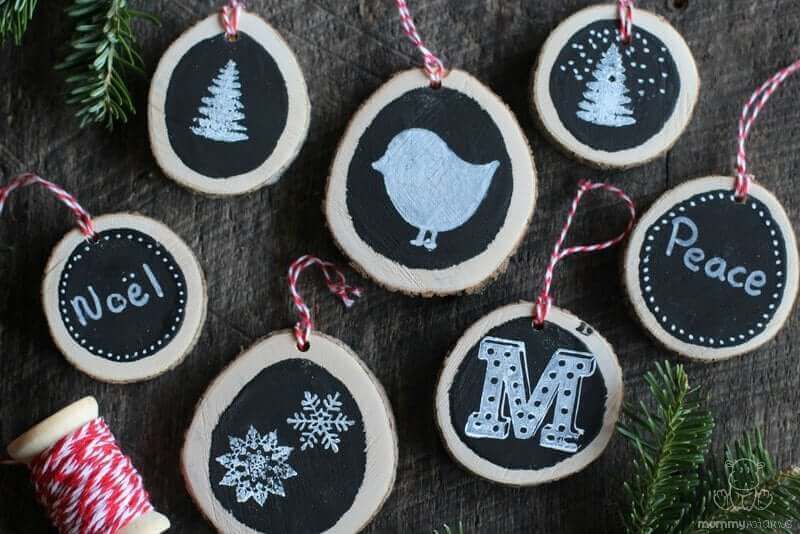
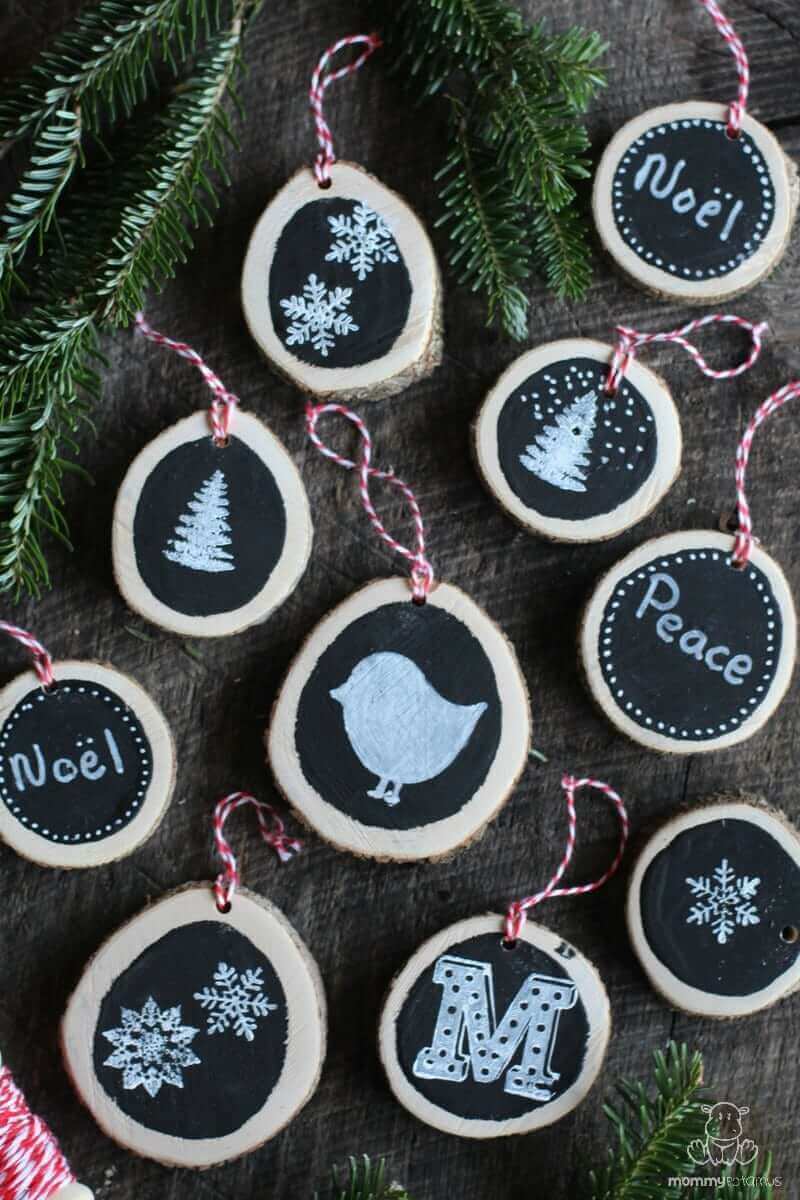
- Stencils and/or stamps with simple, clean designs The bird in the photo is a stencil from a local craft shop, the words are handwritten, and the snowflakes and Christmas trees are stamps
- Small paintbrush If you’re using stamps to decorate
- Baker’s twine to hang the ornaments Optional
- Permanent marker Optional, but helpful if you want to keep track of which child made which ornament
Instructions
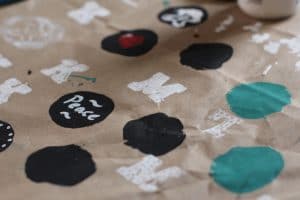
- To make your chalkboard Christmas ornaments, start by painting a large black circle on each wooden round. My littles weren’t quite coordinated to do this step, so I made them some paper “rounds” to practice their stenciling and stamping on while I finished them up. See how they totally followed my suggestion and place the designs within the circles? 😀
- Once the circles have dried for several hours, use a chalk pen and stencils to add your design OR brush a very thin layer of white paint on the stamps you selected and then stamp on your design. If something doesn’t look quite like you want it to, you can usually rinse off the white paint if you move quickly. If there’s a little white paint remaining after you rinse you can dab on a little more black paint and let it dry, then try again with the stencils/stamps.Tip: If you’re working with more than one child, it can be helpful to have them keep separate piles of their creations until you (or they) have had time to write their name and the year on the back – my kids always love hanging up “their” ornaments from previous years!

Notes
 Tried this DIY?
Mention @mommypotamus or tag #mommypotamus!
Tried this DIY?
Mention @mommypotamus or tag #mommypotamus!FREE Ebook: DIY Body Care Gifts Made Simple
Do you want to give gorgeous, handcrafted gifts for family and friends, without spending a bunch of time on them?
Then I’d love to give you a free copy of DIY Body Care Gifts Made Simple – my step-by-step guide to making gorgeous handcrafted gifts without stressing yourself out – as a gift for signing up for my newsletter. I’ll show you how to make vintage labels, luxurious lotion bars, lip balms, sugar scrubs, body sprays and more like a pro. Sign up for my newsletter and you’ll be redirected to the download page immediately!


Hi Heather,
Can you tell me where you got the little stencils for these? Thanks!
I picked them up at a local craft shop a few years ago. There’s no brand name listed on them, unfortunately.