NOPE. NOPE. NOPE. < <– If that’s the first thing you think when you see a candy thermometer mentioned in a recipe, I get it. I’m not always a precise cook, and I don’t like to invest time in difficult recipes that will flop if I throw in an extra grain of salt.
Here’s the deal, though: If you can count and stir, you can make these homemade caramels. Yes, you will need a candy thermometer, but I promise it’s easier than you think.
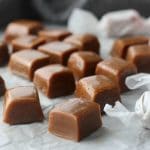
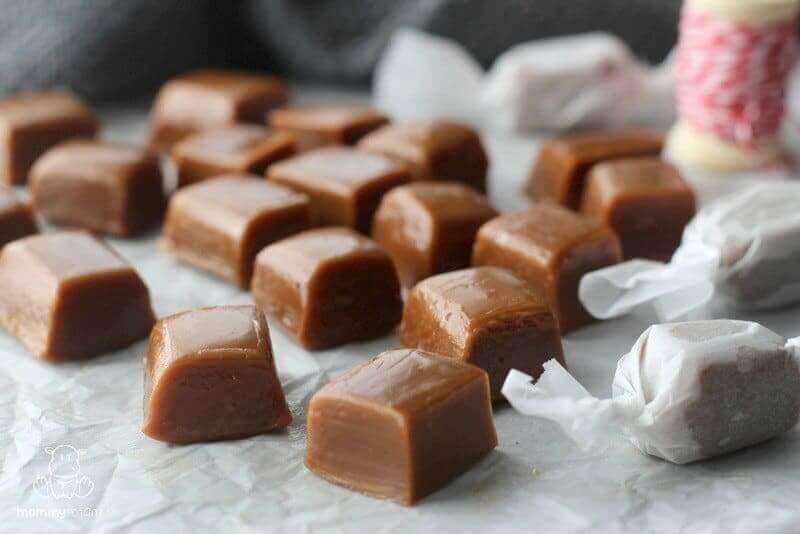
Unlike my pourable salted caramel sauce which is best drizzled over sliced apples or homemade pretzels, these soft, chewy caramels are delightful all by themselves or sprinkled with flaked sea salt. They can serve as a delicious base for caramel apples, too.
Made without light corn syrup or refined white sugar, they’re ridiculously delicious and – although you’d never know by tasting them – much more wholesome than most store- bought options.
There’s just one thing you need to do to ensure candy making success: Make sure your thermometer is working properly. If it’s off, your caramel might overheat and scorch. Ask me how I know.
Now, you might be wondering . . .
How do I know if my candy thermometer is working properly?
It’s very easy to check. Just bring some water to a rolling boil and place the candy thermometer in for 5-7 minutes. Make sure the actual thermometer is not touching the bottom or side of the pot, as this can affect the reading.
Some – like the one I used for this recipe – come with a protective housing so that they can be clipped to the side of the pot without the actual thermometer making direct contact with the pot. I prefer to clip mine so I don’t have to hold it.
At the end of ten minutes the temperature should read 212F. If it’s lower or higher, make note of how much it’s off so that you can factor that in while you’re making the caramels. For example, if it’s ten degrees too high and the recipe calls for the caramel to reach 240F, you’ll know that your caramels are done when the thermometer reads 230F.
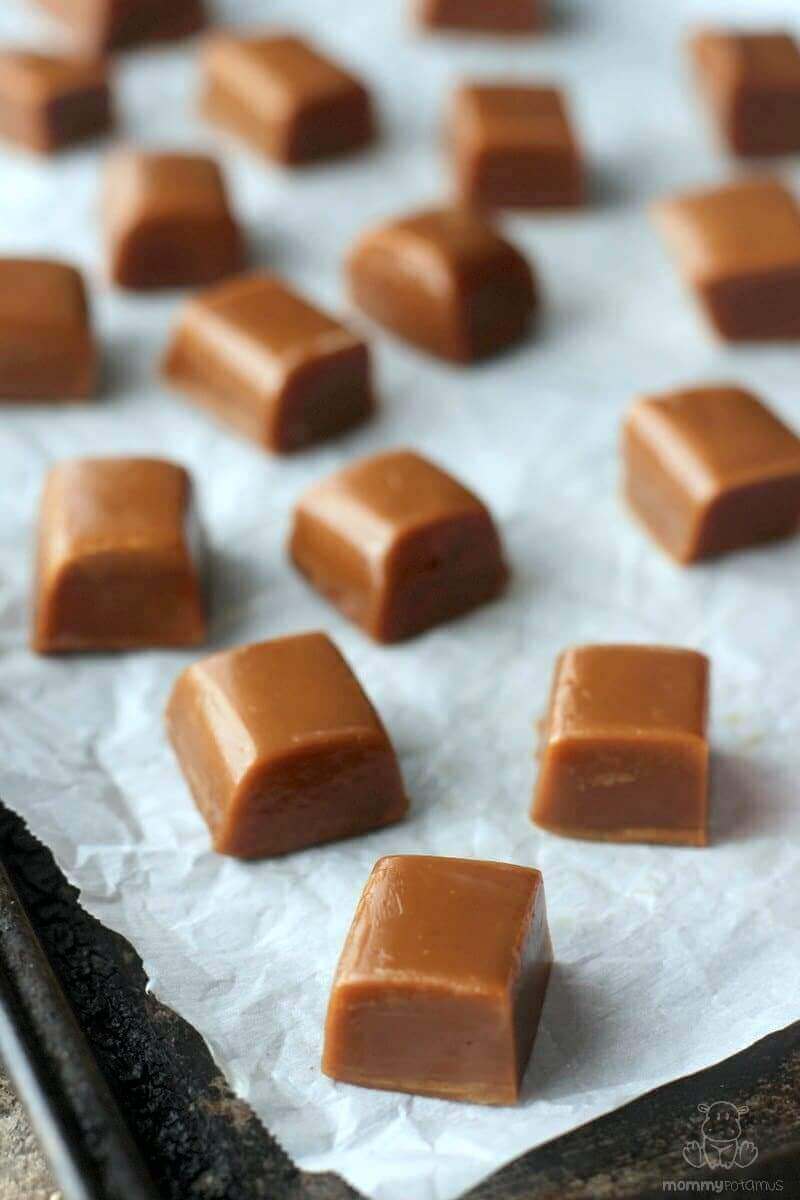
Soft & Chewy Homemade Caramels Recipe
Equipment
- 6×6 inch pan
- medium sized pot
Ingredients
- 2 cups heavy whipping cream
- 2 cups sucanat (aka rapadura sugar)
- coconut oil or butter (for greasing your pan and the cutting knife)
Instructions
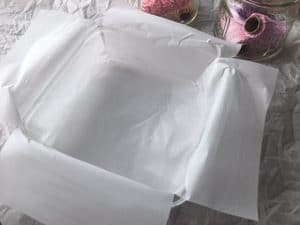
- Grease a small pan with butter or coconut oil and line it with parchment paper. I use one of these 6×6 inch pans because I like my caramels to be thick, but you could use a bread pan or something similar.
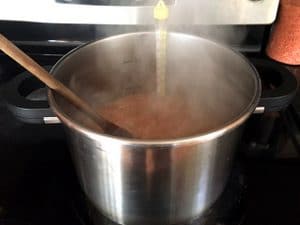
- Add the cream and rapadura sugar to a medium-size pot. The mixture will bubble up quite a bit so make sure there is a lot of room at the top. If possible, clip your thermometer to the side of the pot, like is pictured in the photo. Not only does clipping it mean you don't have to hold it, it also ensures more accurate readings than placing the thermometer in and then pulling it out into cooler air throughout the cooking process.
- Bring the mixture to a boil on the stovetop and then reduce to medium heat – I set my stove to just a little over the exact medium mark. Stir often, then when the mixture reaches 225°F stir constantly until it reaches 240°F (soft ball stage) to prevent the caramel from burning. In my kitchen, it takes about twenty minutes from start to finish.
- When the caramel reaches 240°F, quickly pour it into your prepared pan and allow to cool to room temperature. Once the caramel is room temperature, pop it in the freezer for about five minutes to make it easier to cut.
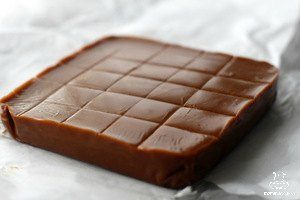
- To cut, score the top with squares to make it easy to figure out exactly where to place your knife.
- Next, fill a jar with hot water and place the knife inside – I use a butcher knife. Once the knife has warmed for about fifteen seconds, remove and dry it, then run it through a stick of butter (or some coconut oil) to grease both sides before cutting. Cut the first strip you've marked and then continue with the other sections, cleaning and reheating the knife as necessary.
Storage Instructions
- Wrap in parchment paper before storing. I store my caramel candy at room temperature if they'll be eaten within a few days. For longer-term storage I keep them in the fridge.
Nutrition
More Yummy Dessert Recipes
Chocolate Chip Blondies – These chewy chocolate chip blondies are so easy to bake even a kid can do it. And I really mean that, because this recipe was created by my daughter Katie. The recipe is shared with permission from Chef Junior, which she wrote with several of her friends.
Cookie Dough Fudge – The browned butter in this cookie dough fudge adds a light toffee flavor that kind of makes me want to eat the whole batch. I don’t, but that’s only because everyone in our house loves it so much I never get the chance.
Maple Fudge – Now that you’re comfortable using a candy thermometer, this decadent recipe from my friend Cara is worth making.
Also, if you need a dairy-free alternative to the caramel recipes above, I’ve shared my favorite here.
Want more delicious, easy recipes?
No problem, I’ve created a free ebook for you – 35+ Gluten-Free Desserts – as a gift for signing up for my newsletter. Every Sunday you’ll get recipes, actionable health tips, and highly-vetted product recommendations delivered fresh to your inbox.
Sign up using the form below.

