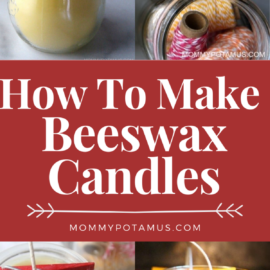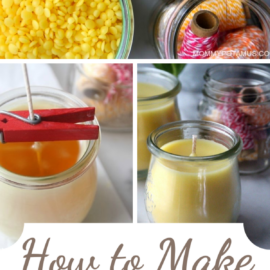
There’s something incredibly soothing about the soft, warm glow of homemade beeswax candles, especially at night after the littles are in bed. But the golden glow and long burn time are just the beginning of a handmade beeswax candle’s charm.
Unlike paraffin candles – which release carcinogens like toluene and benzene into the air– they burn clean and bright while releasing a faint honey scent.
Even better, making beeswax candles at home – either as a gift or for yourself – is little more than a melt and pour process. Here’s an overview:
How To Make Beeswax Candles (Video)
We’ll cover all that in more detail in the step-by-step photo tutorial below. First, though, let’s talk about some of the most common candle making questions:
Can I add essential oils?
Yes, you can. However, beeswax does not hold on to scent as well as some other waxes. For that reason, I blend a little coconut oil into my candles to give the scent more staying power.
Even with the addition of coconut oil, though, I’ve found that only very strong scents (peppermint, lemongrass, vetiver etc.) do well in DIY beeswax candles.
Fortunately, most beeswax smells faintly of honey, which is delightful all by itself or when blended with essential oils.
Also, quick note: If you are planning to burn the candles around children make sure that the essential oils you select are kid-friendly – here’s a list to get you started.
What kind of beeswax should I use?
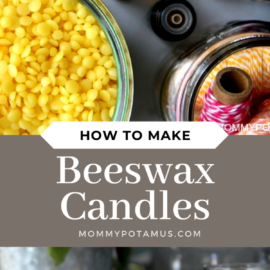
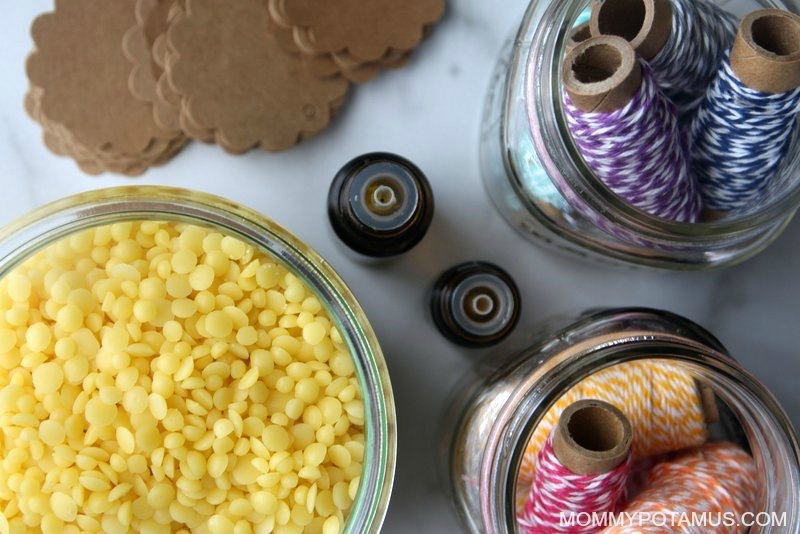
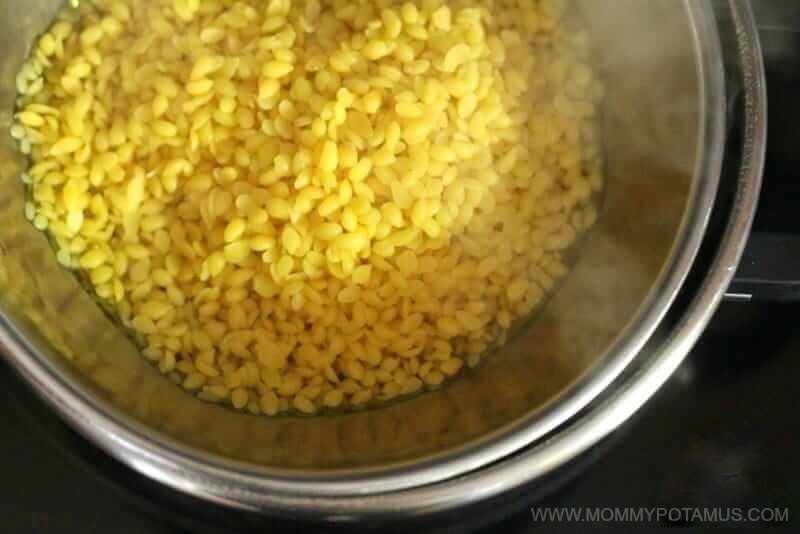
For this tutorial you’ll need one pound of beeswax, which can be in the form of beeswax pellets or a whole block that you shred with a cheese grater. If you have a local beekeeper that sells raw beeswax, you can use these steps to filter it for candle making.
Another option is white beeswax. Most of what you’ll find on the market is bleached, but this one is lightened without any chemicals at all. (They use the sun, air and moisture.)
How many candles will this recipe make?
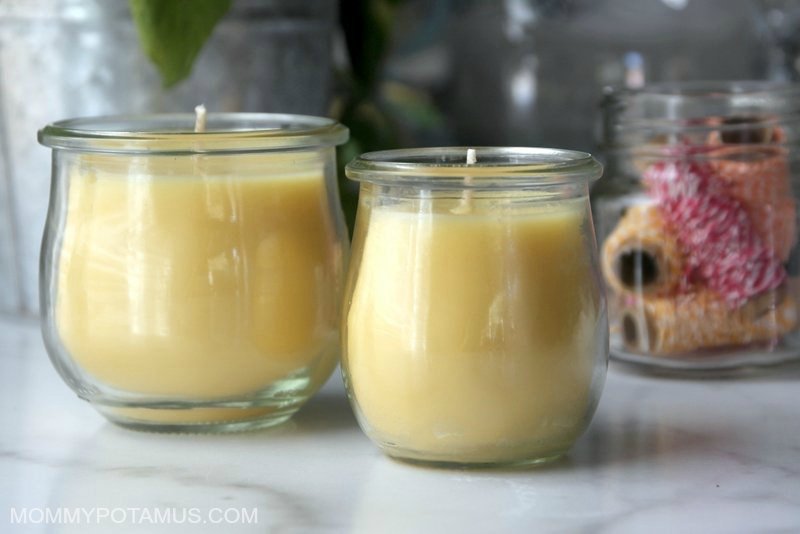
This recipe makes approximately 24 ounces, which will make two 12 ounce candles, three 8 ounce candles or six 4 ounce candles. Or you can mix things up – this week I made one 12 ounce candle, one 8 ounce candle, and one 4 ounce candle using this recipe.
Here are some of my favorite jars to use for this project:
12 ounce glass jar options
- Large tulip jar (pictured)
8 ounce glass jar options
4 ounce glass jar options
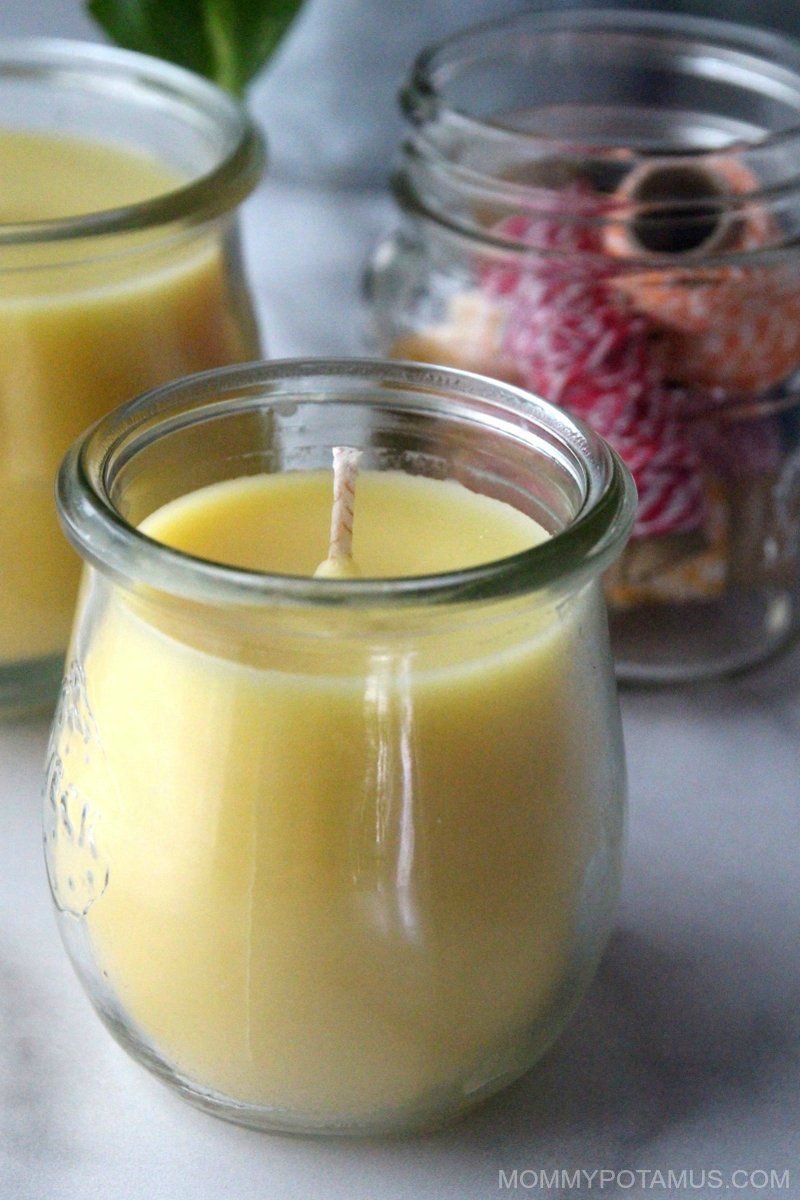
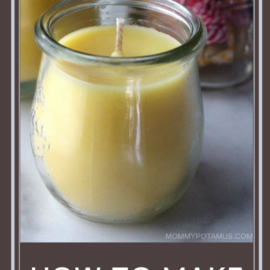
DIY Beeswax Candles
This recipe will make two 12 ounce candles, three 8 ounce candles or six 4 ounce candles.
Supplies Needed
- 1 pound beeswax
- 1/2 cup coconut oil, melted
- 1-2 tablespoons essential oil – optional (I tend to go with inexpensive ones like peppermint and lemongrass)
- Medium cotton wicks with wick tabs attached, like these*
- Wick stickers
- Jars – See suggestions above
* Because beeswax candles are slow burning, they require thicker, sturdier wicks than what is used for paraffin candles. Keep in mind that the way a wick burns will vary based on many factors, including the size of the container and how refined the beeswax is.
I’ve shared which wicks have worked for me using refined beeswax and the jars above, but it may take a little experimentation to find the perfect size for your wax/container combo.
Step-By-Step Instructions
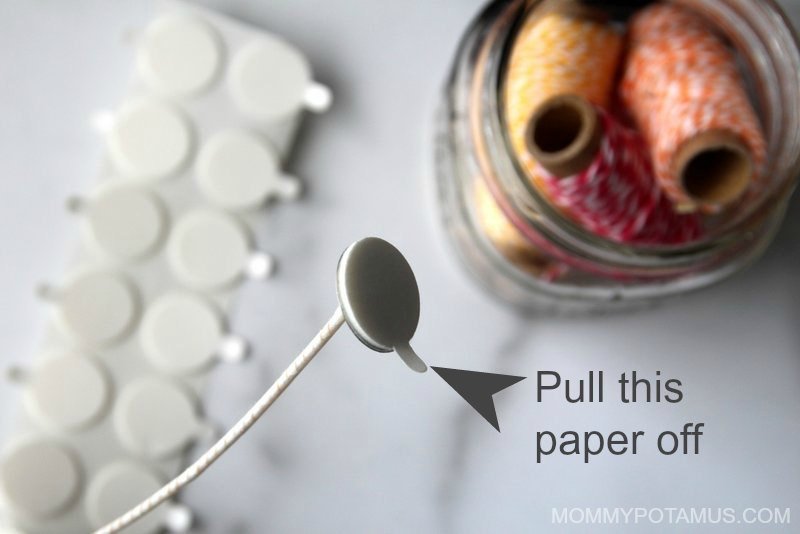
Step 1: Pick up your wick (with wick tab attached) and wick stickers
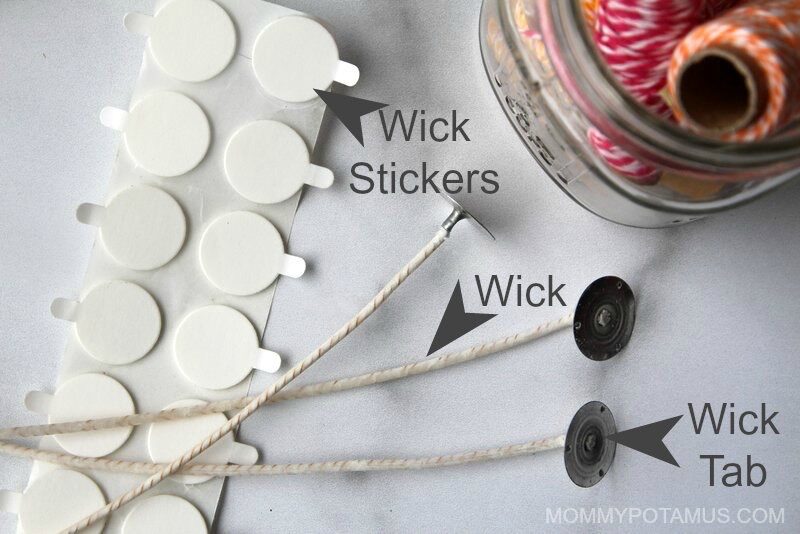
Pull one of the wick stickers off the roll and place it on the wick tab, then peel the paper off the exposed side of the wick sticker.

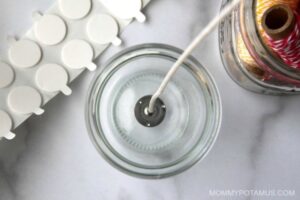
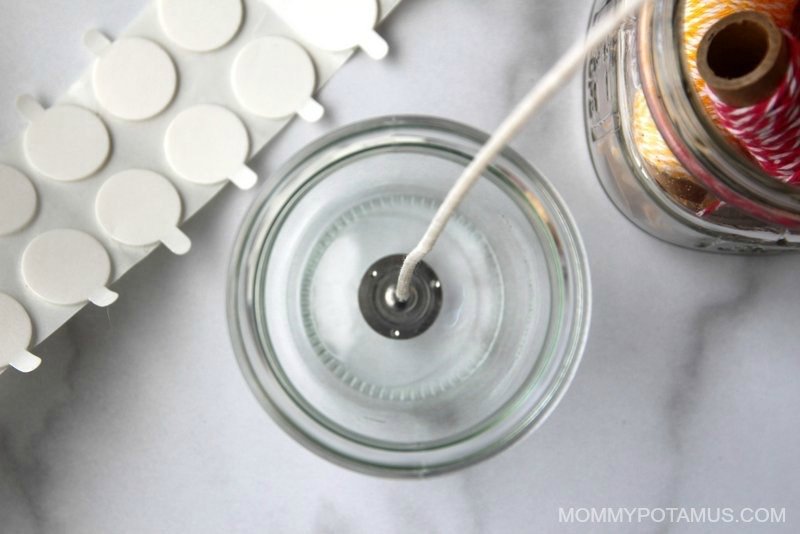
Step 2: Attach the wick to the bottom center of the jar.

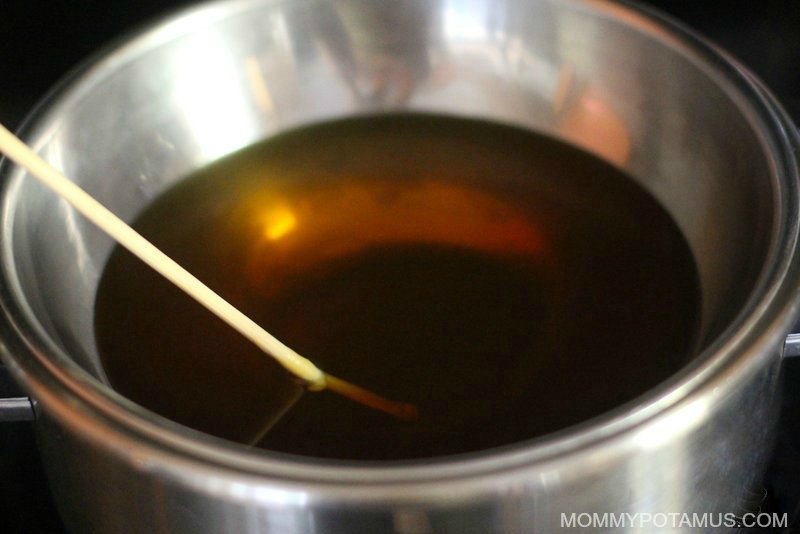
Step 3: Melt wax and oil in a double boiler. If you don’t have a double boiler, you can create one by placing one inch of water in a pot, placing a smaller pot or stainless steel bowl inside, and bringing the water to a low simmer.

Step 4: When the beeswax is melted, add essential oils if desired.
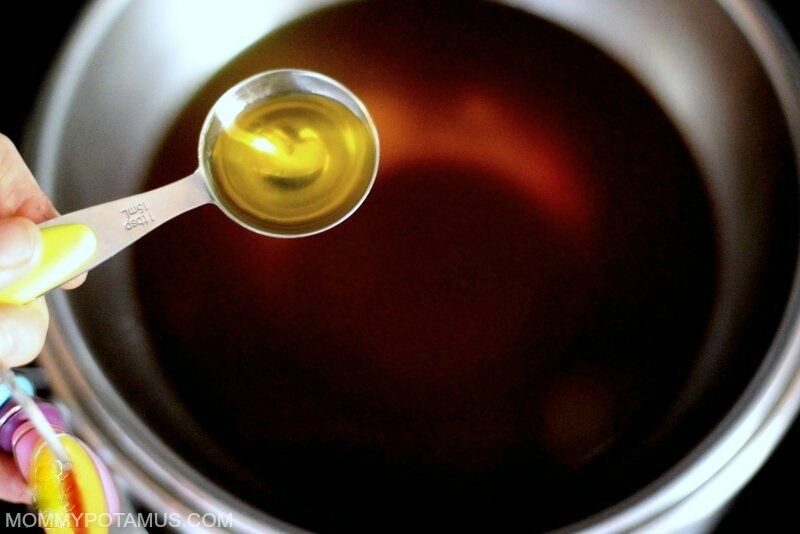
Stir the beeswax, coconut oil, and essential oils (if using) together. I use a wooden chop stick that I keep just for this purpose so I don’t have to clean it.

Step 5: Pour wax into jars.

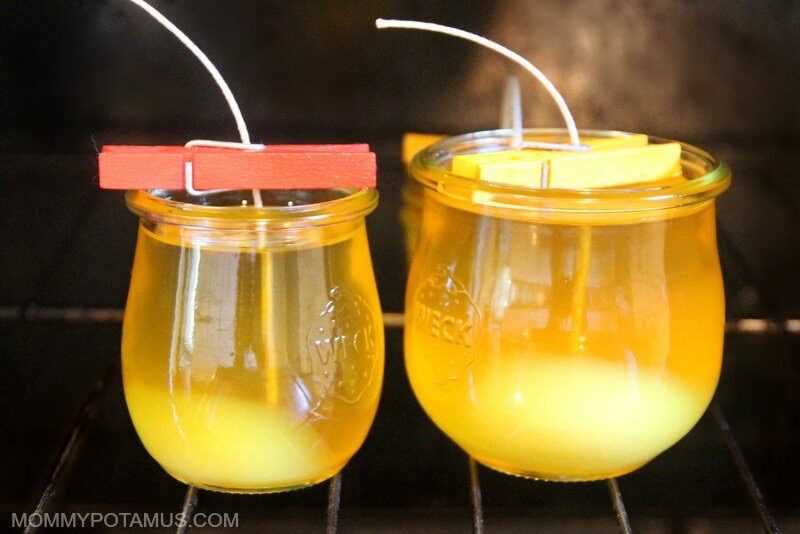
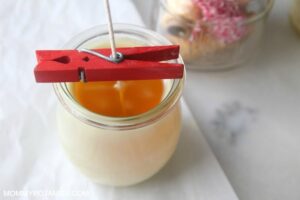
Step 6: Set the wick so that it’s in the center. You can do this by placing a pencil across the jar and taping the wick to it, or use my favorite method, which is to thread the wick through the center of a clothespin.

Step 7: Place the candles in a warm area to harden, because if they cool too quickly the wax will sometimes crack. I usually preheat my oven to 170F while I’m pouring the candles, then turn the oven off and place them inside.
Cleanup Tip
Beeswax is usually difficult to remove from the bowl it was melted in, but I’ve learned a little trick that I want to pass along. I preheat my oven to 200F, then turn it off and place the bowl inside.
Within a few minutes, the wax is completely melted, making it easy to wipe away with paper towels. After that, I just scrub with soap and water as usual.
Using Your Candles
Allow your candles to cure for two days, then trim the wick to about 1/4 inch.
When lighting your candle, direct the flame to the base of the wick so that some of wax melts and is drawn up into the wick – this helps it burn properly.
Allow the candle to burn long enough so the wax melts out to the side of the jar. This helps to prevent tunneling ,which is when the middle melts down with lots of wax leftover around the edges. Never leave a candle unattended.
Frequently Asked Questions
Can I use olive oil instead of coconut oil?
Because olive oil is liquid at room temperature while coconut oil is semi-solid, it will yield a soft candle. For that reason I don’t recommend using it.
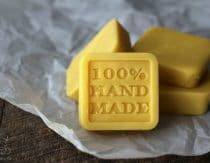
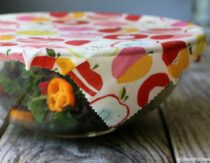
I have leftover beeswax. What can I do with it?
You can make reusable food wrap, moisturizing hand salve, homemade crayons, citronella candles, solid perfume or magnesium body butter.
How to Make Beeswax Candles
Equipment
- double boiler or two different sized pots (one fits inside the other)
- stove
- wooden chopstick
- clothespin or pencil
- scotch tape (if using a pencil)
- oven
Ingredients
- 1 lb beeswax
- ½ cup coconut oil (melted)
- 1 to 2 tbsp essential oil (I prefer inexpensive options like lemongrass or peppermint)
medium cotton wicks * (with wick tabs attached)- wick stickers
- jars (This recipe will make three of these 8 ounce tulip jars or these jam/jelly mason jars. Another option is to use two 12 ounce jars or six of these 4 ounce jelly jars)
Instructions
Making Your Candles
- Pick up your wick (with wick tab attached) and wick stickers)

- Pull one of the wick stickers off the roll and place it on the wick tab, then peel the paper off the exposed side of the wick sticker.

- Attach the wick to the bottom center of the jar.
- Melt wax and oil in a double boiler. If you don’t have a double boiler, you can create one by placing one inch of water in a pot, placing a smaller pot or stainless steel bowl inside, and bringing the water to a low simmer on your stove top.

- When the beeswax is melted, add essential oils if desired.

- Stir the melted beeswax, coconut oil, and essential oils (if using) together. I use a wooden chop stick that I keep just for this purpose so I don’t have to clean it.

- Pour wax into the glass jars.

- Set the wick so that it’s in the center. You can do this by placing a pencil, straw or wooden skewer across the jar and taping the wick to it, or use my favorite method, which is to thread the wick through the center of a clothespin.
- Place the candles in a warm area to harden, because if they cool too quickly the wax will sometimes crack. I usually preheat my oven to 170F while I’m pouring the candles, then turn the oven off and place them inside.


Using Your Candles
- Allow the candles to cure for two days, then trim the wick to about 1/4 inch.
- When lighting your candle, direct the flame at to base of the wick so that some of the wax melts and is drawn up into the wick – this helps it burn properly. Allow the candle to burn long enough so the wax melts out to the side of the jar. This helps to prevent tunneling ,which is when the middle melts down with lots of wax leftover around the edges. Never leave a candle unattended.
Notes
Want a FREE ebook of non-toxic cleaning recipes that WORK?
I’ve created a free ebook for you as a gift for signing up for my newsletter. 7 Non-Toxic Cleaning Recipes That Really Work covers seven recipes that you can make in just a few minutes each for squeaky clean windows, sparkling dinnerware, lemon-fresh countertops, and more. Subscribe to my newsletter below and you’ll be redirected to a download page for immediate access to this PDF ebook.