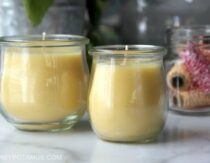
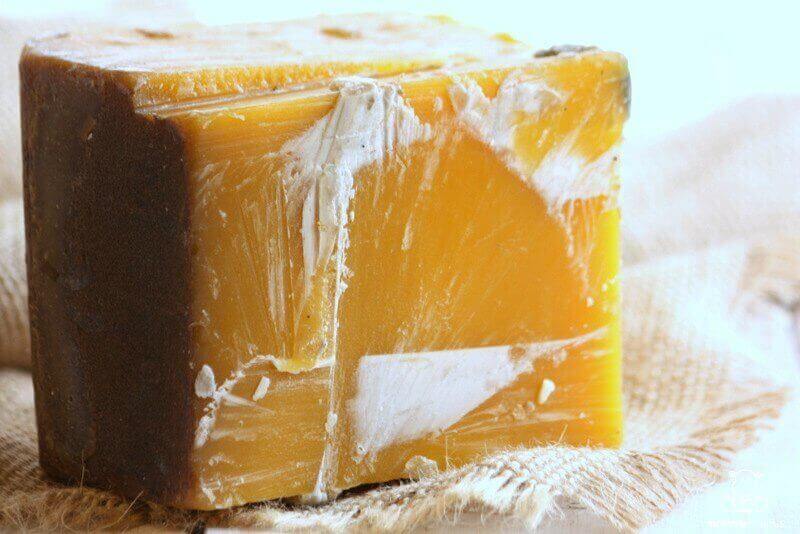
If you’re lucky enough to know a local beekeeper, you may be able to pick up some raw, honey-scented beeswax for a great price. However, before you get started on making reusable food wrap, beeswax candles, lotion bars, food-grade crayons, calendula salve, lip balm, homemade lotion or another project, be aware that unfiltered beeswax comes with bits of propolis and other debris that needs to be filtered out before it’s used.
Several of you asked how to do that recently, so I’ve put together this quick tutorial for you. Here’s how to make your beeswax project ready.
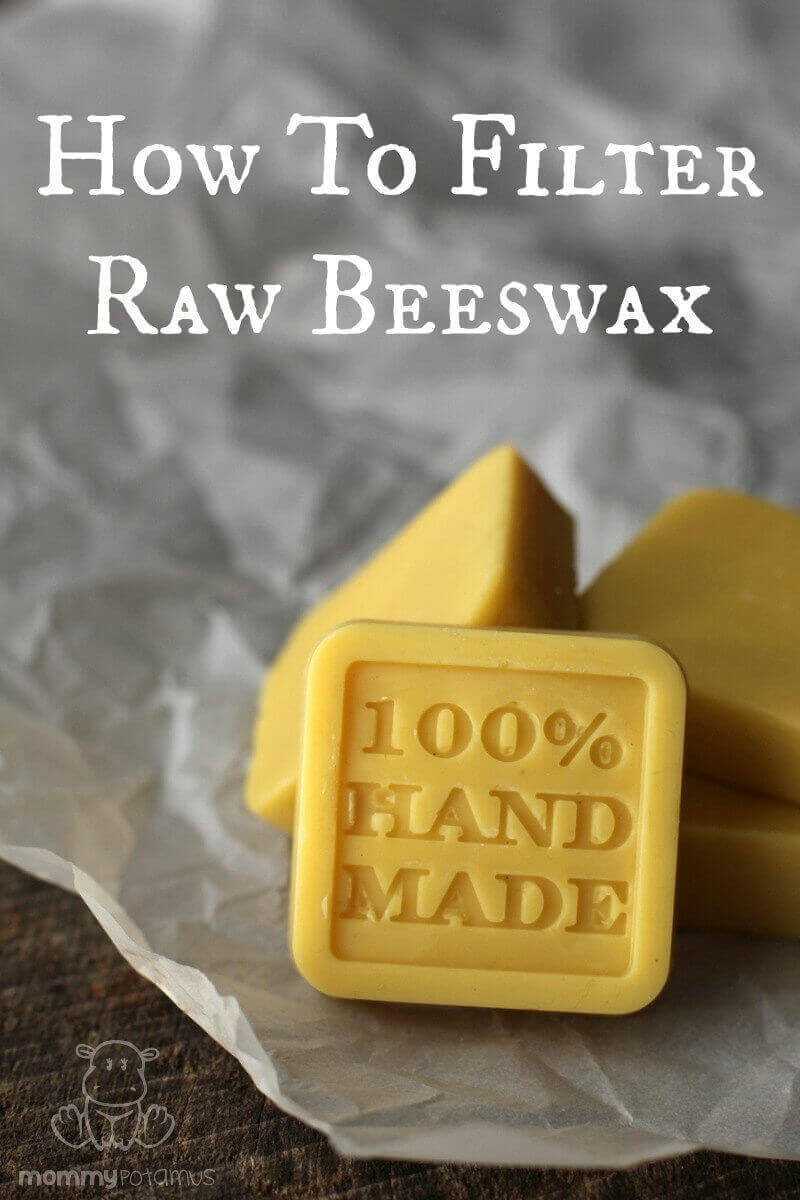
How To Filter Beeswax For Candle Making & Other Projects
Supplies you’ll need:
- raw, unfiltered beeswax
- double boiler
- tightly woven old t-shirt or cheesecloth folded into several layers
- large stainless steel or heat-proof bowl
- parchment paper
Step 1. Place a tightly woven old t-shirt or cheesecloth folded into several layers over the bowl.
Optional: If you’re planning to let the clean wax harden into one big piece after filtering it, place a piece of parchment paper in the bottom of your bowl before lining it with the t-shirt/cheesecloth. That way you can leave it in the bowl you’re using and then easily pop it out by lifting the parchment paper when it’s ready.
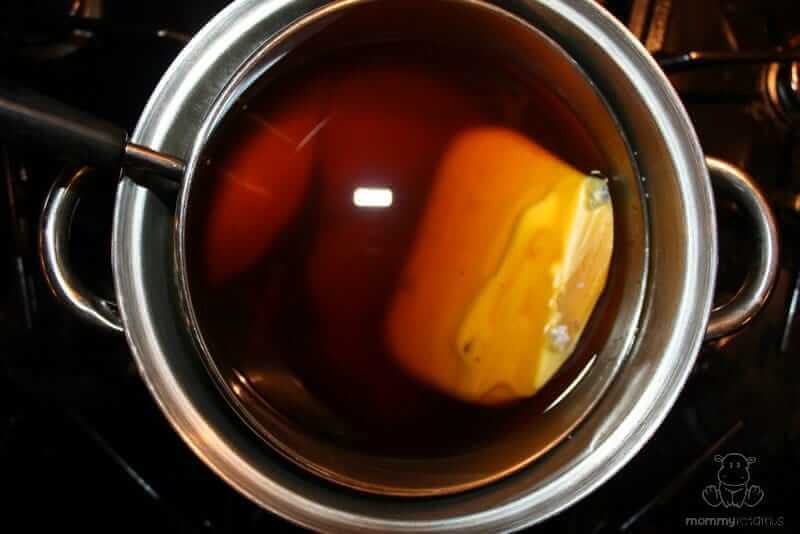
Step 2: Melt the raw beeswax over medium heat in a double boiler. If you don’t have a double boiler you can use a stainless steel bowl set inside a pot of boiling water.
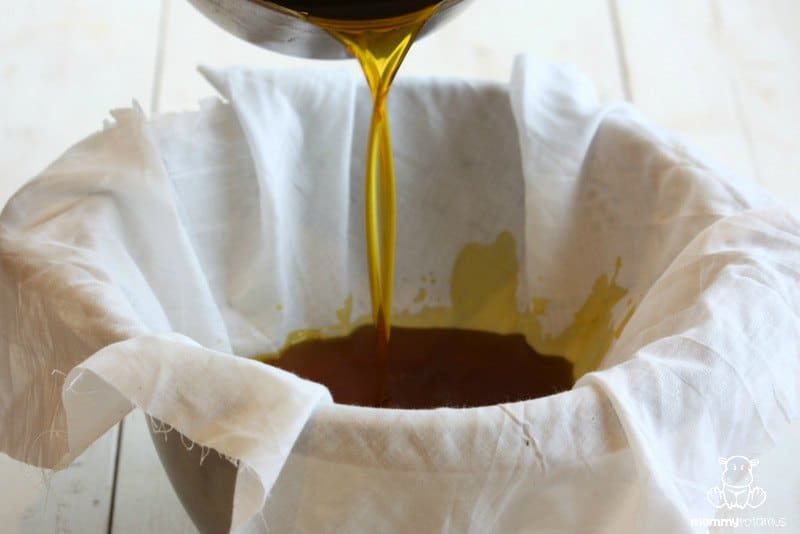
Step 3: Pour the hot wax over the fabric, then gently lift the corners of fabric out of the bowl to remove the propolis and other debris. Do not touch the hot wax, and make sure to hold the fabric over the bowl until it has stopped dripping.
Note: You can use a mesh strainer to make this step easier, but it will be very difficult (if not impossible) to clean all the beeswax off afterwards. I recommend only using a strainer if you plan to do this often and plan to keep one just for this purpose.
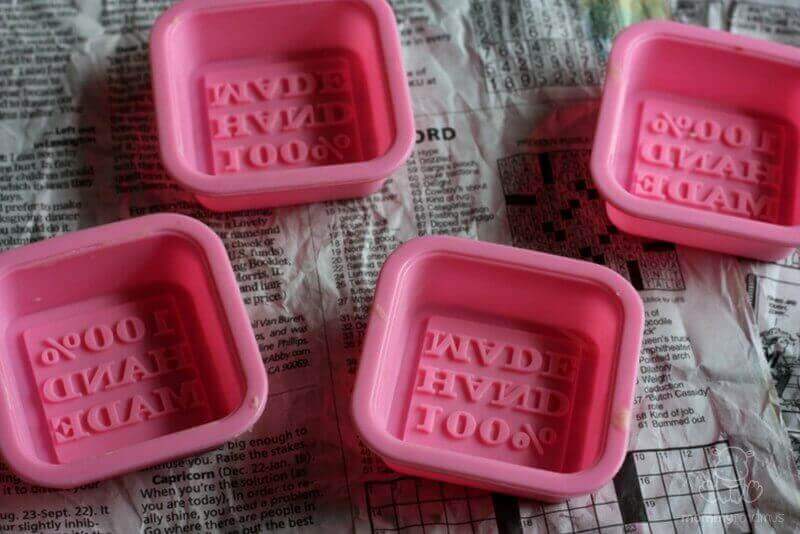
Step 4: If you want your beeswax to be divided into equal portions, pour the melted beeswax into silicone molds right after you filter it. I used these square molds that say 100% handmade.
Another option is to leave it in the bowl until the wax cools, then remove it from the bowl by lifting the parchment paper. Peel off the parchment paper once you remove it.
Cleanup Tip:
Beeswax is usually difficult to remove from the bowl it was melted in, but I’ve learned a little trick that I want to pass along. I preheat my oven to 200F, then turn it off and place the bowl inside. Within a few minutes the wax is completely melted, making it easy to wipe away with paper towels. After that, I just scrub with soap and water as usual.
More Ideas for Using Filtered Beeswax
How To Filter Beeswax For Candle Making & Other Projects
Equipment
- tightly woven old t-shirt or cheesecloth folded into several layers
- large stainless steel or heat-proof bowl
Ingredients
- raw, unfiltered beeswax
Instructions
- Place a tightly woven old t-shirt or cheesecloth folded into several layers over the bowl. Optional: If you’re planning to let the clean wax harden into one big piece after filtering it, place a piece of parchment paper in the bottom of your bowl before lining it with the t-shirt/cheesecloth. That way you can leave it in the bowl you’re using and then easily pop it out by lifting the parchment paper when it’s ready.
- Melt the raw beeswax over medium heat in a double boiler. If you don’t have a double boiler you can use a stainless steel bowl set inside a pot of boiling water.
- Pour the hot wax over the fabric, then gently lift the corners of fabric out of the bowl to remove the propolis and other debris. Do not touch the hot wax, and make sure to hold the fabric over the bowl until it has stopped dripping. Note: You can use a mesh strainer to make this step easier, but it will be very difficult (if not impossible) to clean all the beeswax off afterwards. I recommend only using a strainer if you plan to do this often and plan to keep one just for this purpose.
- If you want your beeswax to be divided into equal portions, pour the melted beeswax into silicone molds right after you filter it. I used these square molds that say 100% handmade.Another option is to leave it in the bowl until the wax cools, then remove it from the bowl by lifting the parchment paper. Peel off the parchment paper once you remove it.
Notes
 Tried this recipe?
 FREE Ebook: DIY Body Care Gifts Made Simple
Do you want to give gorgeous, handcrafted gifts for family and friends, without spending a bunch of time on them?
Then I’d love to give you a free copy of DIY Body Care Gifts Made Simple – my step-by-step guide to making gorgeous handcrafted gifts without stressing yourself out – as a gift for signing up for my newsletter. I’ll show you how to make vintage labels, luxurious lotion bars, lip balms, sugar scrubs, body sprays and more like a pro. Sign up for my newsletter and you’ll be redirected to the download page immediately!