
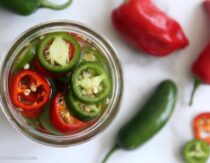
Garlic bread. Garlic mashed potatoes. Garlic parmesan anything. <<– If you’re starting to feel hungry right now, you’ve got to try this easy fermented garlic recipe.
It’s more mellow and softer than raw garlic – think of it as similar to roasted garlic, but with all it’s enzymes (and other beneficial compounds) intact. You don’t need any special probiotic starter to make it, and the cloves are seriously amazing in compound garlic butter, salad dressing and other recipes. (More ideas below)
In Medical Herbalism, David Hoffman writes that:
Used daily, garlic aids and supports the body in ways that no other herb can match”
It’s true – garlic contains a wide variety of bioactive compounds such as polyphenols, flavonoids, powerful organosulfur compounds, vitamin B6, vitamin C and minerals that work synergistically to support health. It’s also rich in inulin, an important prebiotic that feeds the good bacteria in our digestive tract.
Benefits of Fermented Garlic
If you’ve ever made kimchi, sauerkraut or beet kvass, you’re probably familiar with the process of lacto-fermentation. It’s when beneficial bacteria (lacto for lactobacillus) that naturally occur in veggies are used to extend shelf life (aka preserve) them by inhibiting the growth of harmful bacteria. It works because lactobacillus are tolerant to salt while the bad guys can’t take much of it.
When we put a veggie and salt in water, the good bacteria are able to thrive, repopulate and convert some of the sugars from the veggies into lactic acid which inhibits other organisms. In that way they “take over” the culture.
Here are some of the benefits of this approach:
- Makes some of the nutrients in garlic more bioavailable
- Introduces probiotics into the mix, which support the immune system and gut health
- Lactobacillus make vitamin K, which is not found in raw garlic, while they’re doing their thing
- Reduces the sharpness or “bite” of raw garlic
6 Ways To Use Fermented Garlic
Fermented garlic can be used in just about any recipe that calls for garlic. However, something to keep in mind is that heat destroys the beneficial bacteria, so using it in recipes that don’t require cooking is the best way to take advantage of its benefits.
Something to keep in mind is that because fermented garlic is milder in flavor than raw, you can often increase the amount used in a recipe without the flavor taking over. Here are some ways to use it:
- Salad Dressing – Use in your favorite recipe or try the recipe at the bottom of this article
- Garlic Butter – It’s so soft you can actually just spread it on bread and then top with butter, or you can use the recipe at the bottom of this article
- Pesto – Use it in place of fresh garlic in my easy basil pesto
- Salsa – Try it in this restaurant-style recipe
- Marinades – It’s delicious in this shish kabob marinade and all the other variations I’ve tried
- Hummus – Try it in this recipe and add more garlic if desired
Helpful Tips
- Use Organic Garlic – Some conventional is sprayed or irradiated to prevent it from sprouting. This often kills the beneficial bacteria needed to kickstart the fermentation process.
- Use Non-Chlorinated Water – Chlorine kills the good guys, too.
- Save Time With This Method – Peeling garlic by hand can be a slow process, so I use the “shake method” shown in this video tutorial to speeds things up.
- Use a Fido Jar or Mason Jar With Airlock – A fido jar is a glass jar with a thick rubber gasket that held in place by the lid. The rubber helps create an anaerobic (oxygen-free) environment for the good bacteria to grow in. As the fermentation process progresses little gas bubbles will start to form in the liquid. Since they don’t have a way to escape in an airtight environment, you’ll want to “burp” the jar (aka open it for a sec) every couple of days to release the pressure. Another option is to use a jar with an airlock. The airlock prevents oxygen getting in but allows the bubbles to escape so you don’t have to burp it.
- Make Sure To Use Clean Jars & Equipment – We want them to be free of microbes that might interfere with the good guys we are trying to culture.To get everything ready you can run it through the dishwasher with hot water (preferably using the “sanitize” setting) OR you can pour boiling water into the jars/vessels you are planning on using and use hot, soapy water to clean everything else. I keep my extra clean jars in a particular spot in my kitchen so that I can grab them when needed.
Fermented Garlic Recipe
Equipment
- Jar with thick, airtight rubber seal (Fido or canning jar)
- OR – Mason jar with airlock lid
- Fermenting weight (*See notes for alternative)
Ingredients
- fresh garlic cloves (enough to fill your jar ¾ full)
- finely ground sea salt** (how much you need will depend on how much garlic you are fermenting)
- filtered water (chlorine will kill the good guys)
Instructions
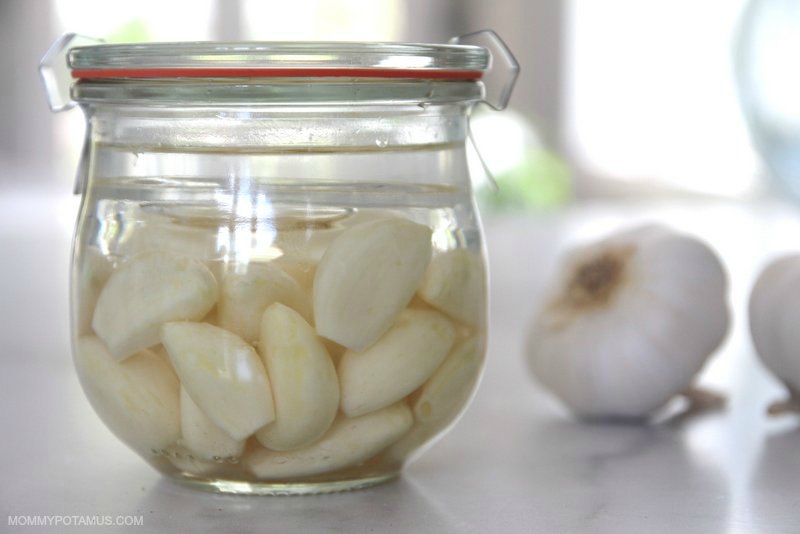
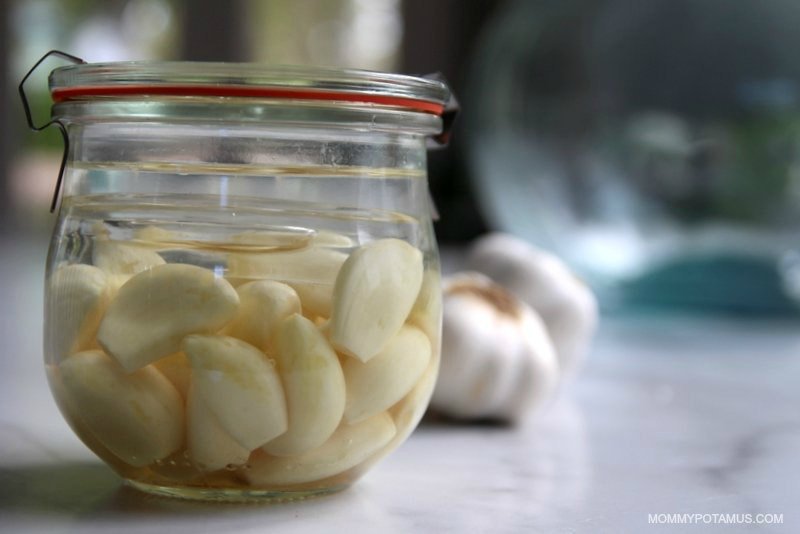
- Peel the garlic cloves (trimming off the tip if desired) and place them in your clean jar. Fill the jar about ¾ full.
- Place a fermentation weight over the cloves.
- Make your brine. Exactly how much you'll need will depend on the size jar you are using. You'll want enough to fully cover the garlic cloves, plus a little more above the fermentation weight. Use a salt-to-water ratio of 5 grams by weight (about ¾ teaspoon) for each cup of filtered water.
- Secure the lid and set up the airlock if you're using one. (Here's a step-by-step photo tutorial that shows how to set up and airlock.)
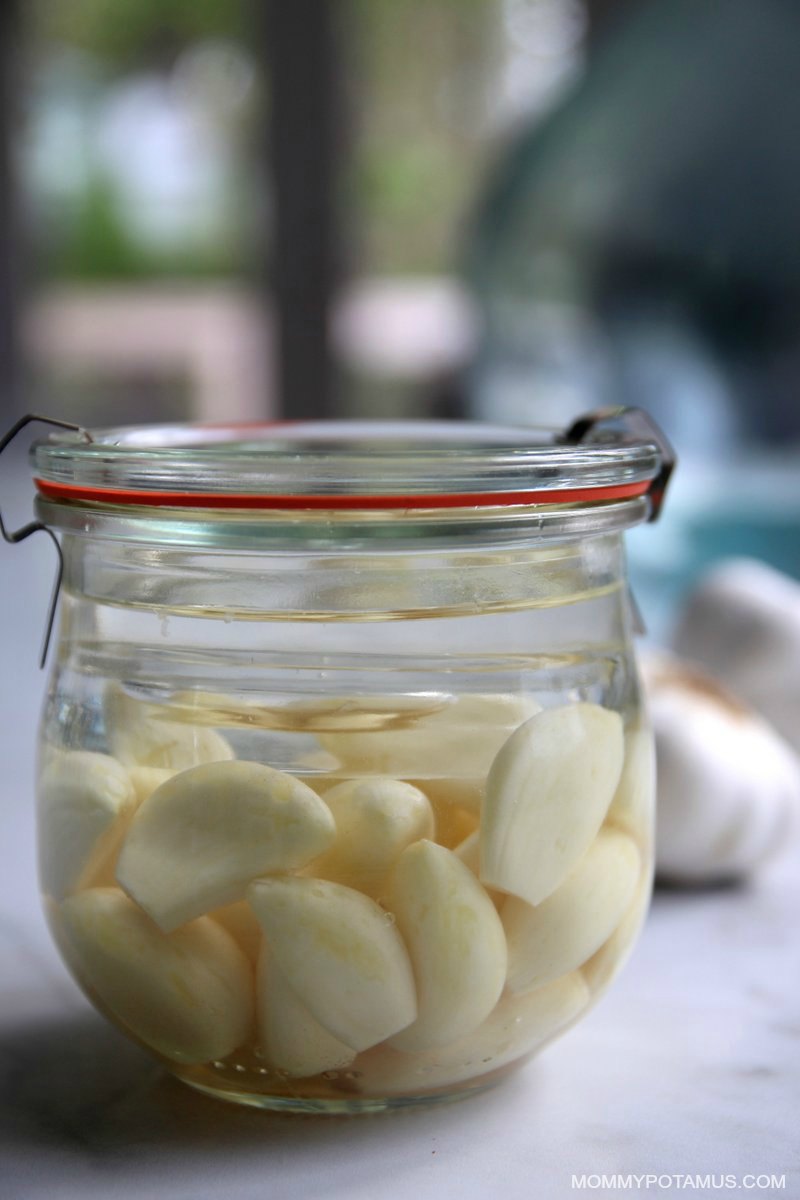
- Allow the jar to ferment for 5 days to 4 weeks. If you're using a fido jar, you'll need to "burp" it (open it up) every couple of days to release the gases that build up, and if you're using an airlock you'll want to check on it periodically to make sure that the water which forms the seal hasn't evaporated. The color may change to a more caramel tint throughout the process – that's normal. Taste it throughout the fermentation process, and when it reaches a flavor that you like transfer it to the fridge. If you're using a lid with an airlock, replace it with a regular mason jar lid before storing it.
Notes
 Tried this recipe?
Mention @mommypotamus or tag #mommypotamus!
Tried this recipe?
Mention @mommypotamus or tag #mommypotamus!
Simple Garlic Salad Dressing Recipe
Ingredients:
- 1/3 cup olive oil
- 2 tablespoons fresh lemon juice or apple cider vinegar
- 2 cloves garlic (or more to taste)
- 1/2 teaspoon sea salt (or more to taste)
- 1 teaspoon dried herbs of choice (I usually an Italian seasoning blend)
Instructions: Place everything in the blender and blend until smooth.
Fermented Garlic Butter Recipe
Ingredients:
- 8 tablespoons butter (softened to room temperature)
- 3-4 fermented garlic cloves
- salt and pepper to taste
- 1 tablespoon dried herbs (optional – a mix of basil, parsley and rosemary is my favorite)
Instructions: Mince the garlic or mash it up using the back of a spoon. Place butter, garlic cloves, and dried herbs (if using) in a small bowl and mash with a fork until well-combined. Mix in salt and pepper until it achieves the flavor you prefer. Scoop butter onto a sheet of parchment paper and roll it up into a log. Refrigerate until firm.
Frequently Asked Questions
You can definitely soak garlic in apple cider vinegar, but the process is called pickling rather than fermentation. Pickling involves placing herbs or vegetables in an acidic brine (vinegar) in order to preserve them, while fermentation involves letting good bacteria produce lactic acid, vitamins and enzymes over time. The final products of both are acidic, but they’re different. Both have their place – my beloved fire cider recipe is pickled and I love the stuff. In fact, there’s a batch brewing in my kitchen right now.
Depending on the soil they grow in, both garlic and onions may contain certain sulfur compounds that react with vinegar and turn blue or turquoise. Don’t worry, blue garlic is safe to eat . . . some communities even prize it.
Lacto-fermented garlic is fermented in a saltwater brine, while black garlic is aged using a dry fermentation process that combines warm temperatures with time. You can make aged black garlic at home, but it takes about two months of resetting a dehydrator every day.


Do you have a recipe for fermenting garlic in honey?
This sounds awesome! I have been making sauerkraut so I’m a little familiar with the process but I don’t have a mason jar airlock lid. Can I use a silicone screw on lid and just leave it loosely screwed on to let the air release?
I made this garlic and it smells something terrible. I am wondering if that is ok. My husband says it smells like worms.
It can be rather stinky! That’s not necessarily a bad sign – if someone has never smelled sauerkraut before the first whiff may seem unpleasant. That said, if you see any mold or anything that would be a sign that the batch has spoiled. It shouldn’t if the correct salt percentage was used, but I suppose it’s possible.
Heather;
Thankyou for getting back so quick. I followed your instructions, the thing that worries me is the garlic I used was starting to sprout and some of it had brown spots on which I cut off. I just read the other day that if it has brown spots that means it is spoiled.
I don’t really know if it is good or not. There is no mold or anything like that. My brine went way down though. If it is ok to eat can I add more brine?
I’ve only used fresh garlic with no spots. Even though you cut them off I suppose it’s possible that could have affected the outcome – sometimes visible spoilage indicates that there is spoilage that you can’t see as well. It’s hard to say from a distance whether it’s a good batch or not. If it were me, I’d probably start a fresh one.
Once it’s fermented, do you leave the garlic in the same jar or transfer the cloves to a dry one?
Thanks.
Hi Heather,
My garlic has stopped fermenting and there is a light pink scum ring around the jar. Has it gone bad?
This worked flawlessly with all my homegrown garlic!
Thanks for the recipe!
Where do you recommend storing the garlic further fermentation process?
I store mine in the fridge after it has fermented to point I want it to.
I tried this and my brine is turning green. I am assuming that’s a bad thing… 🙁
It could be normal! Slimy green brine would definitely be bad, but as I cover in the FAQ section it is pretty common for garlic to turn blue or green during fermenting. Here’s an excerpt:
“My fermented garlic turned blue (or green). What happened?
Depending on the soil they grow in, both garlic and onions may contain certain sulfur compounds that react with vinegar and turn blue or turquoise. Don’t worry, blue garlic is safe to eat . . . some communities even prize it.”
So, are you sure it’s the brine or could it be the garlic itself?
Not properly explained as where to keep the stone or what to do.