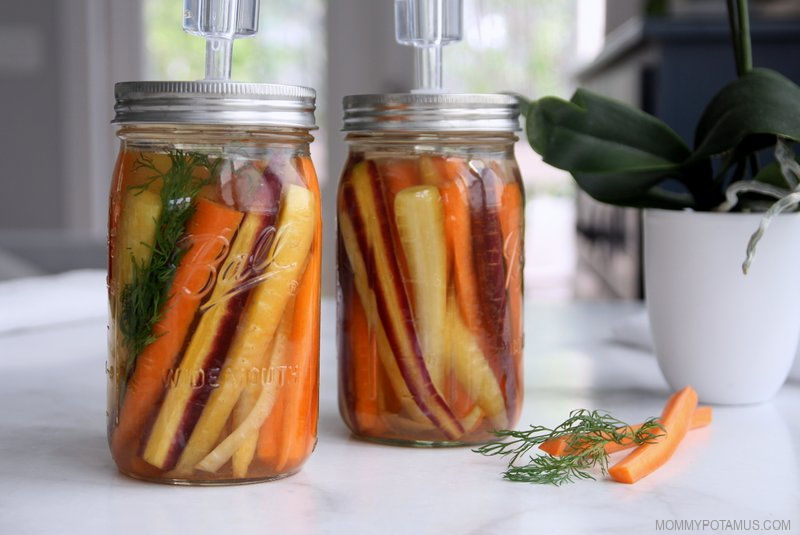
Tangy and crunchy, these easy fermented carrots make a delicious snack or side dish for meals. I love them plain, but my kids prefer them dipped in creamy homemade ranch dressing, bleu cheese dressing or onion dip.
Like sauerkraut, pickles, or kimchi, fermented carrots are rich in gut-friendly probiotics thanks to the process of lacto-fermentation. In a nutshell, that’s when beneficial bacteria (lacto is for lactobacillus) are used to extend the shelf life (aka preserve) of veggies by inhibiting the growth of harmful bacteria.
The process works like this:
- Put veggies in a clean vessel.
- Add a saltwater brine to the vessel and seal it.
- Let the magic unfold.
By magic here’s what I mean: Lactobacillus are tolerant to salt while the bad guys can’t take much of it, so when we put veggies, salt, and water in a jar, the beneficial bacteria that naturally occur in veggies consume some of the carbs and convert them to lactic acid.
The production of lactic acid is what gives fermented foods their delicious tangy flavor, and because it also inhibits other organisms it’s one of the primary ways people have preserved food for generations.
As a bonus, fermenting increases the nutritional profile of foods by breaking down digestion inhibitors (oxalates and phytates) so that nutrients are more bioavailable. (1) Also, lactobacillus bacteria often make additional nutrients such as vitamin K2 that are not naturally present in veggies. (2)
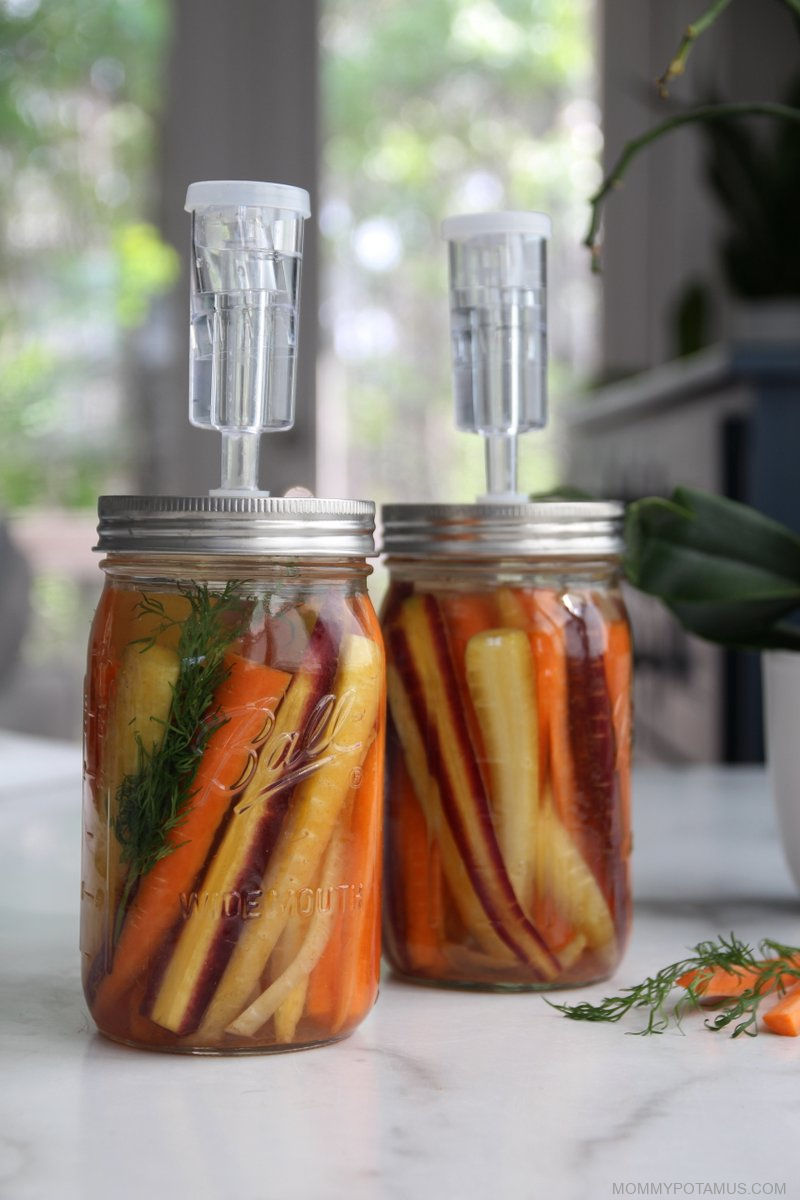
Wondering what kind of jars you need?
Fermented carrots do best in an anaerobic (low oxygen) environment, so you want to use a lid that creates a secure seal while still allowing carbon dioxide to escape. When fermentation is going well, the saltwater brine will start to bubble as the good bacteria consumes carbohydrates and creates carbon dioxide. This process is what makes drinks like homemade ginger ale bubbly. It’s a sign of a healthy ferment.
However, if your jar doesn’t have a way to release some of the carbon dioxide, it can build up too much and cause the jar to burst.
There are several ways to do this. Here are my two favorite options:
Option #1: Mason Jar With Airlock
This is a special airlock lid that fits on any wide-mouth mason jar and uses water as a seal. I’ve put together a step-by-step guide for using this type of airlock in my tutorial for making beet kvass.
Option #2: Fido Jar
A fido jar has a thick rubber seal between the jar and the lid. The rubber helps create an anaerobic environment for the good bacteria to grow in. As the fermentation process progresses, little gas bubbles will start to form in the liquid.
Since carbon dioxide doesn’t have a way to escape in an airtight environment, you’ll want to “burp” the jar (aka open it for a sec) every couple of days to release the pressure. Here’s where to find a fido jar.
You’ll Also Need:
A fermentation weight. If you don’t have a fermentation weight, you can use a thin, smooth stone that has been boiled for 5-10 minutes and allowed to cool fully.
Quick Tips
- Use Organic Carrots If Possible – Some conventional may have significant amounts of pesticide residue that may negatively impact the beneficial bacteria needed to kickstart the fermentation process.
- Use Non-Chlorinated Water – Chlorine kills beneficial bacteria.
- Make Sure To Use Clean Jars & Equipment – We want them to be free of microbes that might interfere with the good guys we are trying to culture.To get everything ready you can run it through the dishwasher with hot water – preferably using the “sanitize” setting – or you can pour boiling water into the jars/vessels you are planning on using and use hot, soapy water to clean everything else. I keep my extra clean jars in a particular spot in my kitchen so that I can grab them when needed.
- Use a washable chalkboard pen to write the “ready on” date directly on your jars so they’re easy to keep track of.
Easy Fermented Carrots Recipe
Equipment
- Two quart-size mason jars with fermenting lids or two 32 ounce fido jars. See the "Wondering what kind of jars you need?" section above for my top recommendations.
Ingredients
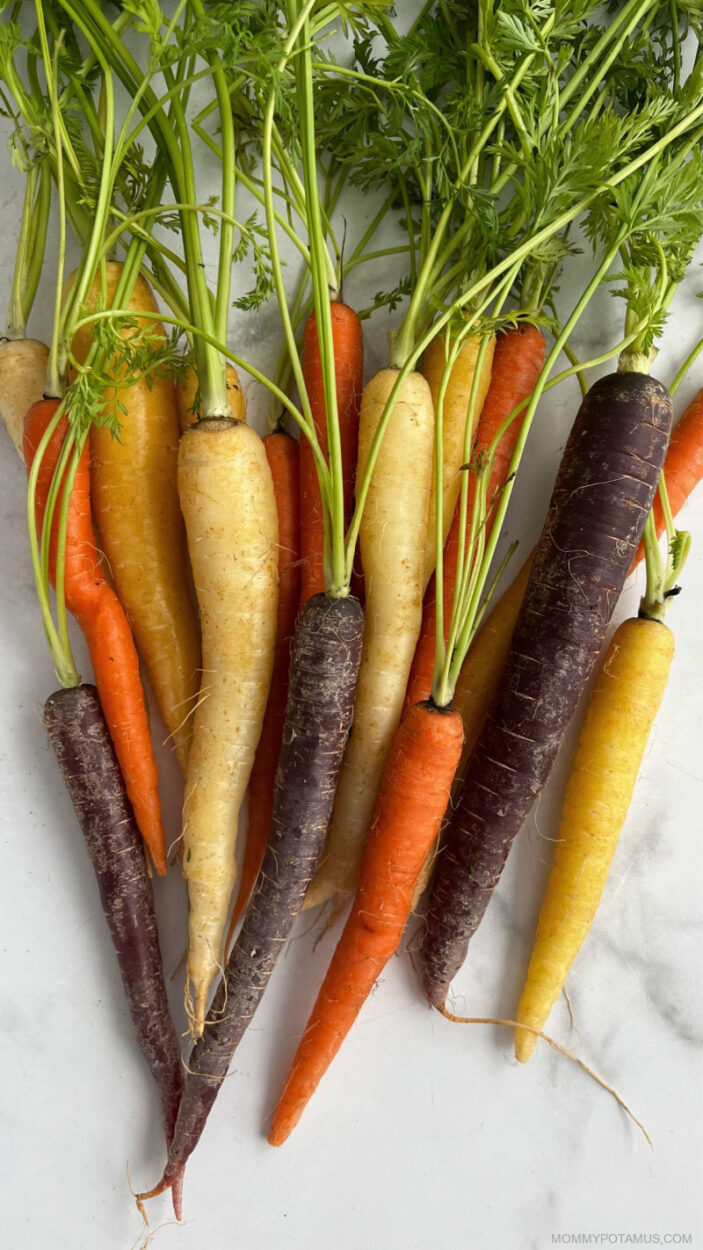
- 2 pounds organic carrots
- 4 cups filtered water
- 4 tsp sea salt* (finely ground)
- 4-6 garlic cloves
- 2-3 sprigs fresh dill**
Instructions
- Using clean hands, wash the carrots and trim the tops off. Cut them in half or quarters depending on how thick you want them to be – just make sure they are short enough to leave about 1-1.5 inches of headroom when placed in the jar. (They shouldn't go above the shoulder of the jar.)
- Place 2-3 garlic cloves in the bottom of each quart jar. Add a few sprigs of dill, too, or if you prefer to make them look more decorative you can lean them up against the side of the jar so that they're visible.
- Place your carrot sticks in both jars, packing them in as much as you can. I usually place the prettiest carrot sticks around the edge of the jar and the shorter/odd-fitting ones in the middle.
- Make your brine by stirring together the salt and filtered water. Divide the brine between the two jars – you'll want enough to fully cover the carrots. Keep in mind that they may expand slightly while fermenting so you want a little extra brine over them. Place the fermentation weight over the carrots. If they're packed very tightly they may not float, which can cause spoilage, but sometimes one or two sticks will as fermentation gets going so it's best to use one.
- Secure the lid and set up the airlock if you're using one. (Here's a step-by-step photo tutorial that shows how to set up and airlock.)
- Allow the jar to ferment at room temperature for 3-5 days, depending on how tangy you want them to be. Keep it out of direct sunlight – I keep mine in one of my kitchen cabinets. If you're using a fido jar, you'll need to "burp" it (open it up) every couple of days to release the gases that build up, and if you're using an airlock you'll want to check on it periodically to make sure that the water which forms the seal hasn't evaporated. The water should become cloudy throughout the process – that's a good sign.
- Taste your fermented carrots starting on day 3, and when it reaches a flavor that you like transfer it to the fridge. If you're using a lid with an airlock, replace it with a regular mason jar lid before storing it.
Notes
Nutrition
More Easy Probiotic-Rich Foods To Try
Dairy-Free Coconut Yogurt – This creamy, thick coconut yogurt is an easy way to get extra probiotics into your family’s diet, and you probably have everything you need to make it right now.
Unlike some methods, you don’t need a thermometer or a lot of hands-on time. It’s super easy, delicious, dairy-free, and way more affordable than store-bought.
Fermented Jalapeños – These spicy jalapeños take just a few minutes of hands-on time to make and are a total crowd-pleaser. Serve them on pizza, nachos, Mexican dips, beans, salads, and more for a delicious pop of flavor.
Fizzy Water Kefir – Bubbly and sweet and rich in kid-friendly probiotics, this drink can be flavored with ginger, mint, lime, vanilla, pineapple and more.
Sources
1. Nikhata, Smith G. et. al. (2018) Fermentation and germination improve nutritional value of cereals and legumes through activation of endogenous enzymes
2. Liu, Yue (2019) Long-chain vitamin K2 production in Lactococcus lactis is influenced by temperature, carbon source, aeration and mode of energy metabolism

